Tag Archives: Jewish

Kubaneh – Yemeni Jewish breakfast bread

Kubaneh

The latest addition to my cookbook library is Honey & Co’s The Baking Book, by Sarit Packer and Itomar Srulovich. It has the same UK publisher as my friend Rachel’s Five Quarters (which boasts a couple of my recipes), so I went along to the launch event a few weeks ago, bought a copy, got it signed and have been trying out the recipes since.

I love enriched doughs, so I was drawn to the recipe for kubaneh. Sarit’s family has Egyptian and Yemeni connections, and this bread is from the latter culture, specifically it’s a Yemenite-Jewish Sabbath breakfast bread. Reading more about it now, it’s traditionally baked overnight in a sealed tin. While Sarit’s version bakes for a fairly long time, it’s not overnight.

Some versions include whole eggs, and can be eaten as more savoury affair, with tomatoes or a tomato dip, or skhug, Yemeni hot sauce*. This one is sweeter. It’s rich in butter (or smen/semneh fermented sheep or goat milk butter; or margarine, depending on your dietary restrictions and inclinations and shopping options) and drizzled with honey, which caramelises together slightly.

Why haven’t I heard of this before?! Just my kind of thing.

Notes
I’ve tweaked the process slightly and given the ingredients in a more consistent format, so as to also include bakers’ percentages (below).

It’s a fairly moist dough – the original recipe says 300-350ml water, but I split the difference at 325ml: 325g. That works out at about 65% hydration, so quite wet and sticky. Check out my post on handling sticky doughs.

For this baking vessel, they use a “traditional lidded aluminium pot” but say you can also use a 20cm fixed bottom round cake tin, with a “lid” made of foil.

I used fresh yeast. You could use 10g active dry/granular yeast instead. If you only have instant/powdered yeast, you don’t need to mix it with liquid first – just combine it with the flour.

The dough
60g light soft brown sugar
15g fresh yeast
325g water, at about body temperature
250g strong white bread flour
250g plain (all-purpose) white flour
6g fine salt

Plus
Vegetable oil
Unsalted butter, softened (or margarine or smen, if you can get it. Very unlikely here in England!)
Runny honey

Here is it in bakers’ percentages (rounded):

Ingredient Quantity Percentage
Light soft brown sugar 60g 12%
Fresh yeast 15g 3%
Water 325g 65%
Strong white flour 250g 50%
Plain white flour 250g 50%
Salt 6g 2.5%

1. Mix together the water, sugar and yeast. Stir to dissolve the yeast.
2. Weigh out the flours into a large bowl and add the salt.
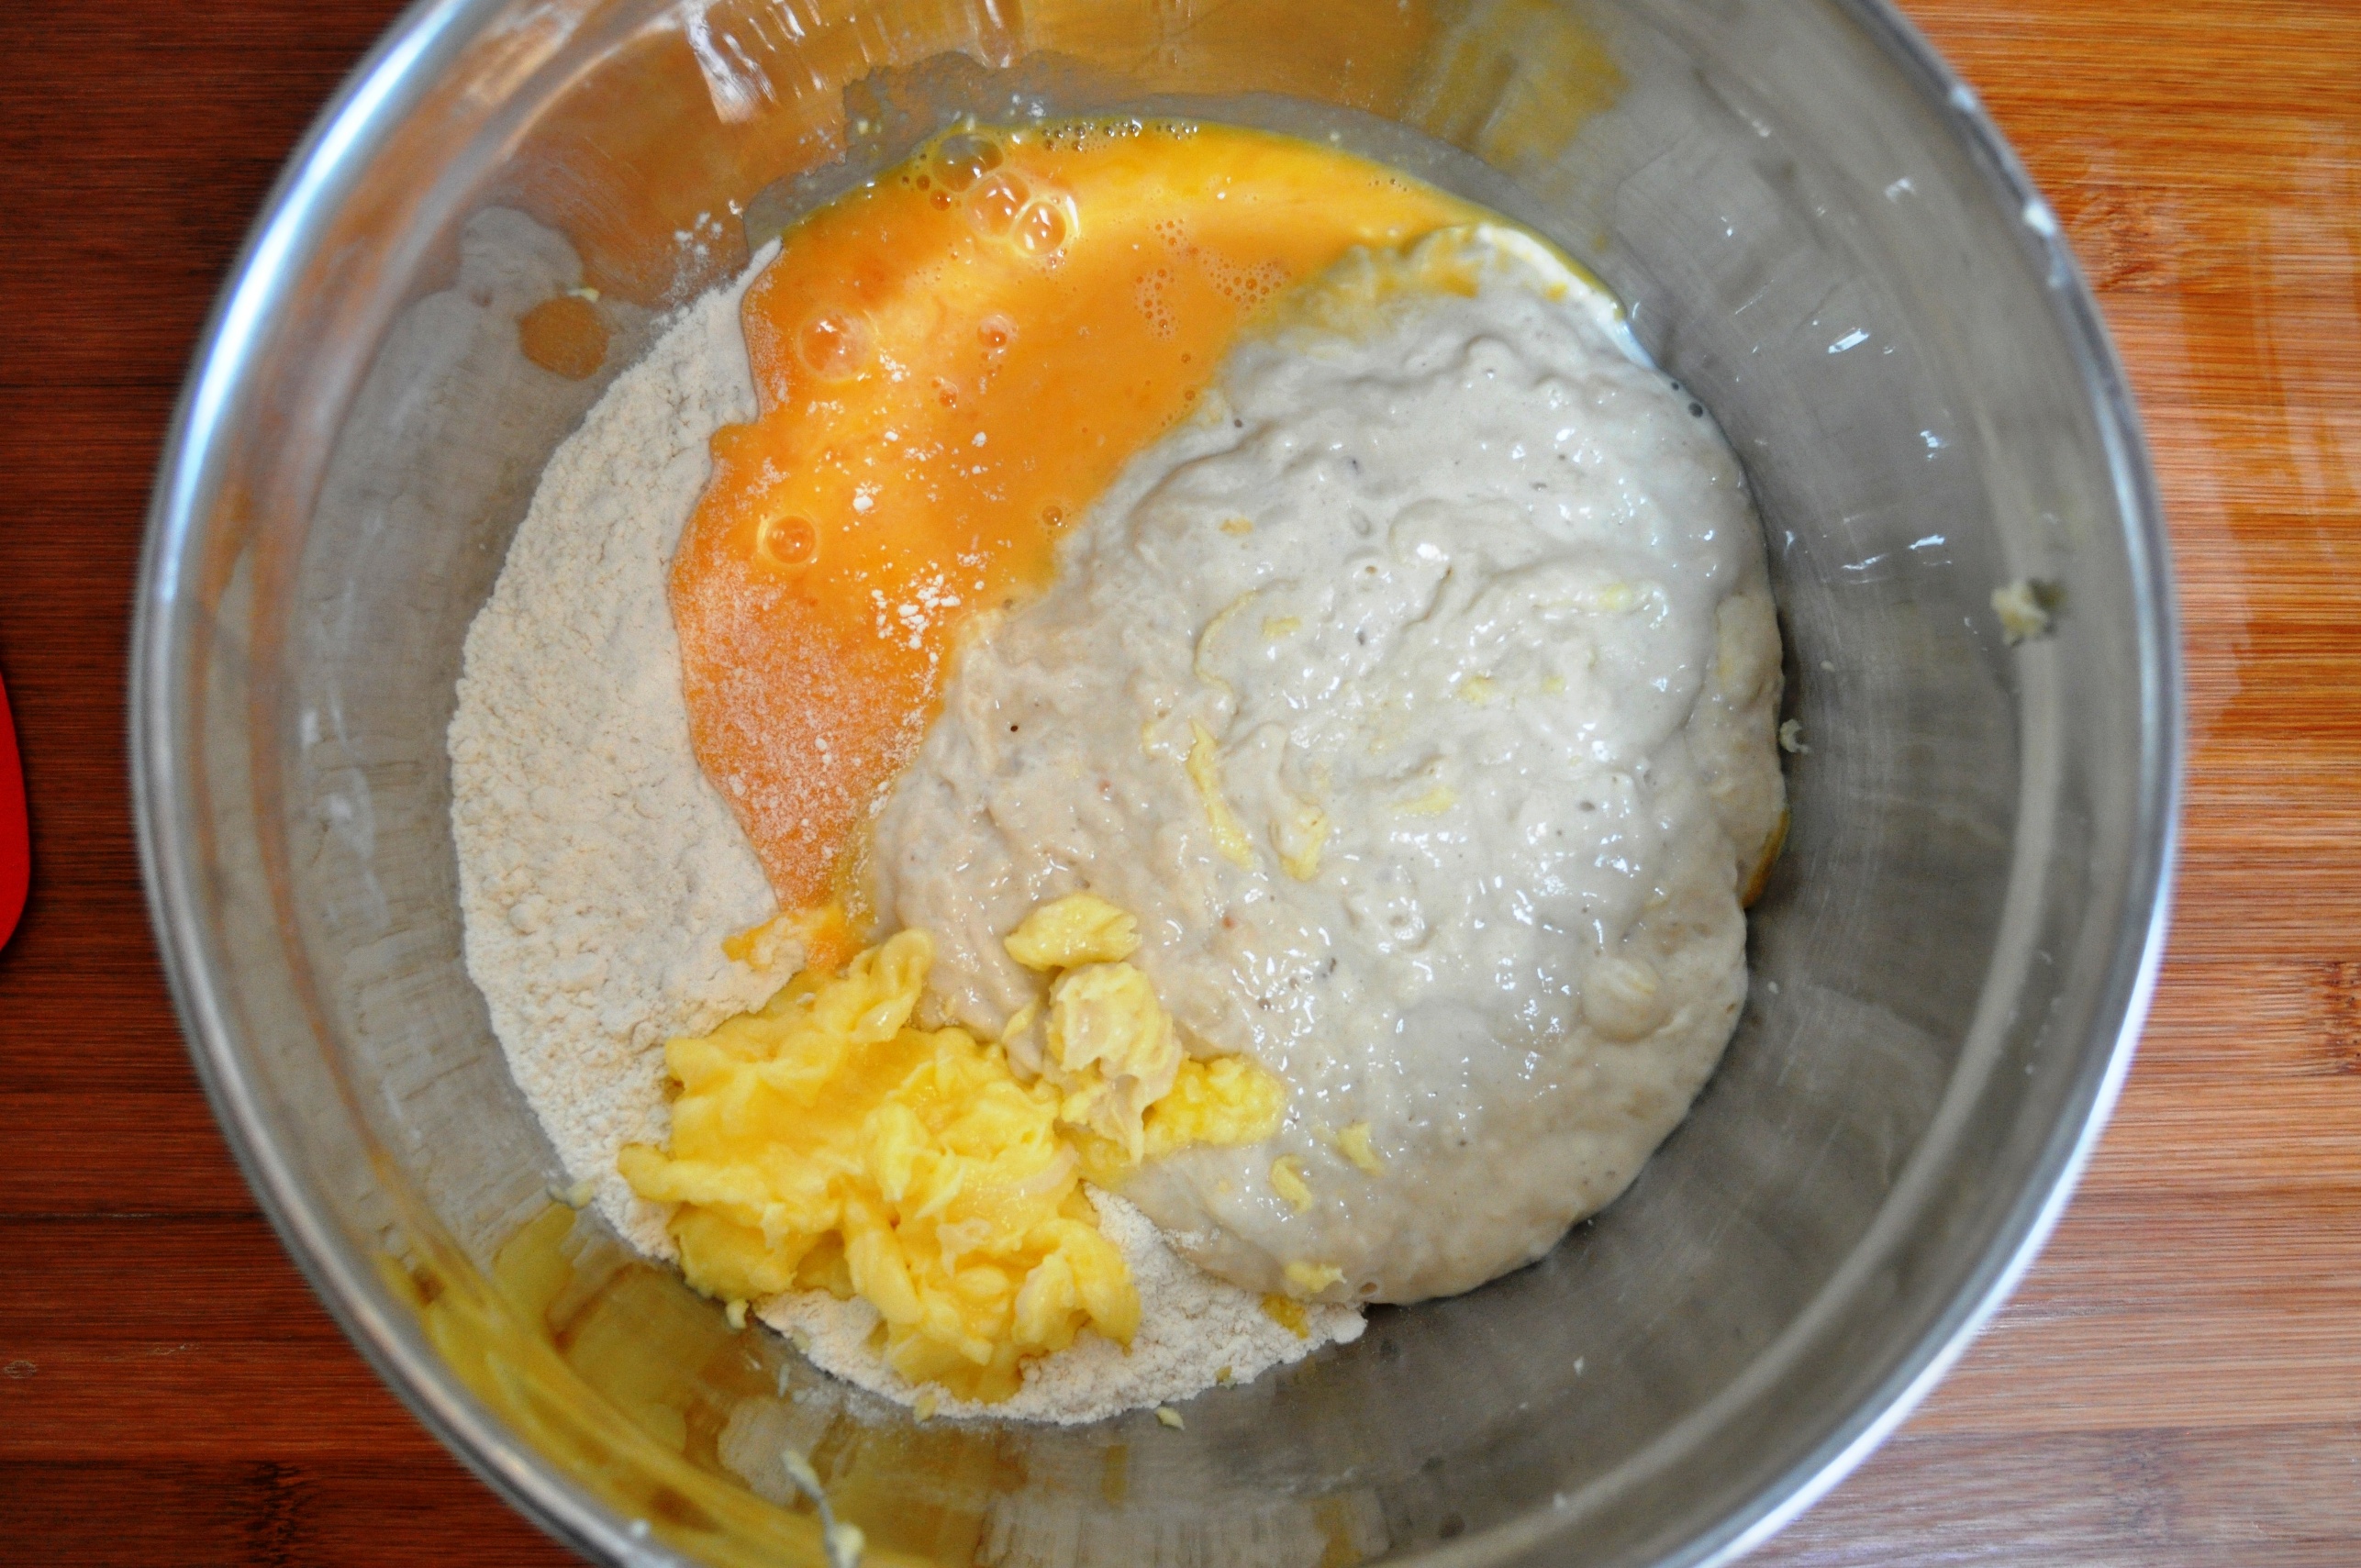
3. Add the yeast mixture to the flour and bring together a dough. I don’t have a mixer, so my instructions are for doing it by hand. If you do, just mix until well combined and smooth.

Kubaneh shaggy doughKubaneh - kneading doughKubaneh - smooth dough
4. Turn out the shaggy mixture onto a lightly oiled work surface and knead. I used the Dan Lepard technique of not kneading too much, then returning the dough to the bowl, cleaned and oiled, leaving for 10 minutes, then kneading briefly again. Repeat this twice more, then return to the cleaned, lightly oiled bowl.
5. Cover with plastic or a clean, damp tea towel and leave to prove for a couple of hours, or until doubled in size. The time will depend on the ambient temperature. It’s about 20C in my kitchen on a mild English summer’s day, and it took about two and a half hours.

Kubaneh dough - proved
6. While it’s proving, liberally grease the cake tin with butter, and grease the underside of the foil lid too. If you have a lidded pot, grease that similarly.

Kubaneh dough - slapped around
7. Sarit describes the next step as “the strange bit” – you moisten your hands then “flip the dough about in the bowl to knock it back”. Do it three times, keeping your hands moist.

Kubaneh dough - pieces
8. Oil a tray, then divide the dough up into eight pieces and place them on the tray. The dough weighs 900g, so eight pieces at around 112g.
9. Oil your hands a bit then take each piece, stretch it slightly, and put a blob of butter in the middle. I used pieces at about 10g, half a walnut size.
10. Smear the butter a bit then wrap the dough around it to form rough balls.

Kubaneh dough pieces in tin
11. Put the balls in the prepared tin, one in the middle, the rest equally spaced around it.
12. Put some more flecks of butter on top, drizzle with honey then cover and prove again until the dough “almost reaches the top” – too high and it’ll “overflow when baked.” I drizzled a bit more honey and added a bit more butter before baking.

Kubaneh dough ready for baking
13. Preheat the oven to 220C.
14. Put the tin, with its lid, in the oven and bake for half an hour.
15. Reduce the heat to 200C and continue baking for another half an hour.
16. Reduce the heat again to 180C and continue baking for another half an hour.
17. Turn the oven off and leave in the oven “for at least an hour”.
18. It’s best served warm, so if you’re an insomniac and have been doing this all night, or proved it overnight in the fridge and baked it early, enjoy it thus.

It’s surprisingly soft and chewy, and if you’re lucky, you’ll get nice caramelised bits. I won’t be doing it every week, but it’s a great addition to my enriched breads & breakfast bakes armoury. It’s also reminiscent of English lardy cakes, particularly the fruit-free versions from my part of the country, Hampshire and Sussex. Though obviously the fats used are a bit different for that gentile bake.

It’s also got me thinking about that most indulgent of fatty-sugary-doughy caramelised concoctions, the Breton kouign amann, which is more a pastry than a bread. Still, I might have to revisit that soon.

* Aka zhug, zehug; the Honey & Co The Baking Book also has a recipe for this, to accompany their lahooh, Yemeni pancakes.

5 Comments

Filed under Baking, Breads, Cakes (yeasted), Recipes

Challah

Challah torn 2

Not being Jewish, I don’t have an iota of authority making challah, aka chollah, challa. But it’s a bread I love, and I’ve made a few times before, so I wanted to revisit it.

Quintessential for Sabbath and Jewish holidays, challah is not only a delicious enriched bread, a religious cousin to the secular brioche, it’s a great shape. I love the braid format, it’s handsome, fun to make and satisfying to tear.

I believe one of the reasons it’s a braid is that it’s easier to tear and as such doesn’t require cutting, thus avoiding introducing a knife – a weapon – to Sabbath and holiday proceedings.

Challah torn 3

I also believe the strands of the braid are symbolic of the Twelve Tribes of Israel. Being a pretty amateur braider, I’m not ready for a 12-strand version yet, so I am sticking with the more commonplace four-strand form. It’s not something I’ve done for a few years, so excuse any clunkiness in execution. Heck, I can’t even practice plaiting my wife’s hair, as she’s wearing it short at the moment.

Symbols and meanings
Talking of the symbolism and heritage of challah, I do get the impression that there are different interpretations. So while Alan Davidson in the Oxford Companion to Food writes, “… the meaning of the word challah in biblical Hebrew is this bit of dough, ‘the priest’s share’.” Claudia Roden writes, “The name challah was given to a bread in South Germany in the Middle Ages, when it was adopted by Jews for the Sabbath… John Cooper (Eat and Be Satisfied) notes that the first mention of the bread was in the fifteenth century and that the term was coined in Austria. Before that the bread was called berches, a name that is still used by Jews in some parts today.”

Other sources suggest berches – at least today – is a water-based challah, with potato in the dough. Fascinating. I love these baked-goods family trees.

Anyway, my challah is a dairy version. I’ve read about enough American-Jewish versions to know they exist, with butter instead of oil and milk instead of water, but not enough to understand the kosher restrictions. Indeed, none of my friends with Jewish heritage seem to understand these things either, so I shouldn’t kick myself too much for being an ignorant gentile in this case. Adapt as fits your requirements, eg replace the sugar with honey.

Recipe

As with all my recipes, it helps if you have electronic scales. And I use grams. They’re simply easier and more accurate. Plus, it’s the second decade of the 21st century, folks!

I’ve included baker’s precentages too, as they’re handy for conversions, scaling, comparisons etc.

This recipe uses a pre-ferment, a sponge. It’s a very pleasing technique, as you feed the yeast on some of the flour and some, or all of the liquid, and create what becomes a lively bubbling mass. Andrew Whitney also says it’s an important and useful technique for enriched doughs as “Yeast cannot feed on ingredients like fat, egg and spice, so it is a good idea to get it working vigorously before mixing it with these things.”

Make 2 medium sized, 4-braid loaves

Ingredients

Ingredient Percentage Quantity (g)
White bread flour 60 340
Plain white flour 40 225
Milk 42 240
Yeast (fresh) 2 12
Egg 20 110
Salt 1 6
Butter 12 70
Caster sugar 4 25
Total 181 1028

Notes
White bread flour – that is, higher protein.
Plain or all-purpose flour – that is, lower protein.
Use 6g of active dried yeast or 5g of instant yeast instead.
110g of beaten egg was exactly two medium eggs for me, though sizes vary. I wouldn’t agonise too much, bit more would be fine as it’s quite a dry dough.

Method

1. Warm up the milk and crumble in the yeast. In a medium bowl, mix the yeasty milk, the sugar and 200g of the white bread flour and beat together to make a slurryish mixture.
2. Cover and leave to get bubbly. This will take about an hour, depending on temperature. You could leave it in the fridge overnight.
3. In a large bowl, combine the plain flour, the remaining bread flour and the salt
4. The butter should be soft – at least at room temperature. If it’s not, warm it up a bit. I tend to nuke it for a few seconds in the microwave.
5. Crack a couple of eggs into a bowl, whisk briefly, then weigh out the necessary amount.

Combine egg, butter, sponge and flourBring together
6. Put the butter, egg and sponge in the large bowl with the other flour and bring to a dough. Alternatively, just combine in a mixer with a dough hook, and form the dough.

Turn outKnead till smooth
7. If working by hand, turn out the mixture and knead until you have a smooth dough.

Prove till doubled
8. Form the dough into a ball, then put it in a large, clean bowl, cover and leave to prove until doubled in size. Time will vary depending on the air temperature but mine took about two hours.
9. Turn out the dough, then form it into a ball again. Leave to rest, covered, for five minutes.

Divide into pieces
10. Weigh the dough. It should weigh around 1000g. To make two medium loaves, divide it into eight pieces, each weighing about 125g. Alternatively, you can make one large loaf – just divide into four pieces, each weighing about 250g.
11. Form the pieces into balls, cover and rest for five minutes.

Form balls, form strands
12. Form each ball into a snake or sausage or rope. You get the gist. Each needs to be the same length. Mine were 50cm, but I’m actually thinking it looks better if they’re shorter. Your choice.
13. Take four snakes and pinch one end of each together firmly, tucking the end under and laying the strands out in front of you like half a tired octopus.

Lay out strands

14. There are plenty of videos online for braiding four strands. I remember it like this: 2/3, 4/2, 1/3 and repeat.

2 over 34 over 2

So take 2 (the second from the left) and put it over 3 (the third from the left), see above left. Then take 4 (the furthest right) and put it over 2 (the second from the left), see above right. Then take 1 (the furthest left) and put it over 3 (the third from the left).
Note, you’re not numbering the same strand itself, you’re numbering the position the strand is currently in, from left to right. Repeat to the end, then pinch together and tuck under again.

BraidingBraiding 2
15. Put on a baking sheet, cover and leave to prove again until doubled in size.
16. Preheat the oven to 220C.

Final prove - beforeFinal prove - after, egg wash
17. Brush the risen loaf with the remaining beaten egg. (At this point you can decorate it with seeds: poppy and/or sesame. Dip a wet knuckle in the seeds then press it onto a segment of the braid. Repeat until each segment has a patch of seeds on it.)

Baked
18. Put in the oven and bake for about 10 minutes, then lower the temperature to 180 and keep baking for another half hour or so. You want a nice golden colour.
19. Transfer to a wire rack and leave to cool completely.

2 challah


4 Comments

Filed under Baking, Breads, Feasts, Recipes