In the second season of the TV series The Bear, a Chicago neighbourhood sandwich shop is being transformed into a posh restaurant. In the remodelling, they put in an office, and in that office is a shelf of cookbooks. The only baking book among them, as far as I could see, was Sweet Enough by US food writer Alison Roman. I bought it, based on good reviews, and since then it’s been my favourite book for making new treats. Roman seems to be one of those reliable recipe creators and of the twenty or so recipes I’ve used so far (and frequently returned to), only one was a bit of a duff.
Ridiculous indulgence
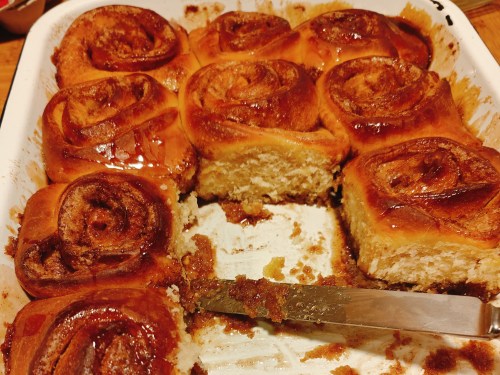
The most recent one I’ve tried is her sticky cinnamon rolls, as we all love such things in this family. Enriched dough is quite possibly my favourite area of baking. Indeed, the past year or so I’ve been using my brioche dough to make chocolate babka, but that’s for another post. Roman’s cinnamon rolls are the most ridiculously indulgent bake I’ve done since monkey bread. Both utilise an enriched dough along with serious quantities of butter and sugar. Roman’s cinnamon ramps up the absurdly indulgent factor with the addition 200g of maple syrup, poured directly into the baking receptacle. Oh my giddy aunt.
Seven spices
Another food item I’ve been enjoying recently is a jar of Lebanese seven spice or baharat (literally “spices”). Supplied by a friend of a friend, direct from Egypt, I believe, its label is in Arabic. Until I asked my multi-lingual friend Ioni what the label said, the strongest scent I got was cloves so I started chucking it in other sweet bakes – parkin on Bonfire, a steamed ginger pudding. Turns out the spice mix also includes cinnamon, black pepper, cumin, coriander, cardamon, nutmeg; some versions also include ginger, cassia and saffron. I need to show the actual jar to Ioni to get this clarified. Either way, it’s a good mix for that wintry, festivally warmth I so enjoy at this time of year. So I chucked some in my cinnamon roll filling too.
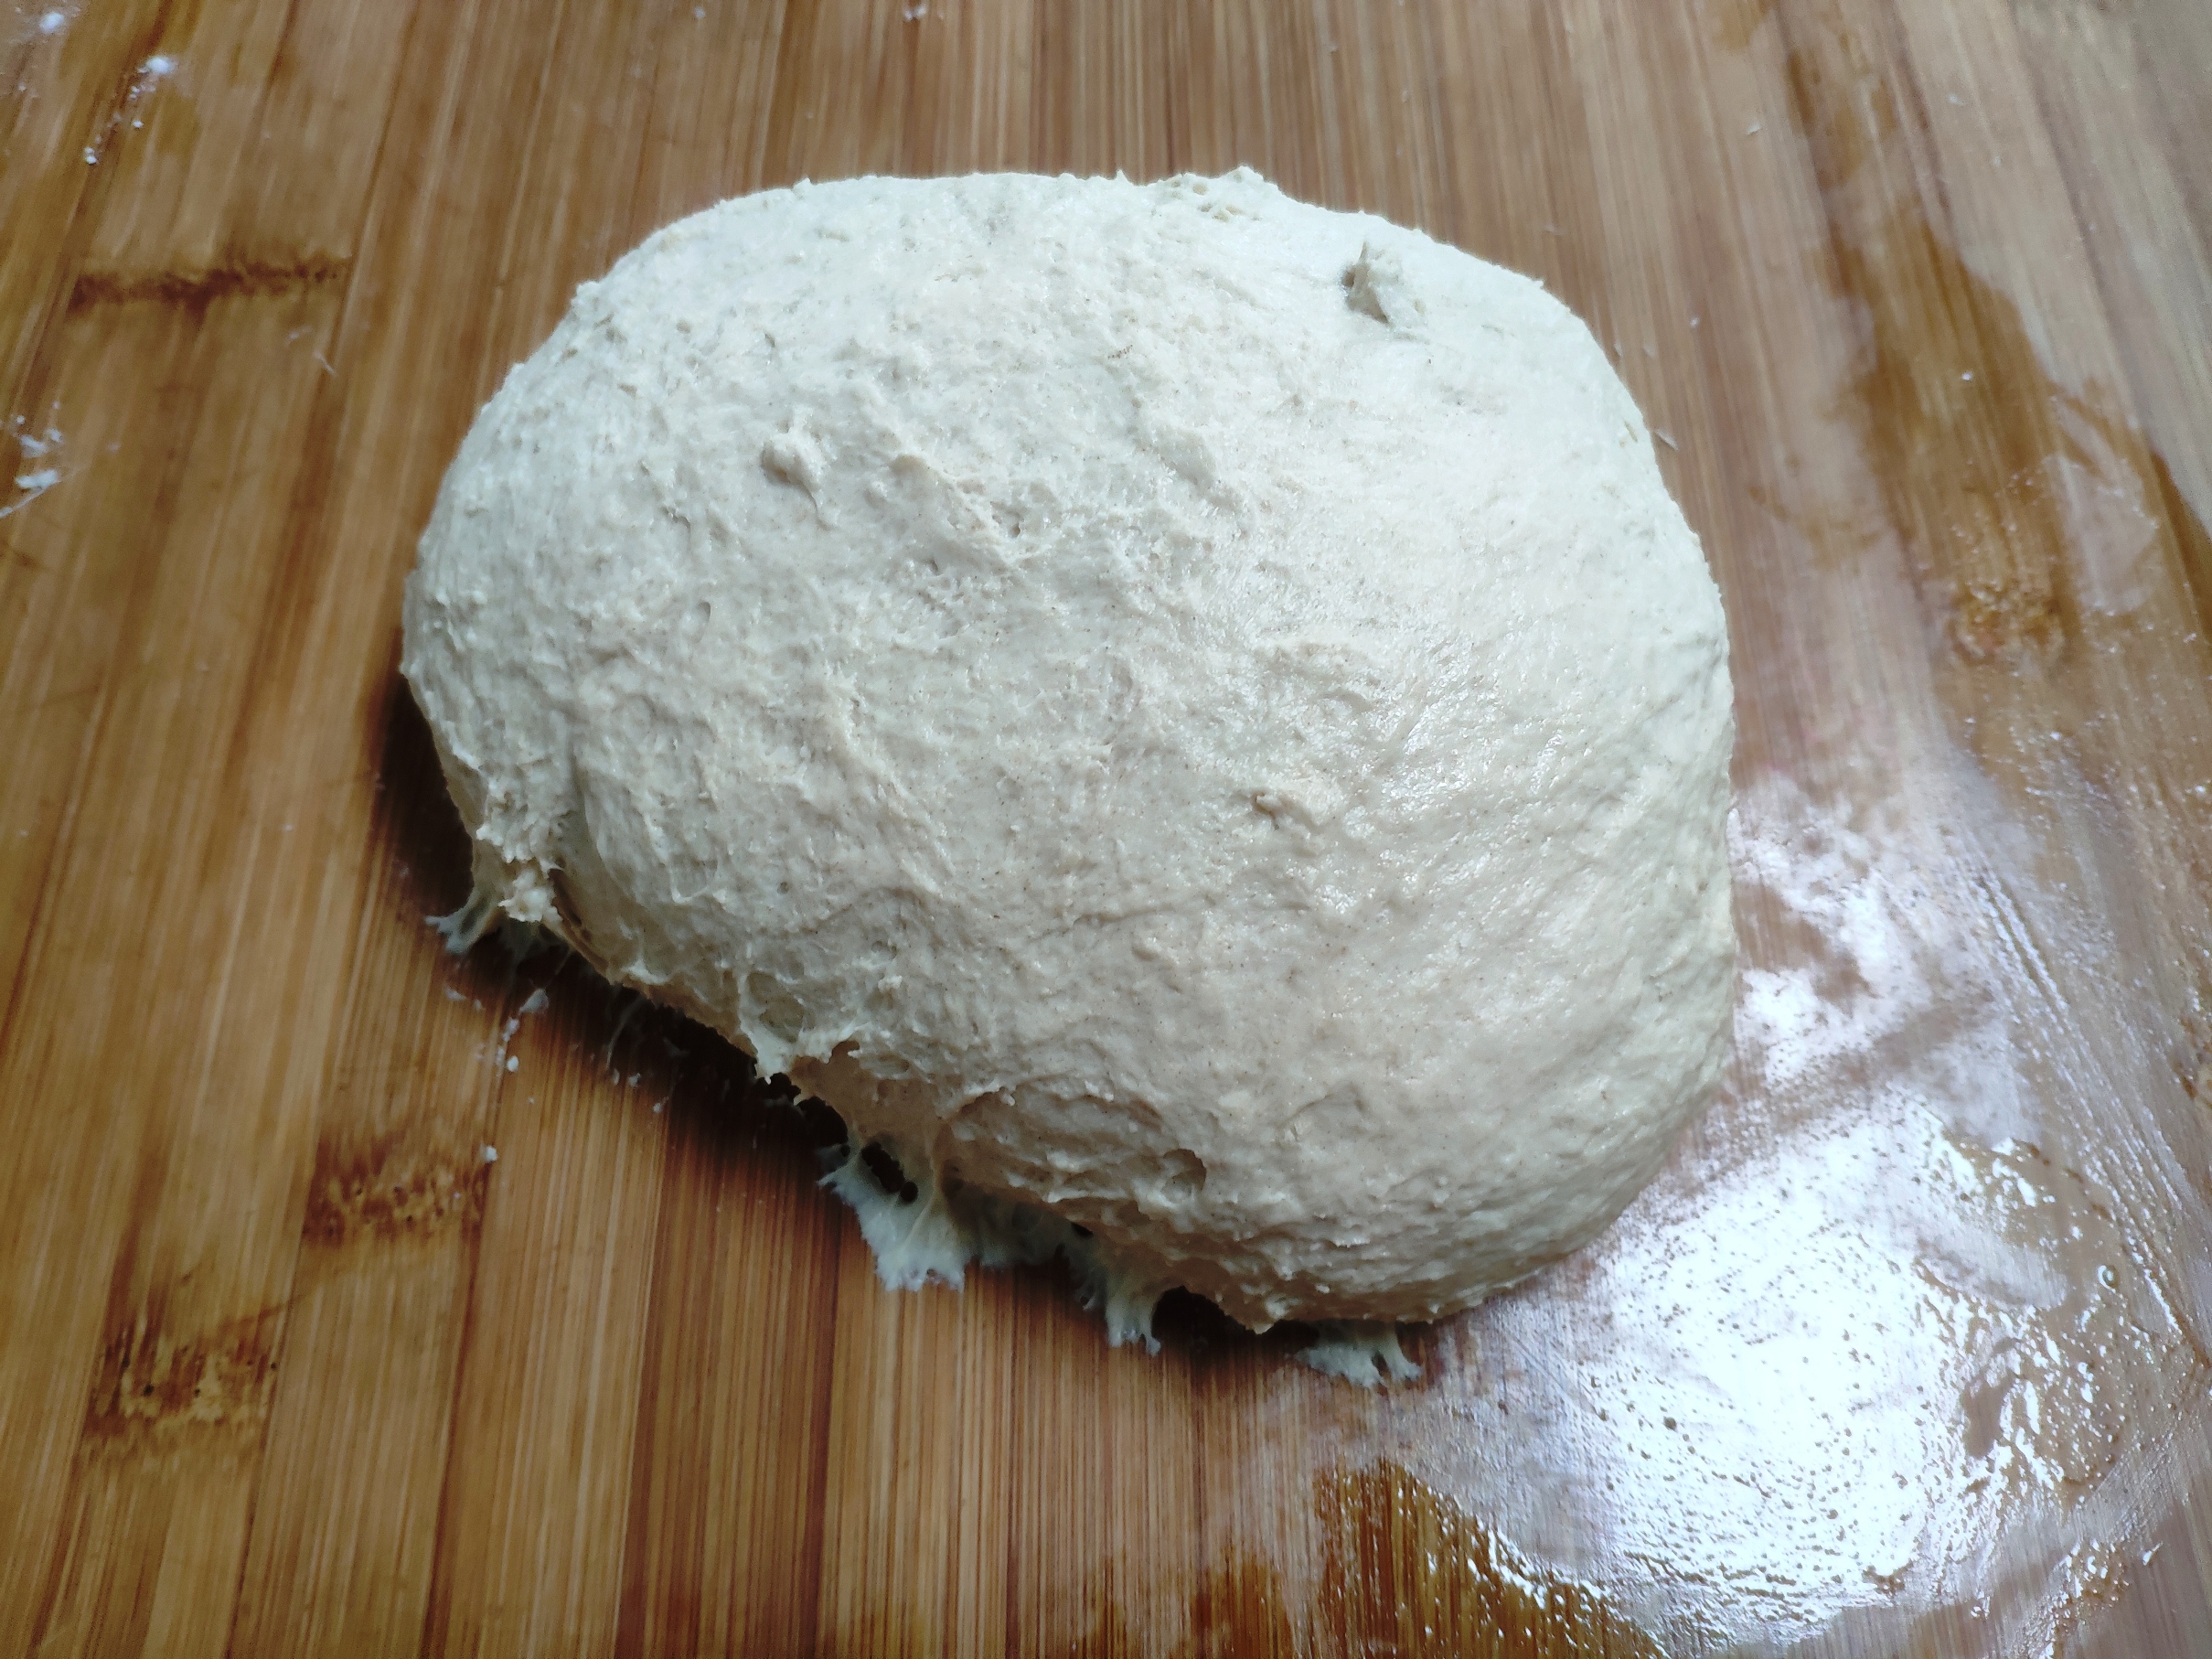
This recipe and process is similar to my brioche; the key difference is that Roman does a cold mix to start. This seemed to not give the chance for the yeast to activate at all, and for the final prove, there didn’t seem to be much vigour. Another misgiving was the inclusion of baking powder. I believe baking powder works in two ways: it activates with moisture then with heat. So surely during this recipe’s long prove, it would be activated, and the resulting CO2 would dissipate? So you’re only getting the heat reaction and the CO2 that results from that. Having said all that, the oven spring* was good, and the resulting dough was light when freshly eaten, so all good. As I said, reliable recipes. Thanks, Ms Roman.
Dough
240g full fat milk
50g granulated sugar
7g active dried yeast
245g plain white flour
200g strong white flour
6g baking powder
4g fine salt
2 large eggs, beaten
115g unsalted butter, cut into small pieces
Filling
200g maple syrup
180g soft brown sugar
10g powdered cinnamon
(3g baharat or any other entirely optional spices to taste)
115g unsalted butter, soft
1. Combine the milk, yeast and granulated sugar in the bowl of a mixer.
2. Sieve together the flour and baking powder, then add this to the yeast mix.
3. Mix on a low speed to combine then slowly add the beaten egg, scraping down the sides of the bowl to incorporate well.
4. Add the butter a little at a time, incorporating and scraping down.
5. Keep mixing until the sticky mass becomes smoother and entirely incorporated.
6. Grease a clean bowl, then transfer the dough. Cover with clingfilm then refrigerate for 12-24 hours. This will rest the dough, help the flavours mature and firm up the fats.
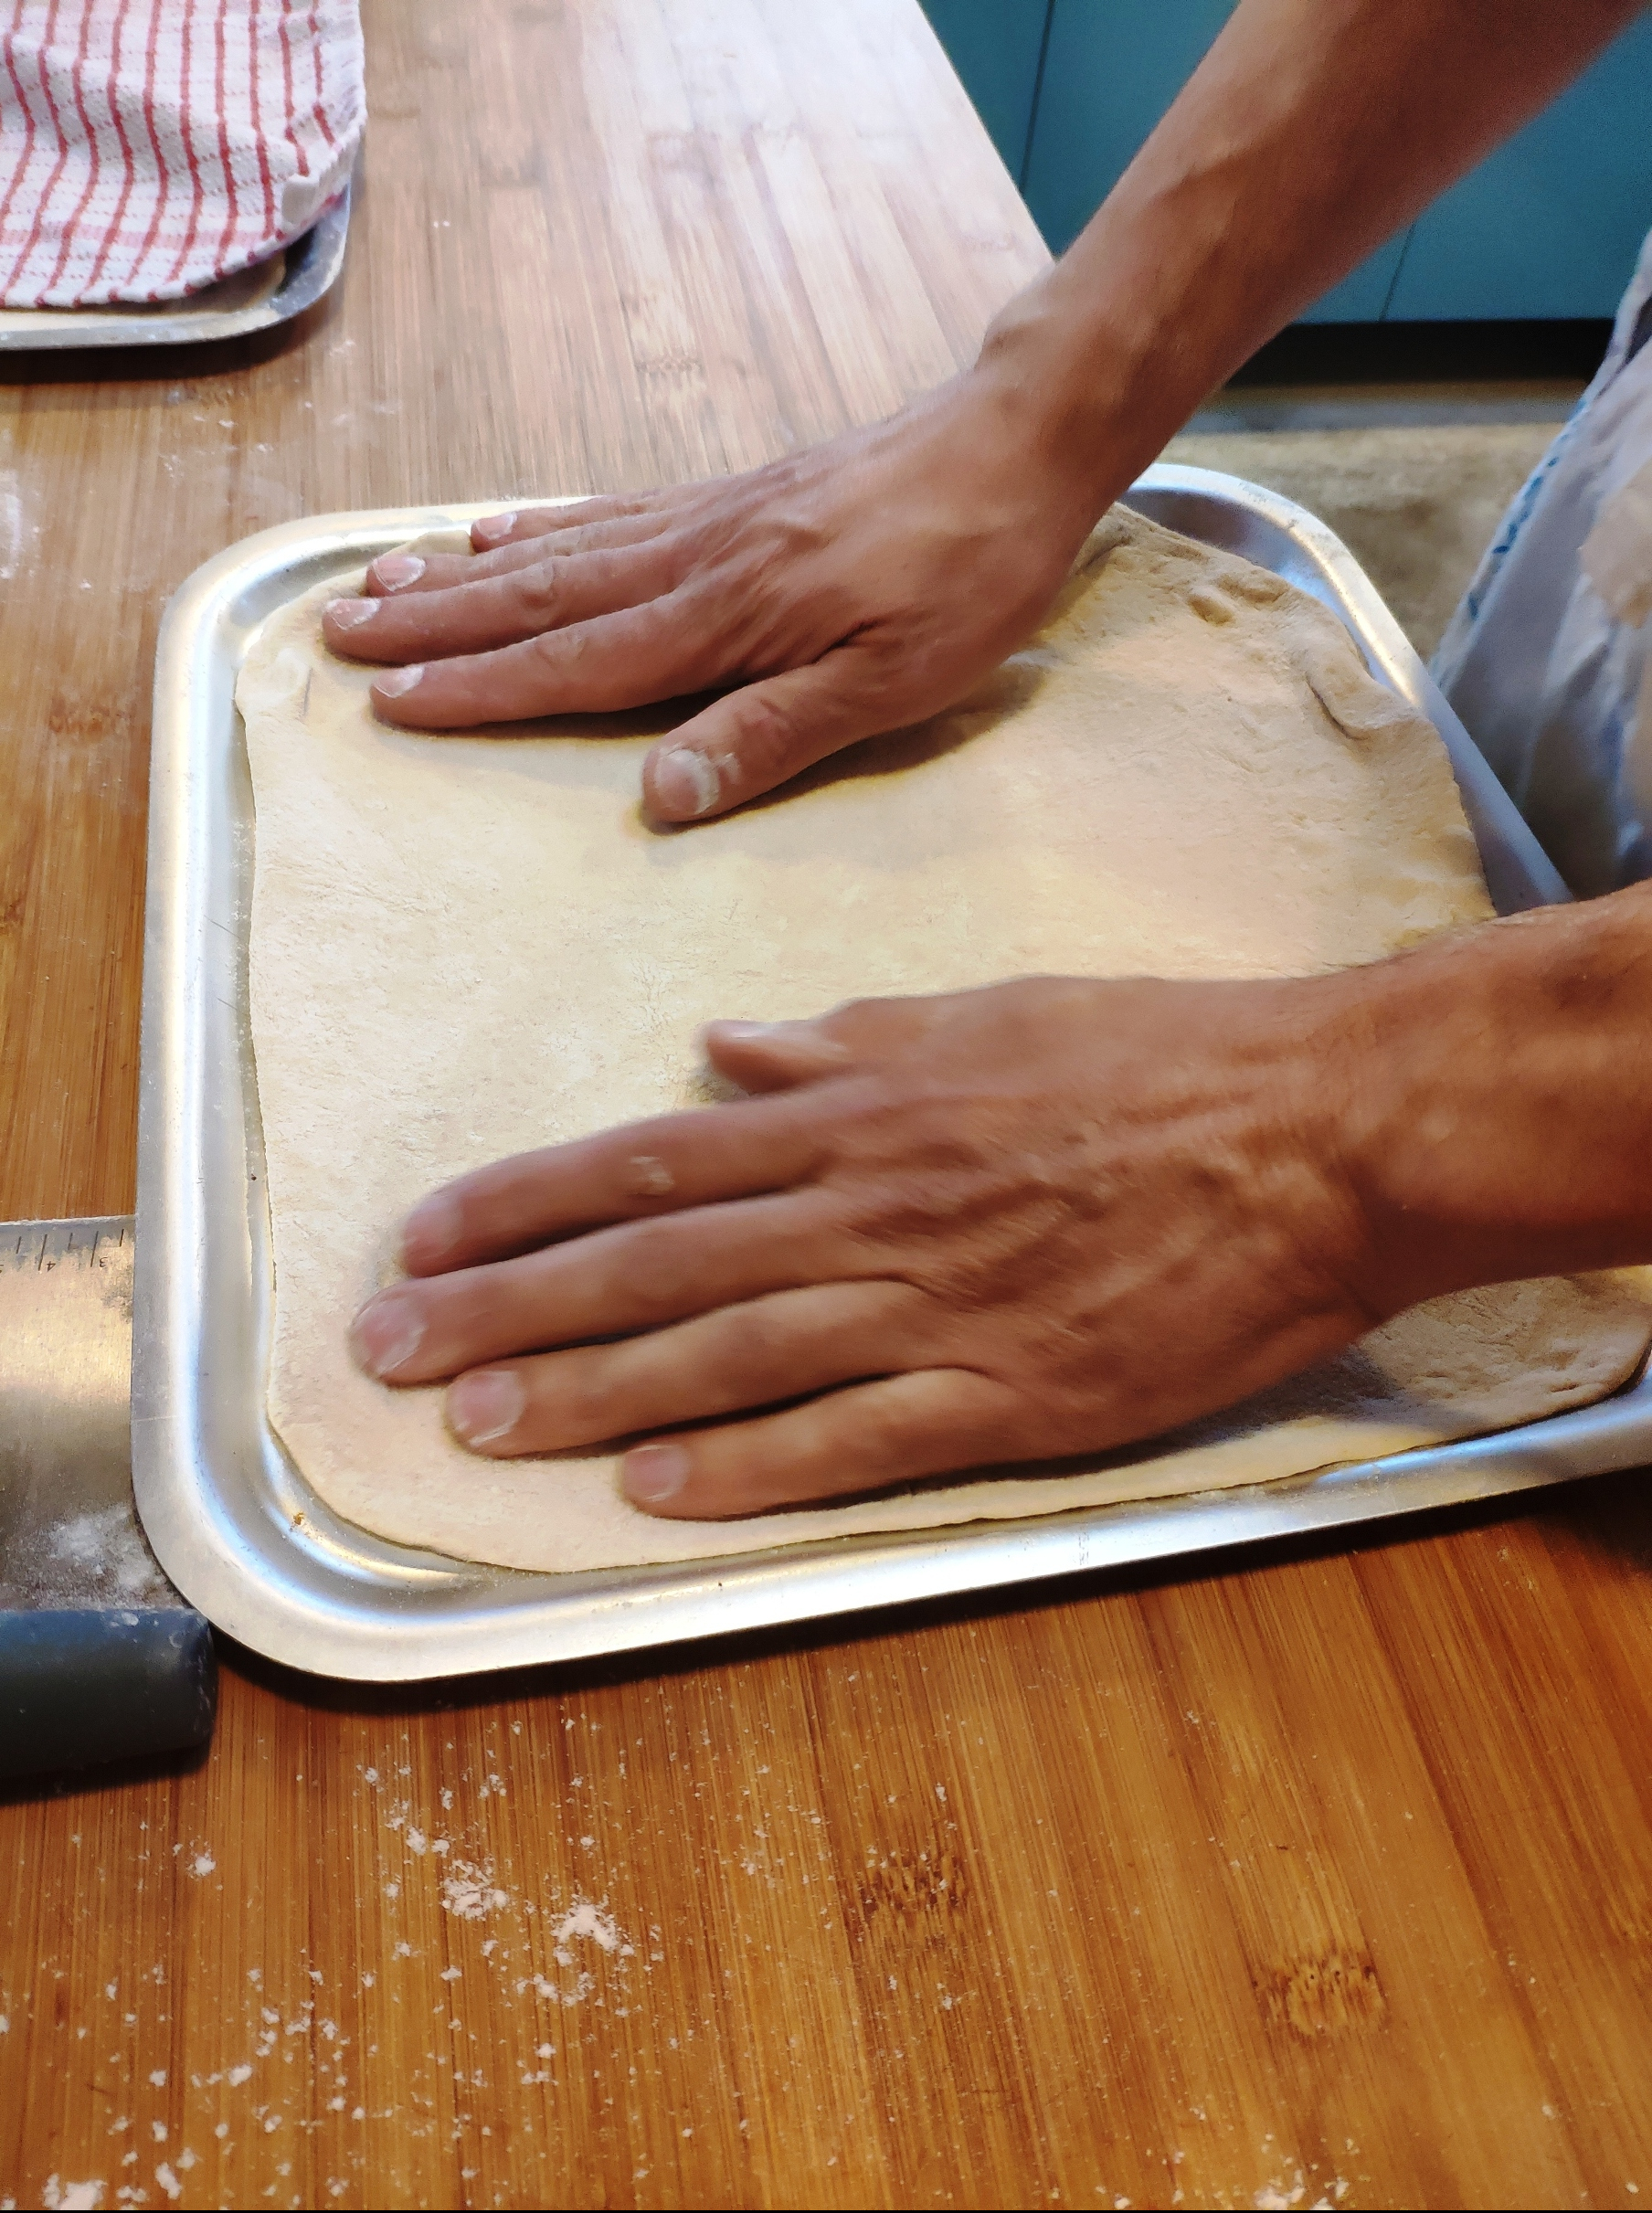
7. Grease a roasting dish or tray 23x33cm, or similar, then pour in the maple syrup.
8. Combine the sugar and cinnamon (etc).
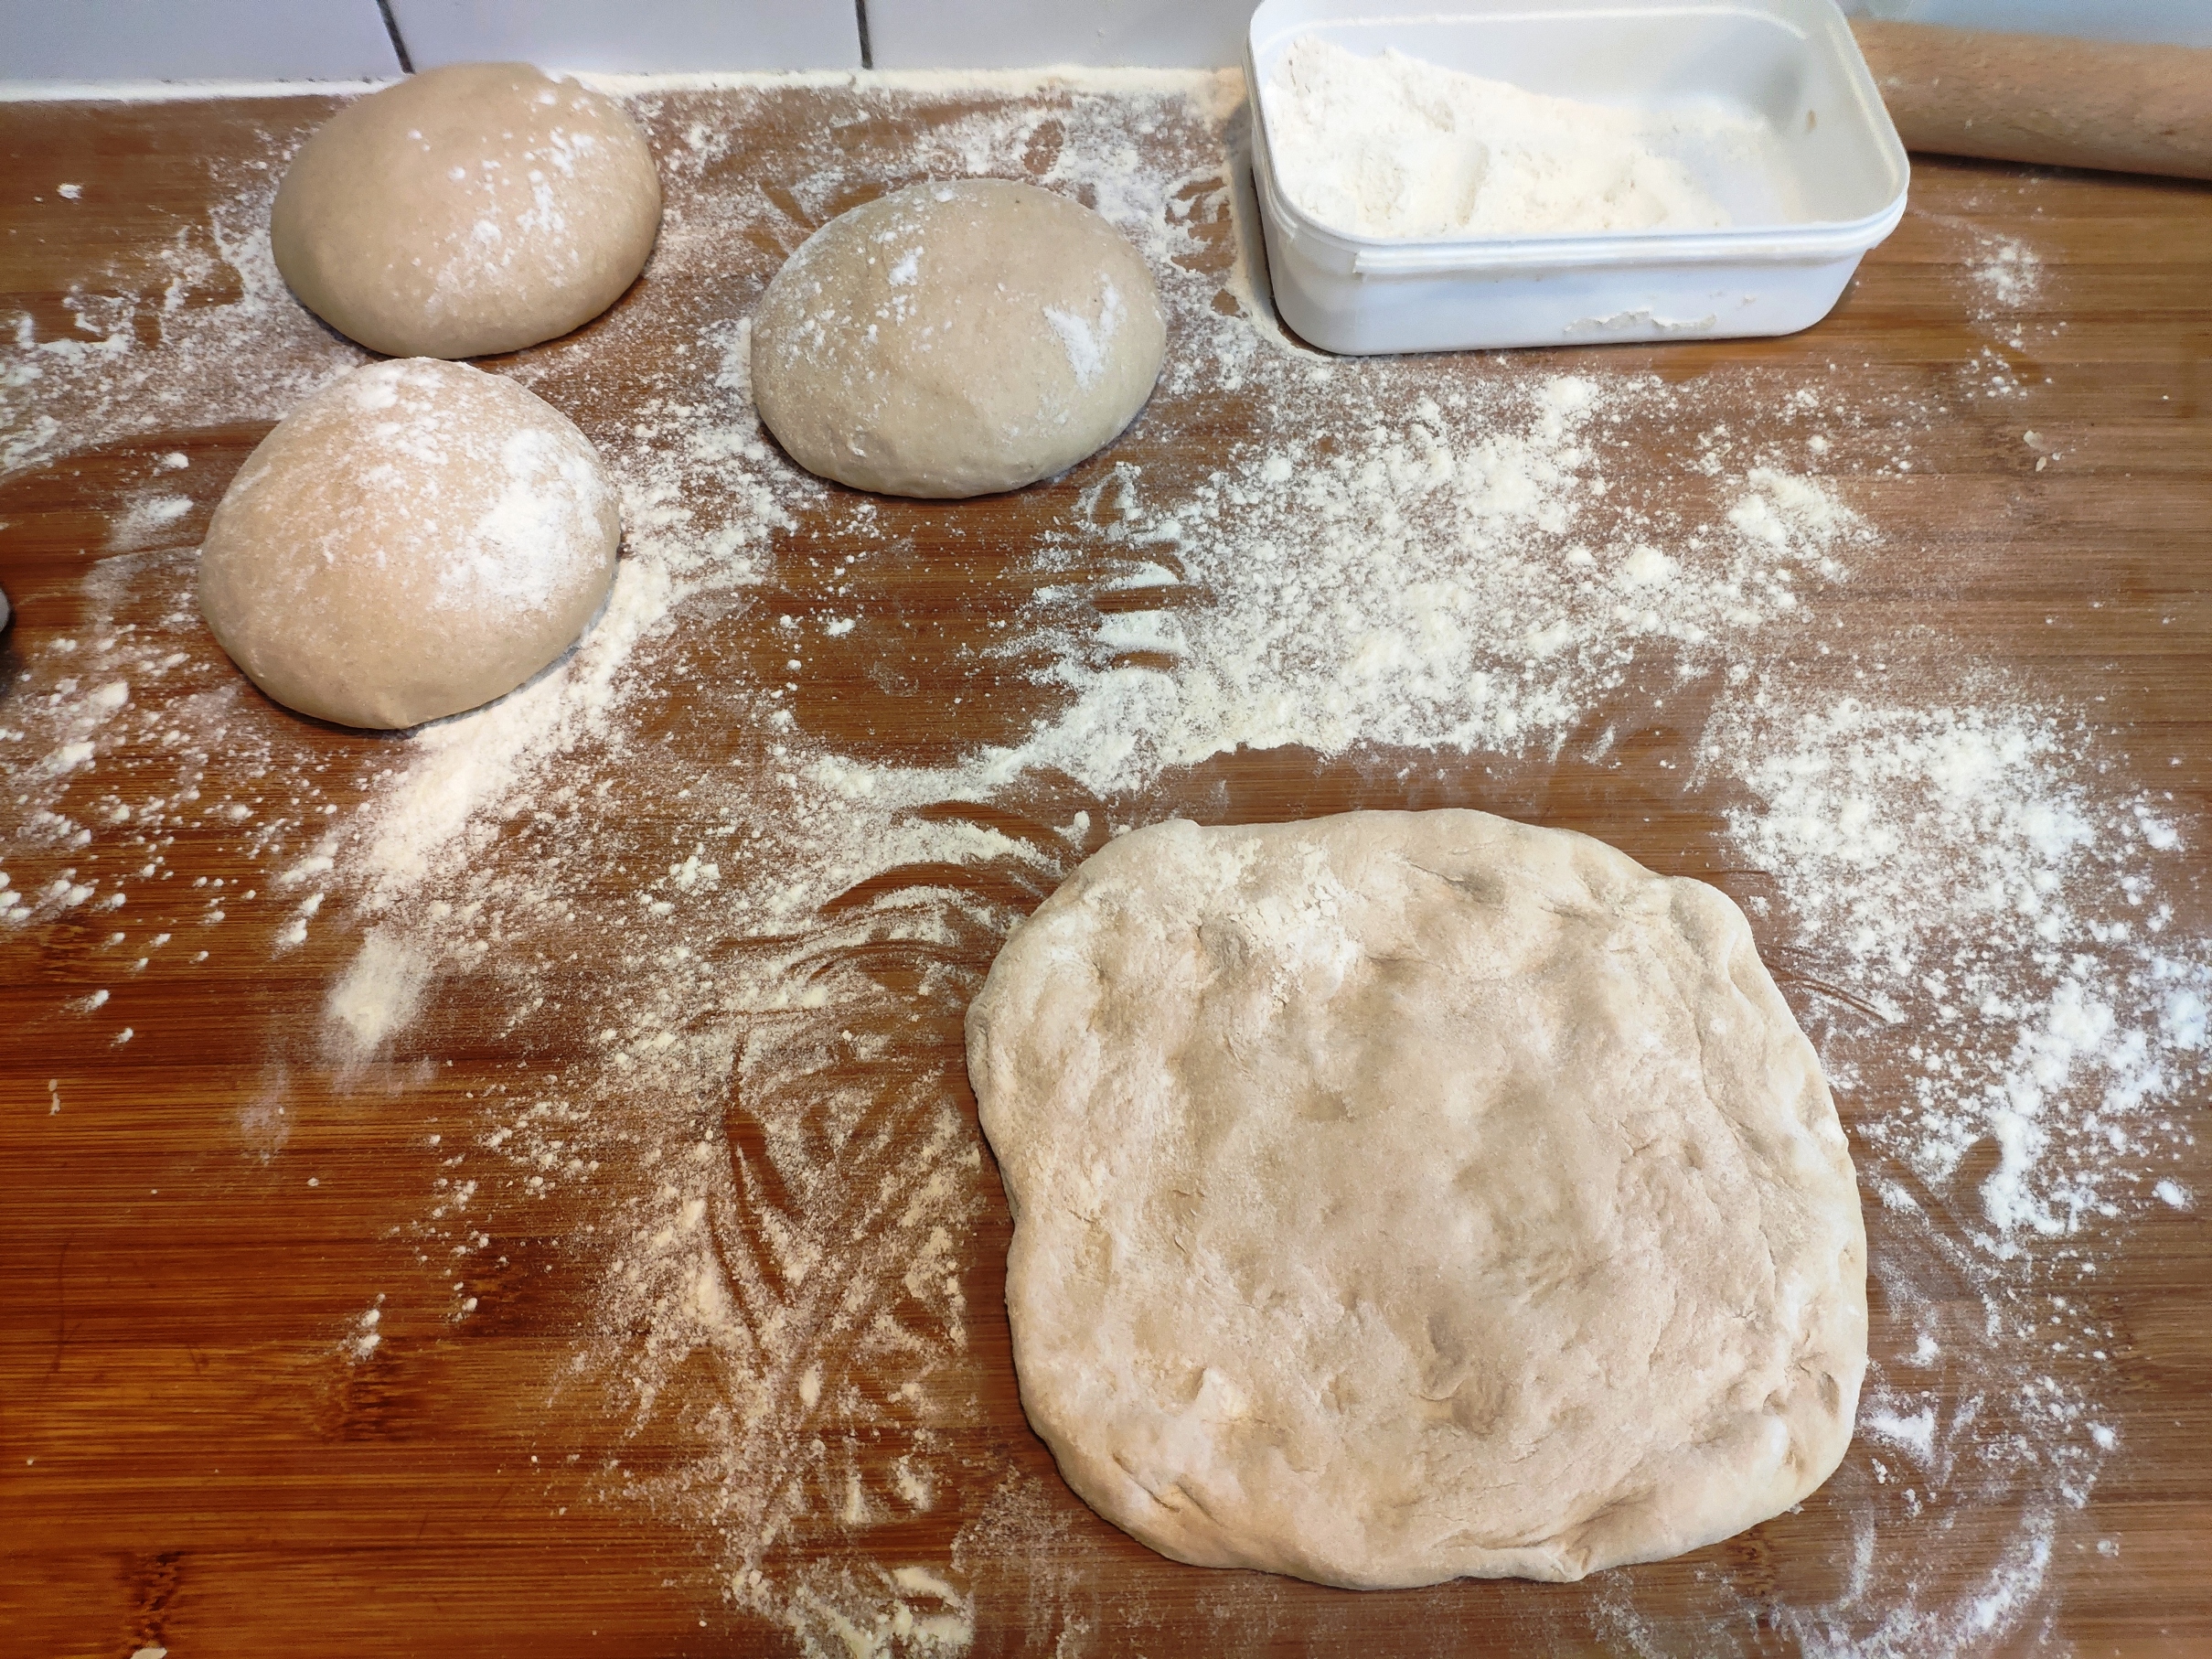
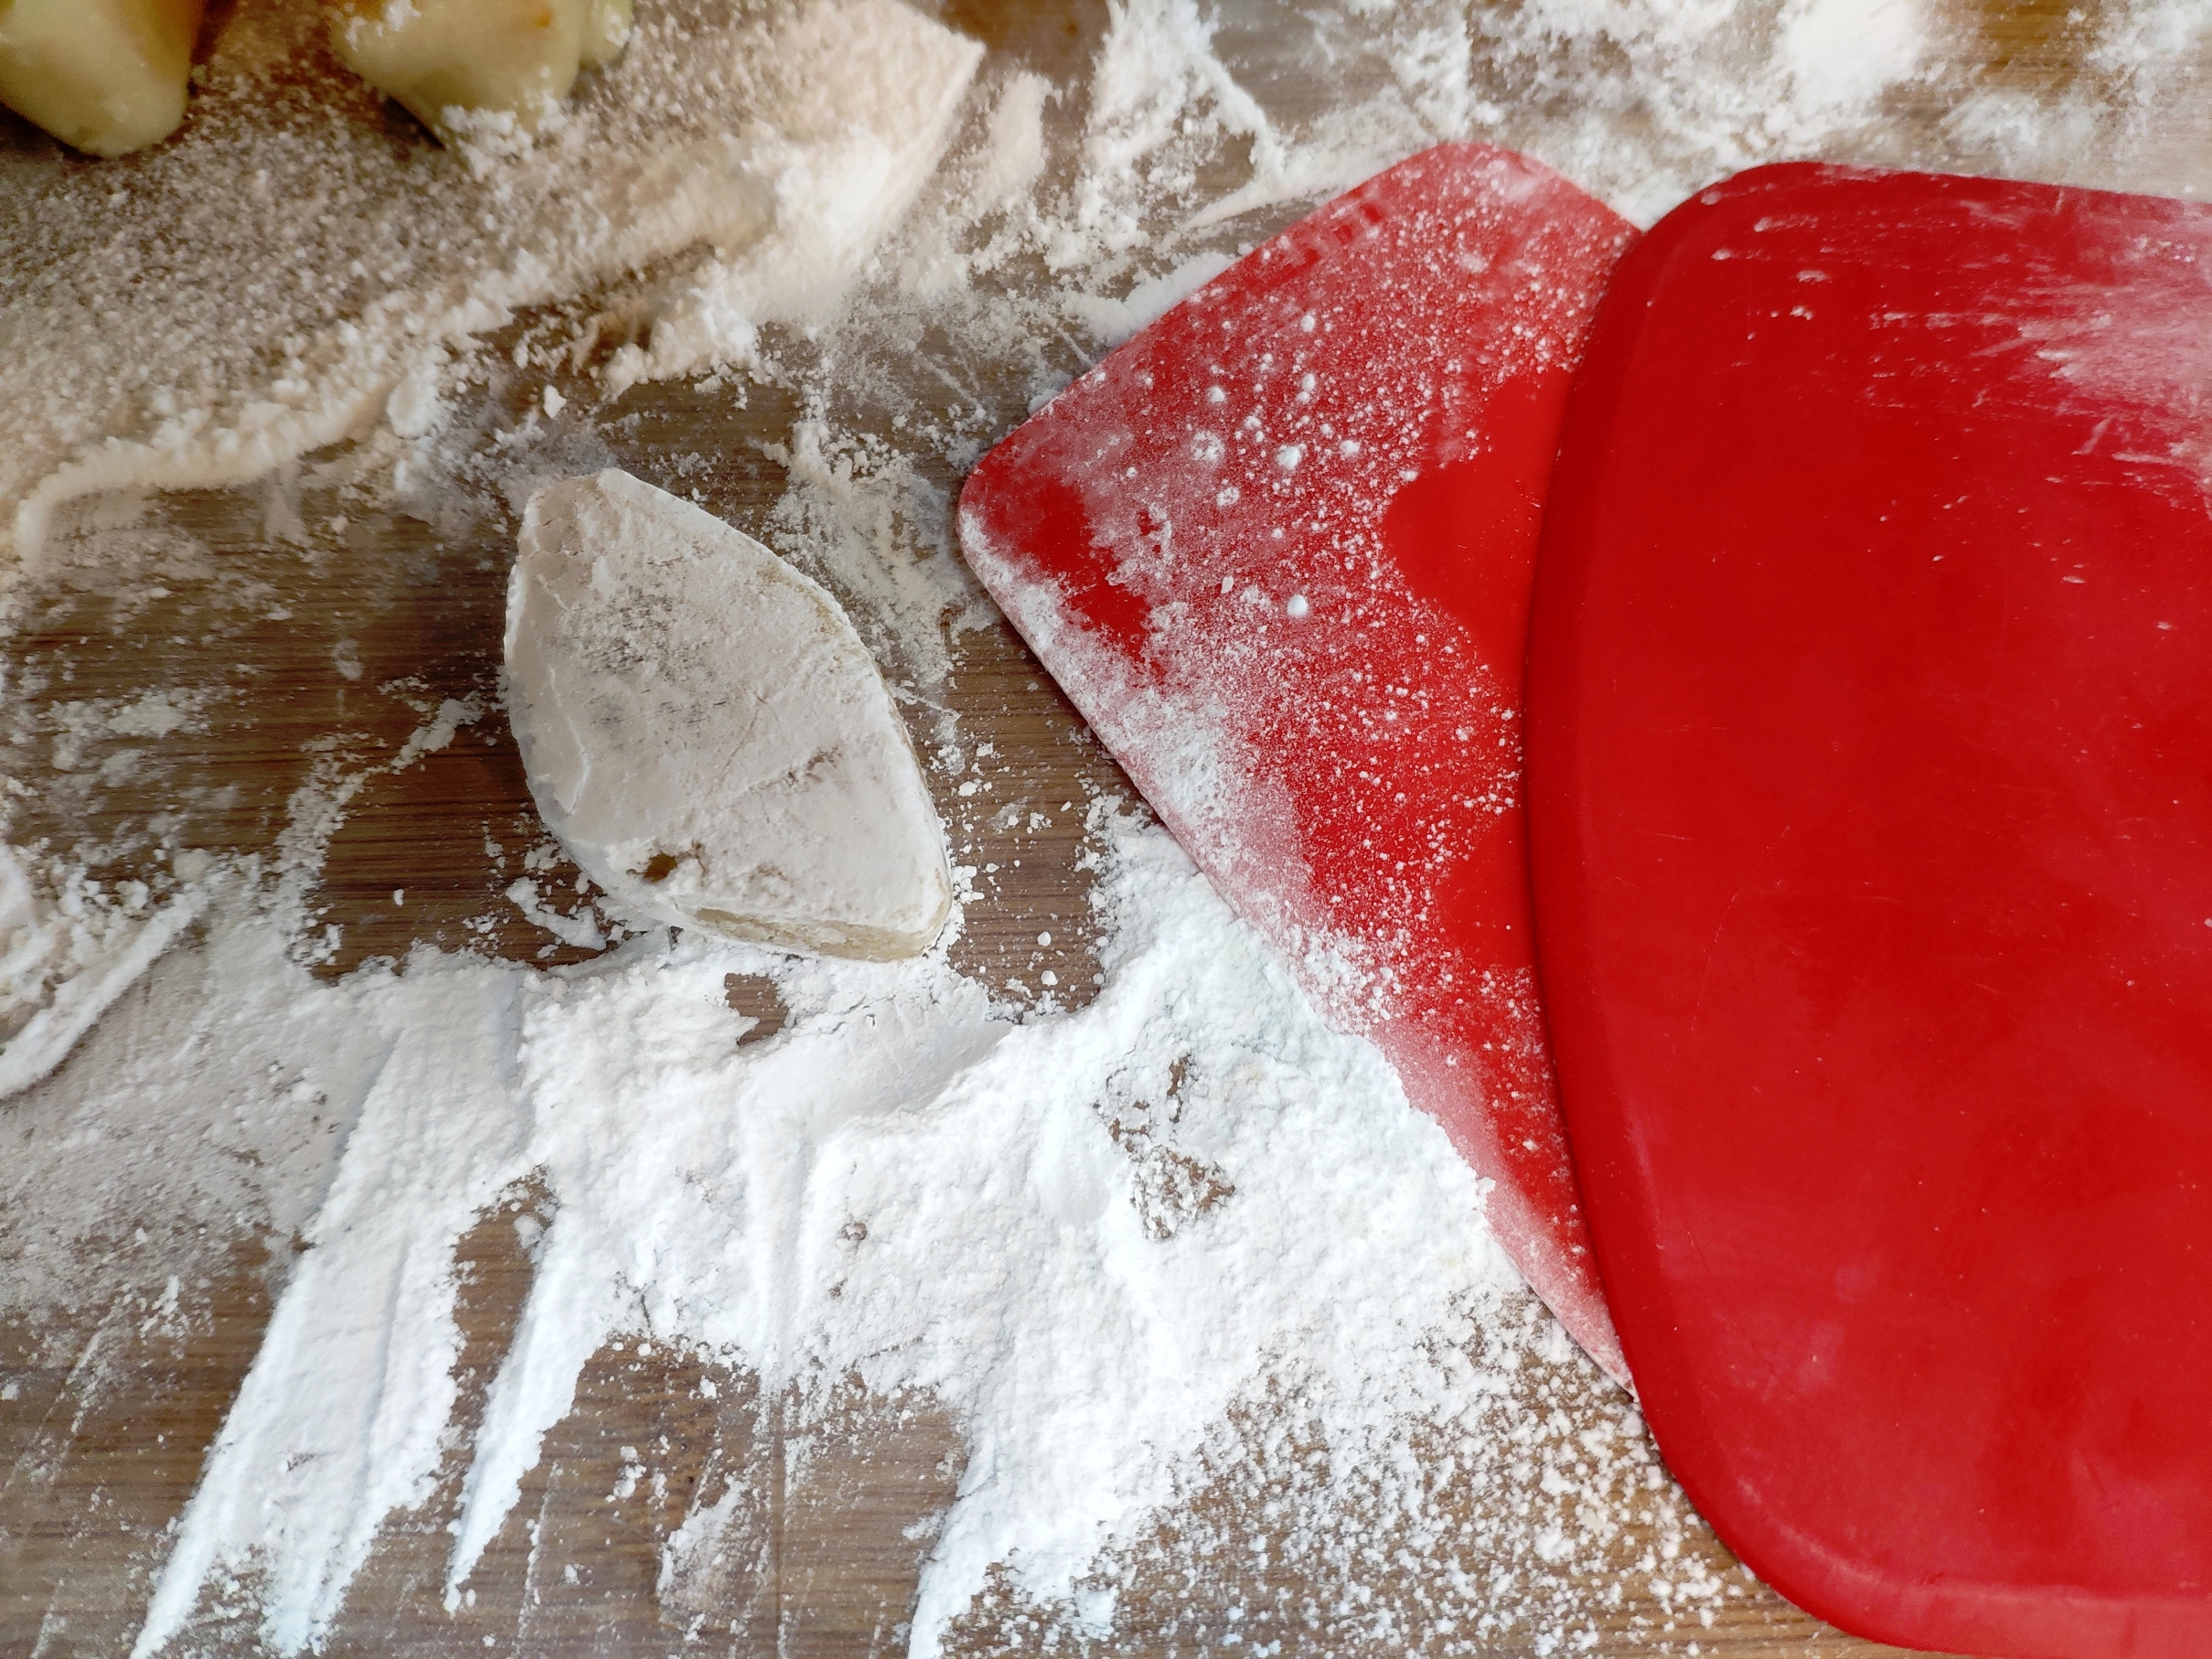
9. On a lightly floured surface, roll out the dough to a rectangle around 30x60cm (grab a tape measure!), moving it around frequently to stop it sticking.
10. Smear the softened butter all over your dough rectangle, then sprinkle the cinnamon sugar onto this, smearing it all together gently to mix.

11. With long side of the rectangle towards you, roll up the dough.
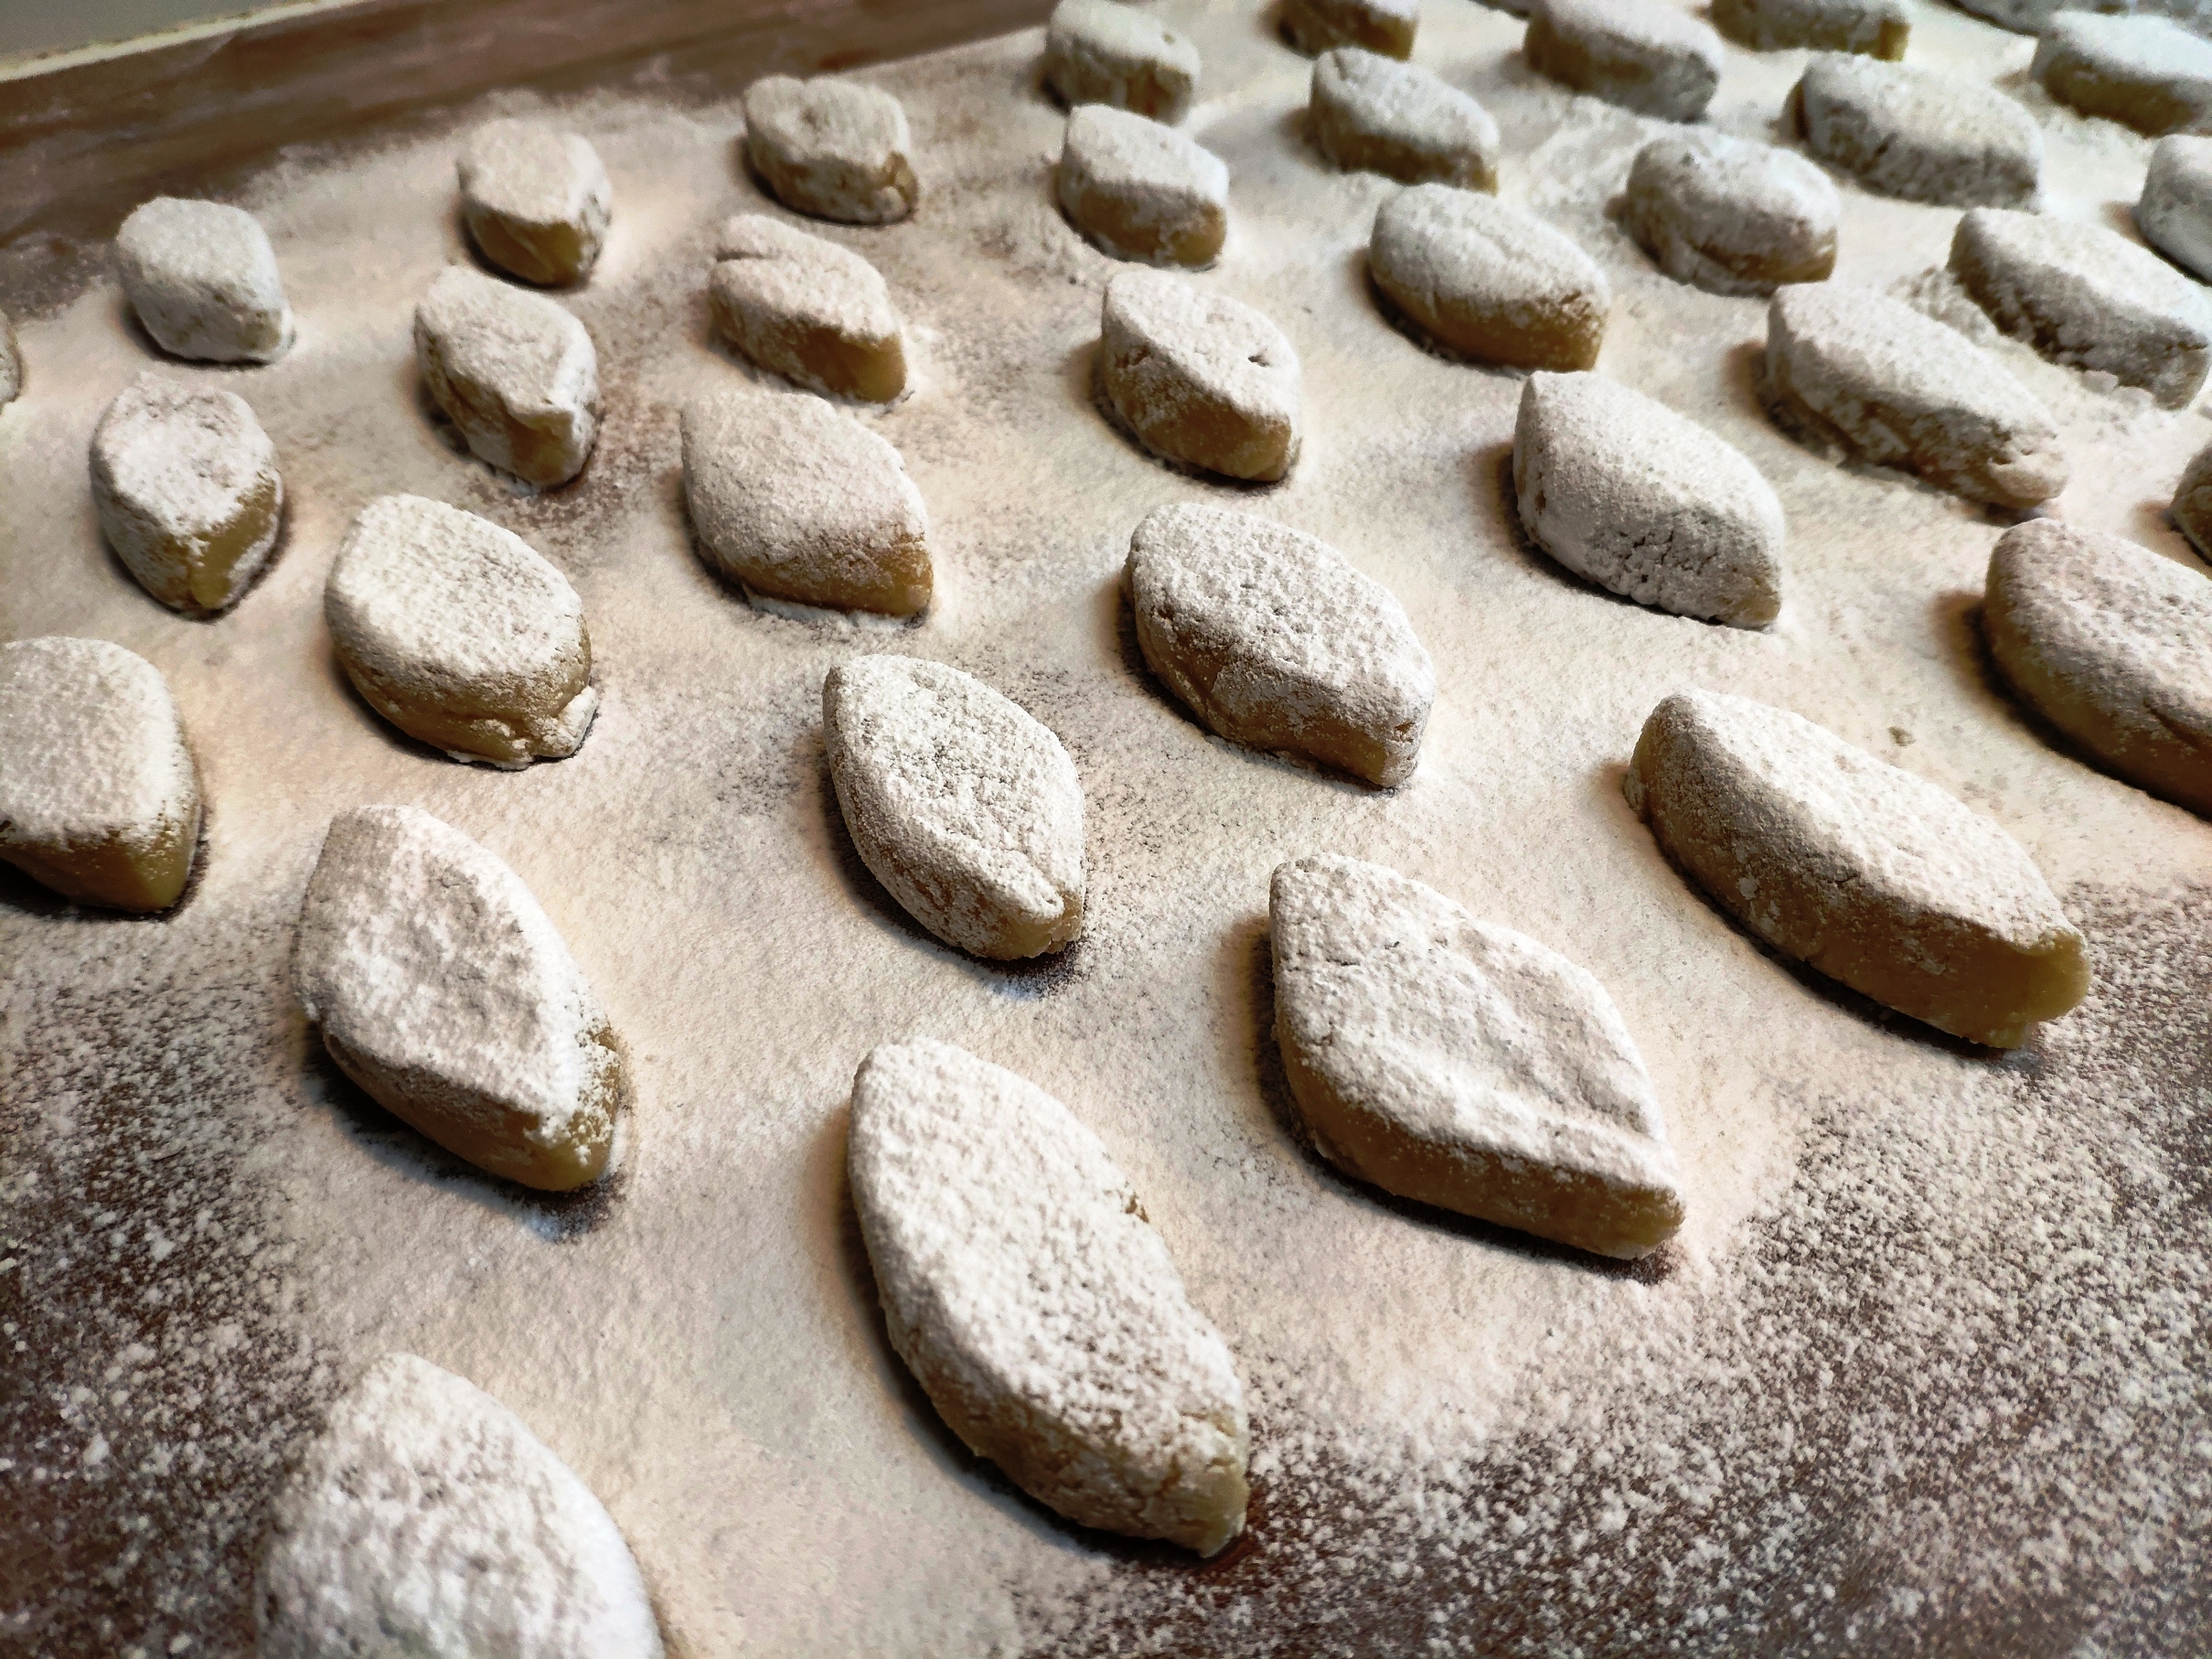
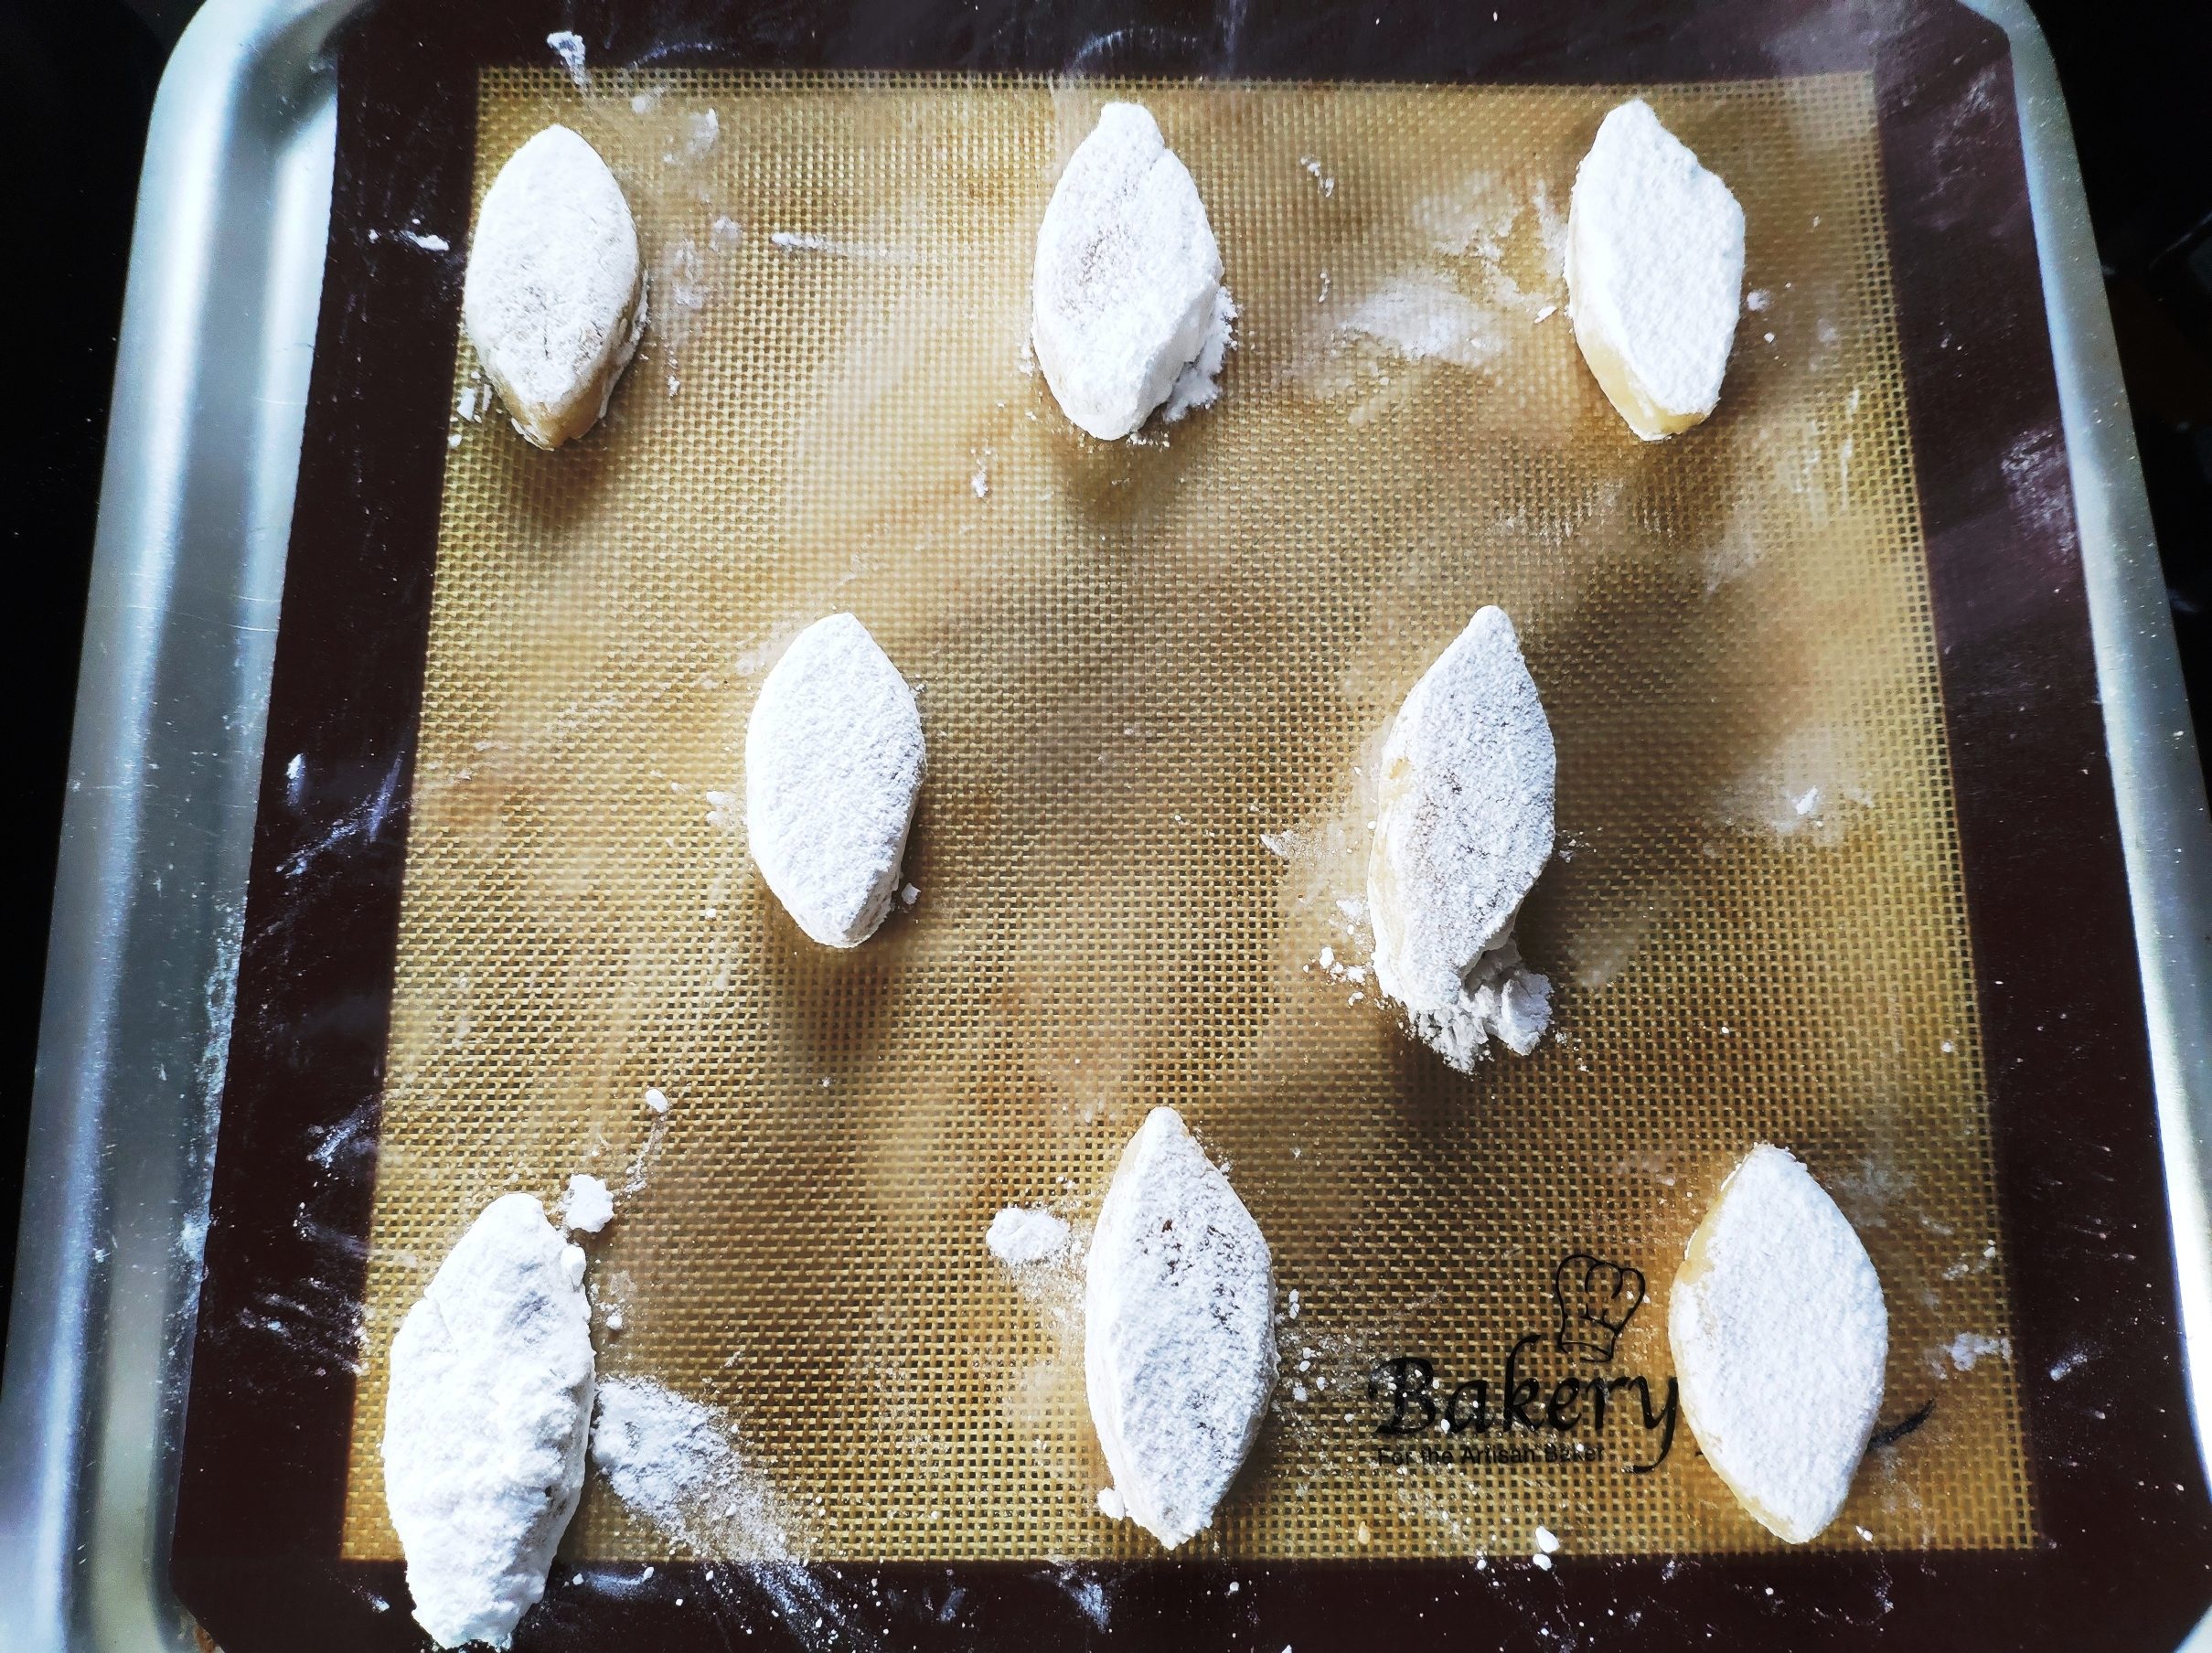
12. Cut the log into two, then cut each of these into six. I used the tape measure again to measure then divide. Each piece will be about 5-6cm.
13. Lay the slices into the roasting dish, in their maple syrup bath.
14. Cover again, then leave for their final prove. As mentioned, I found the dough pretty sluggish at this point, but I don’t have a warm proving drawing or cupboard. At an ambient temperature of around 18C, this final prove took a few hours.

15. Heat oven to 180C.
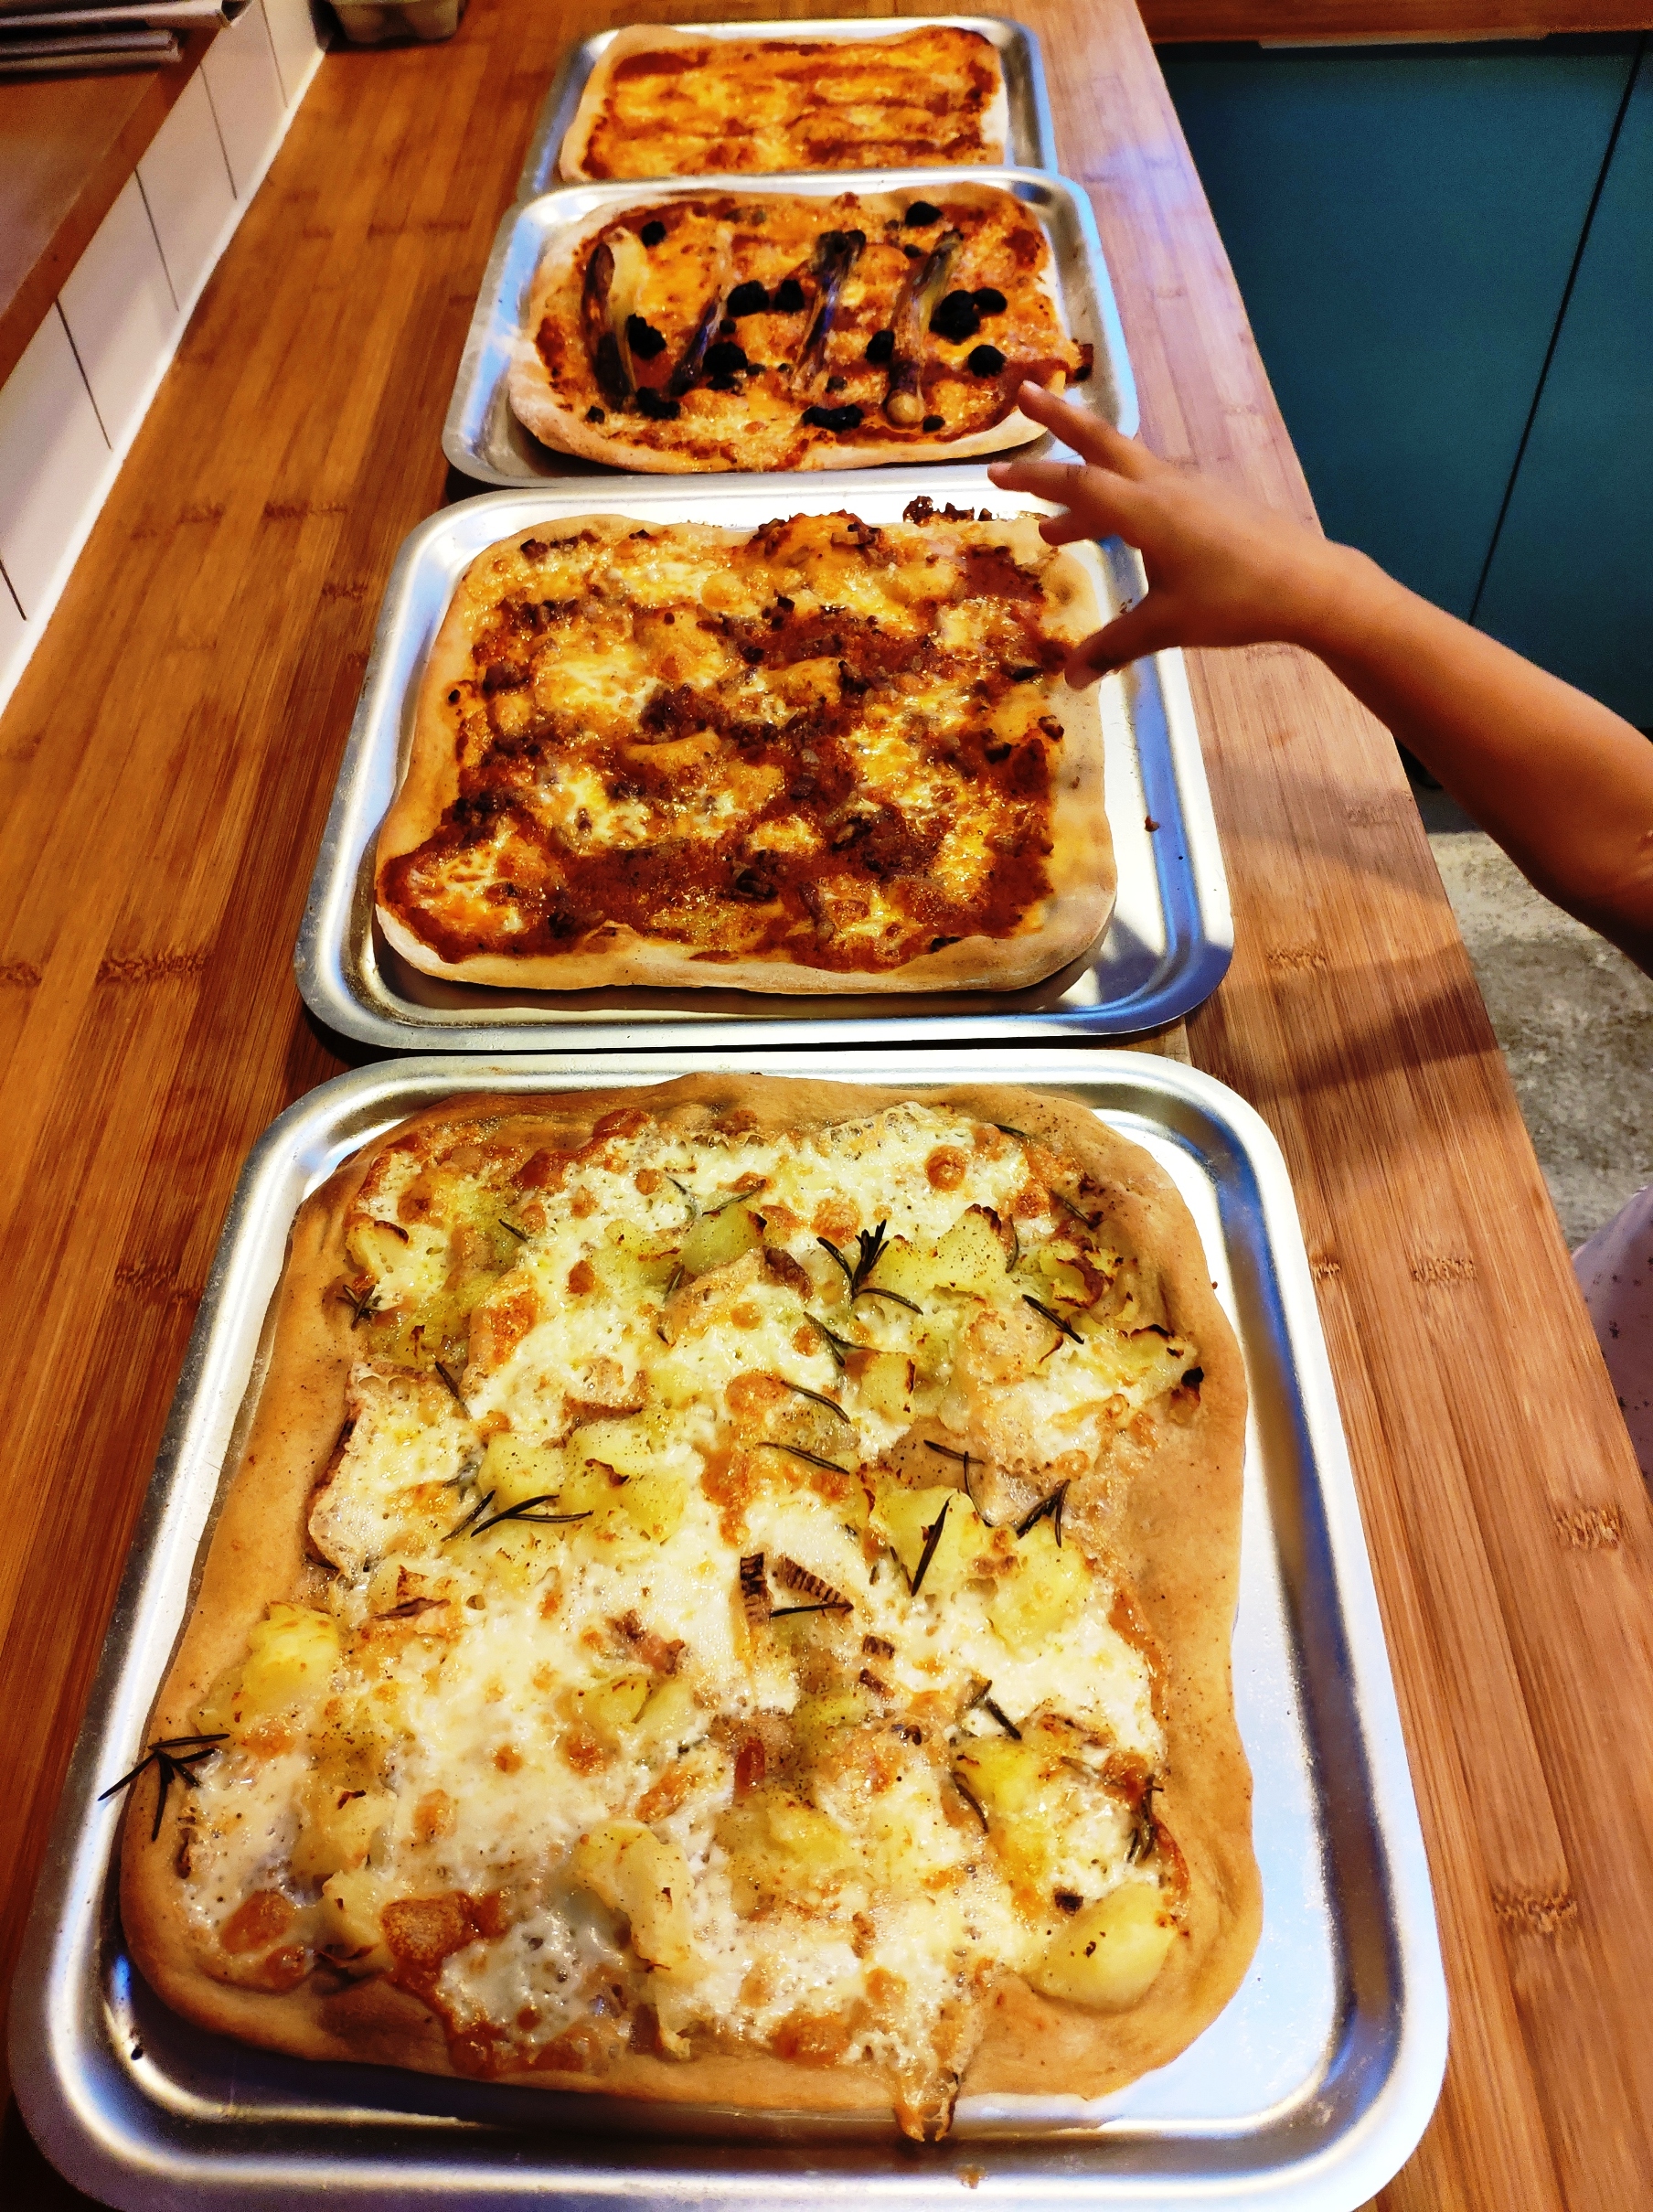
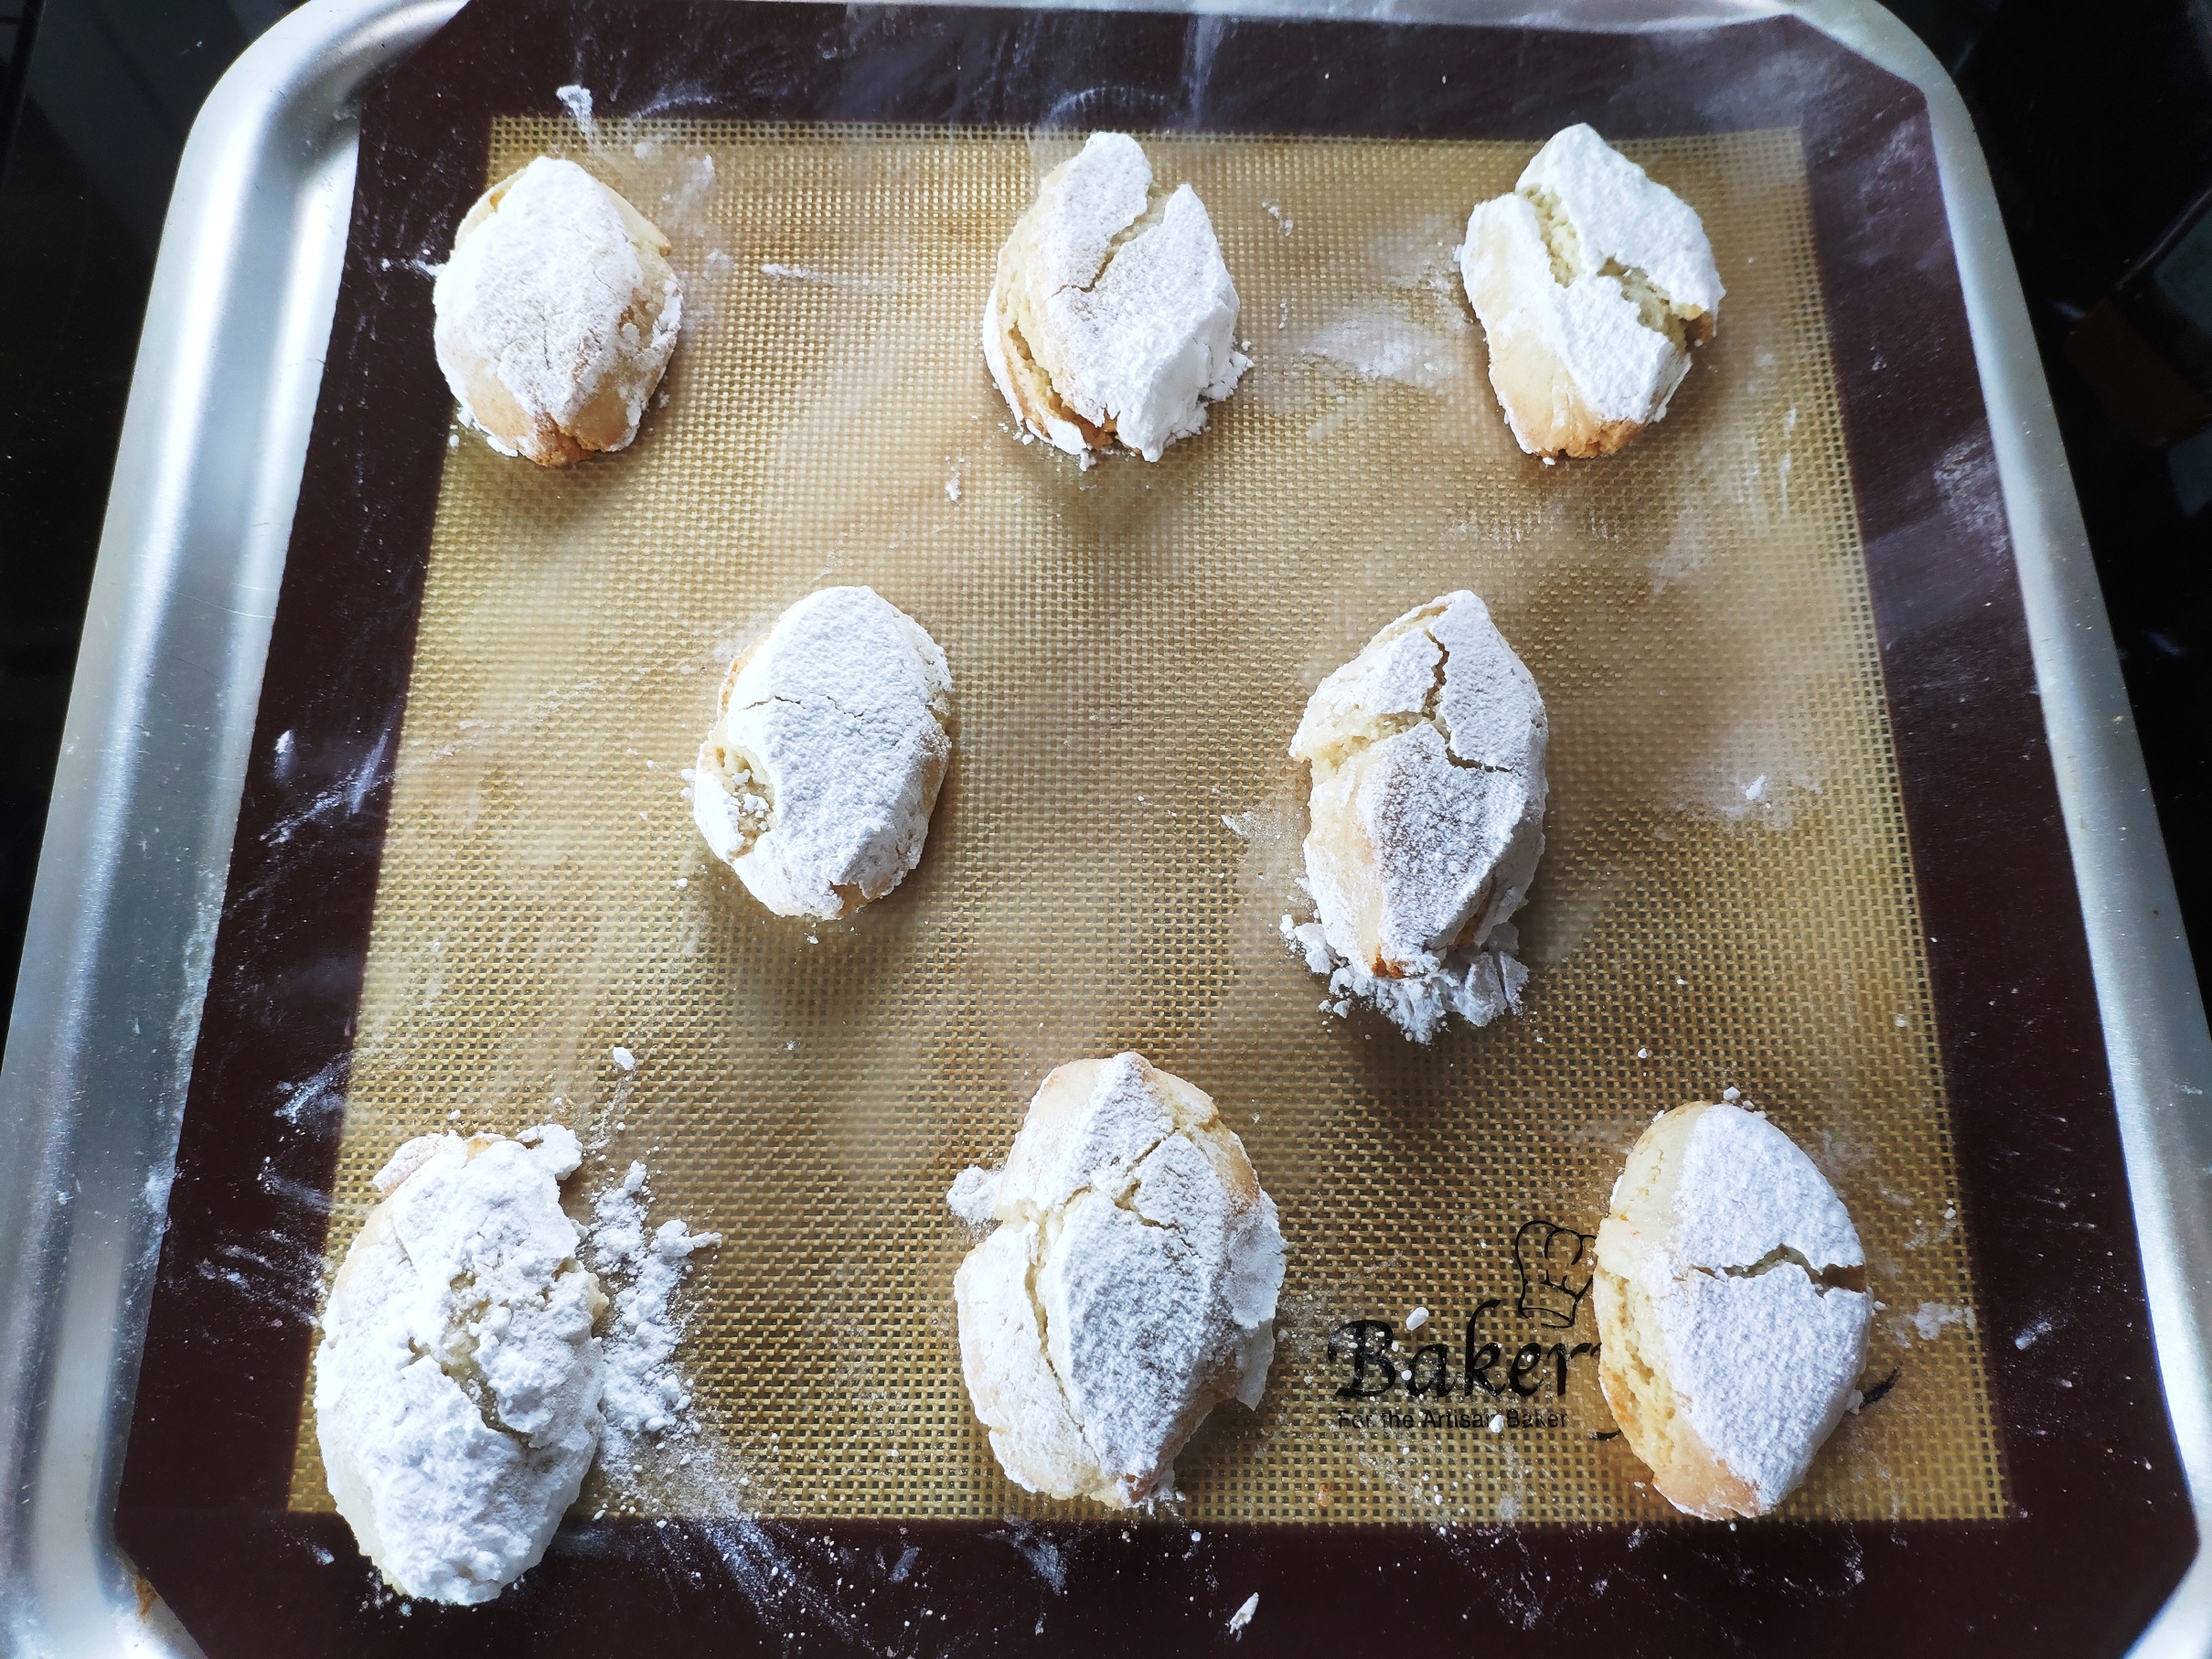
16. When you’re satisfied with the prove, bake the rolls for about 20 minutes, rotating the dish to keep the bake even. Bake for another 10-15 minutes until golden.
17. Remove from the oven then brush or drizzle with more syrup while still warm.
18. Cool in the tin. Eat them fresh, even still a little warm. Seriously. Ridiculous.

* When the yeast feels the oven heat, it has a burst of vigour, releasing CO2 and making the dough expand. This is called oven spring. Then it gets too hot and is killed. Sorry yeast.