Category Archives: Breads

Vital wheat gluten and sticky cinnamon rolls

Of the many food fads that have come and gone in my lifetime, one that particularly bemused me is when people took against gluten. Obviously I’m a baker and love bread, so I love gluten and what is does for us. What riled me was the sense that many people didn’t even know what gluten was. What is gluten? It’s protein. Or more specifically, two proteins: gliadins and glutenins. How bad is wheat protein?

If you have coeliac disease*, your body cannot handle gluten, so obviously it needs to be avoided, but for most of the rest of the population, it represents the protein component of bread, the staff of life. Derived (usually) from wheat grain it’s what gives bread its structure, while the main part of the grain, the starch, the carbohydrates, provide the bulk, the energy.

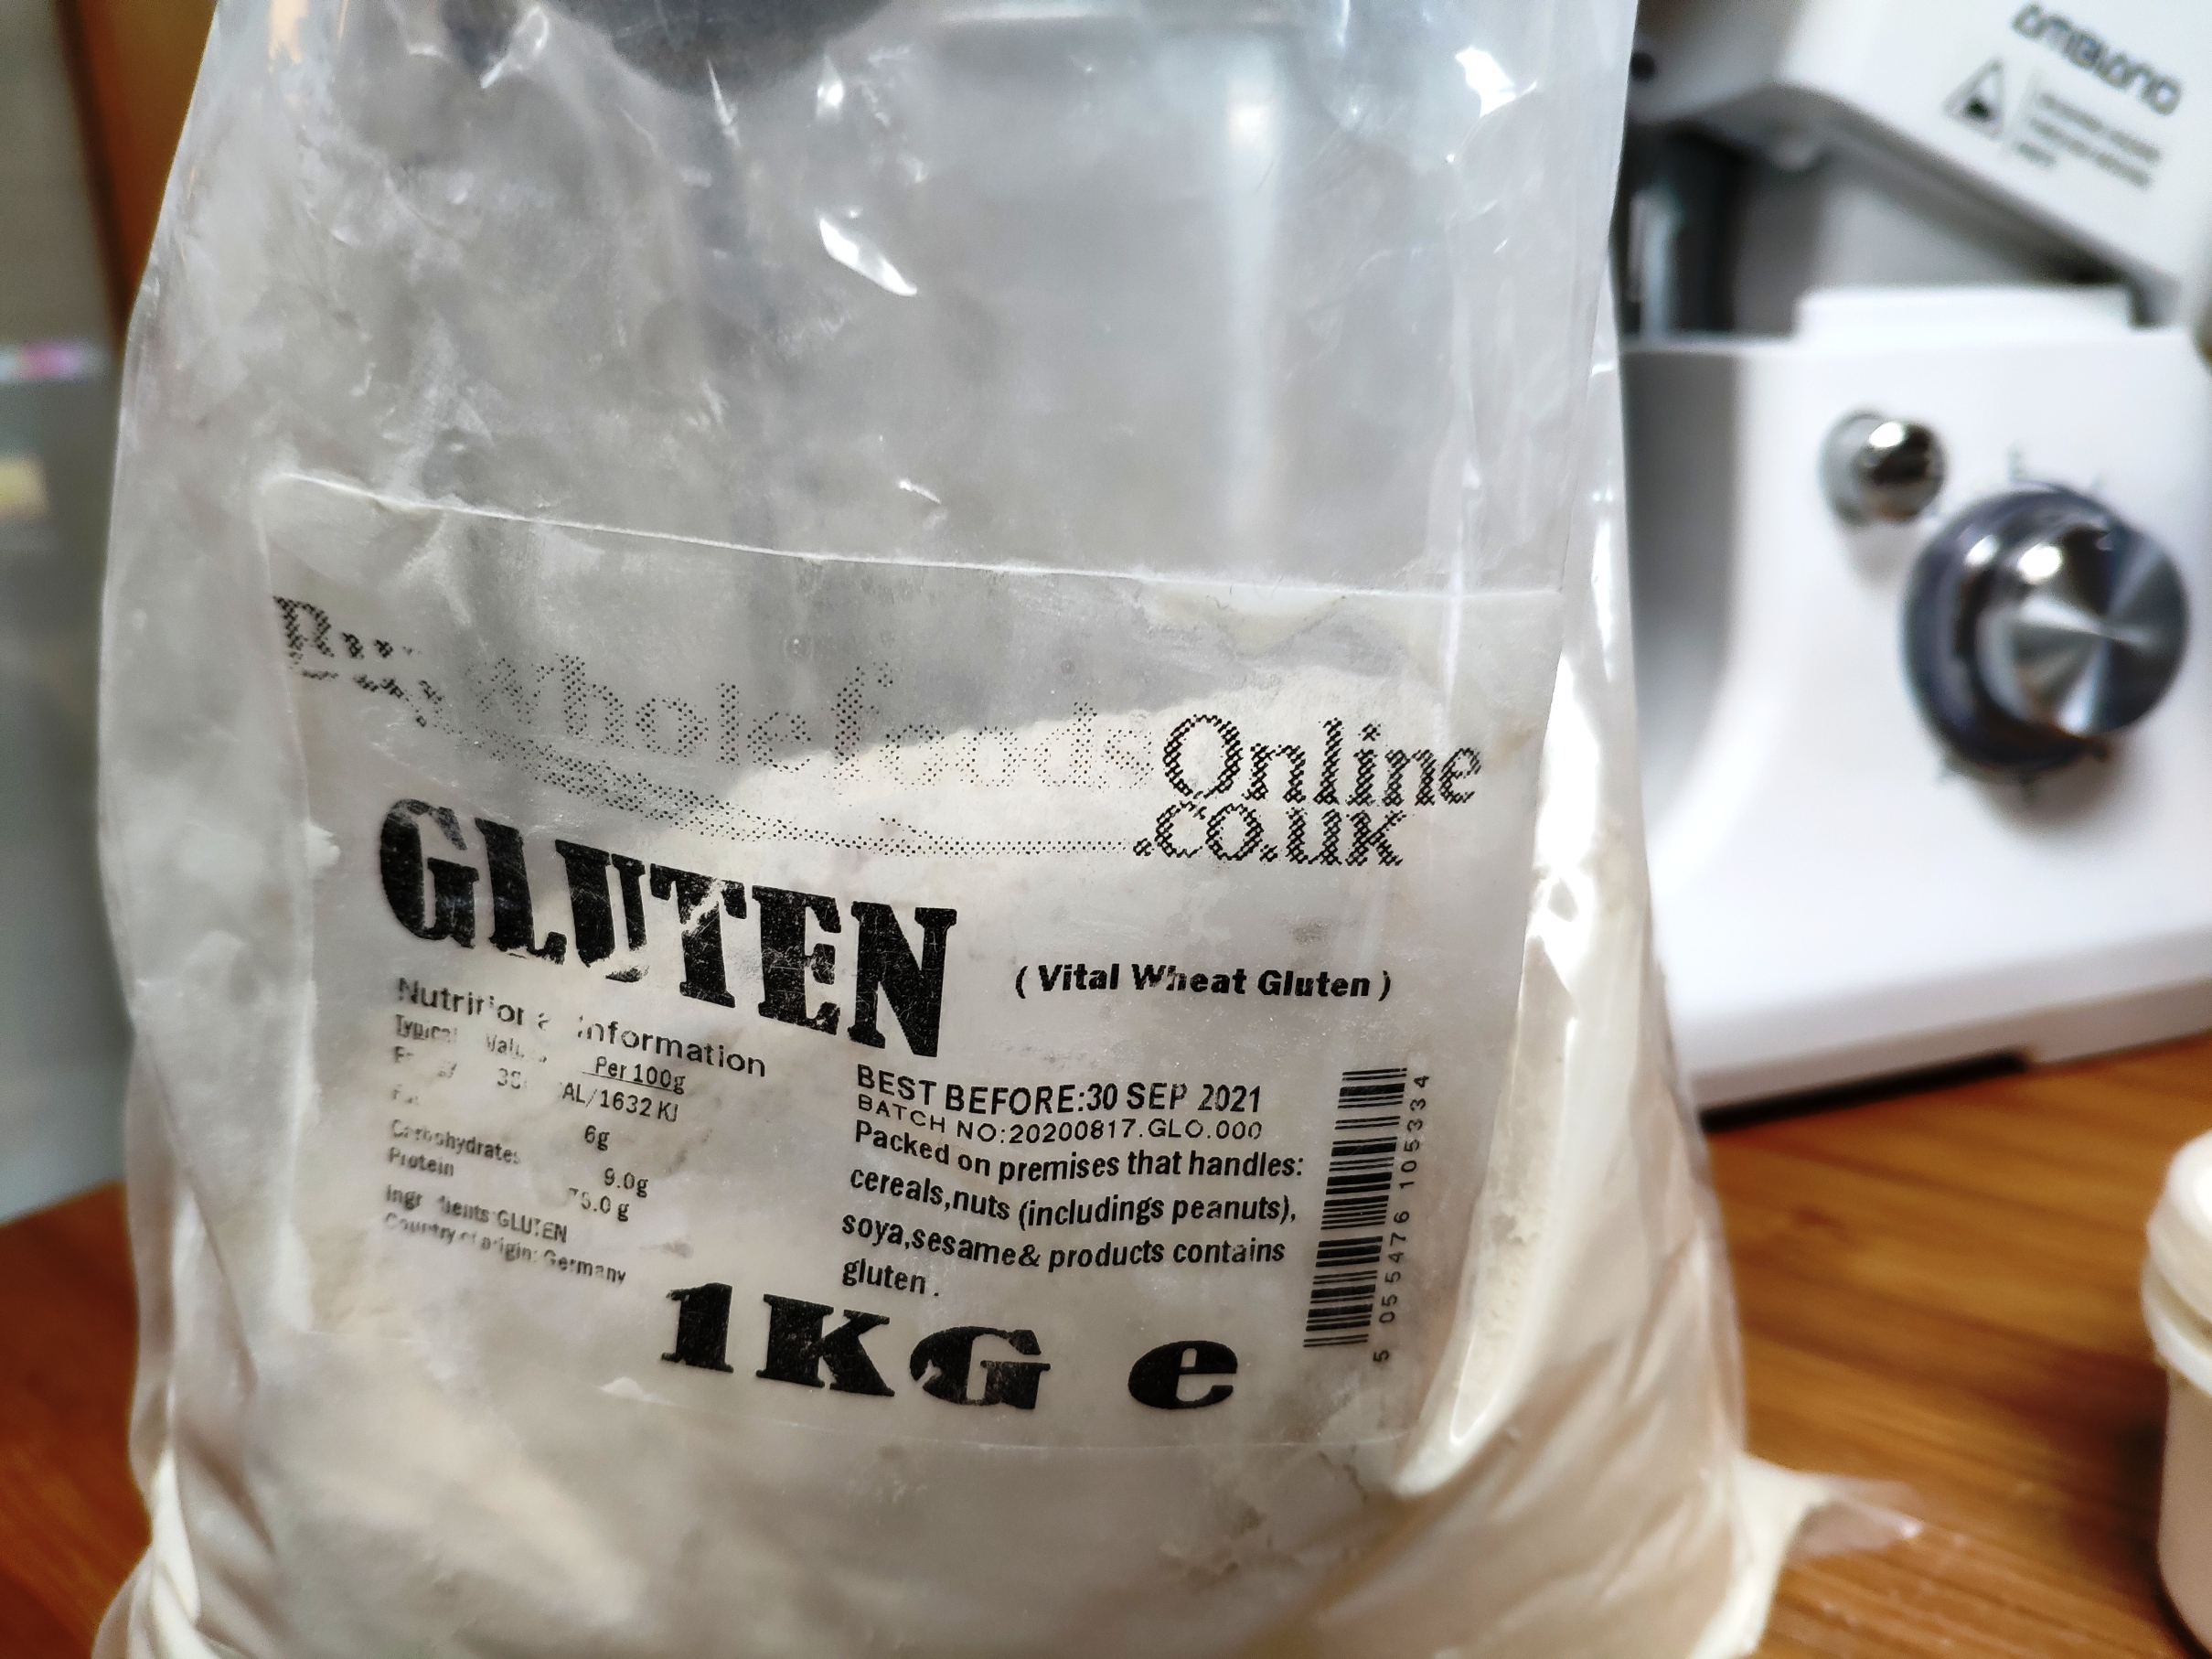
When I first encountered seitan in health food shops in Rome, it was around the time the anti-gluten fad was at its height. Seitan is another high-protein meat-alternative alongside the soy bean-based tofu and tempeh, but is made from wheat – specifically wheat that has been processed to remove the starch, leaving mostly the gluten. In its dried, powdered form, this is called vital wheat gluten.

Although I’ve eaten a fair amount of seitan, somehow I’ve managed to miss baking with vital wheat gluten. With another lockdown in England now, and the schools closed again, we need treats to get us through, especially as this lockdown comes at the hardest time of year – the dank, grey months after Christmas. So I wanted to make some cinnamon rolls.

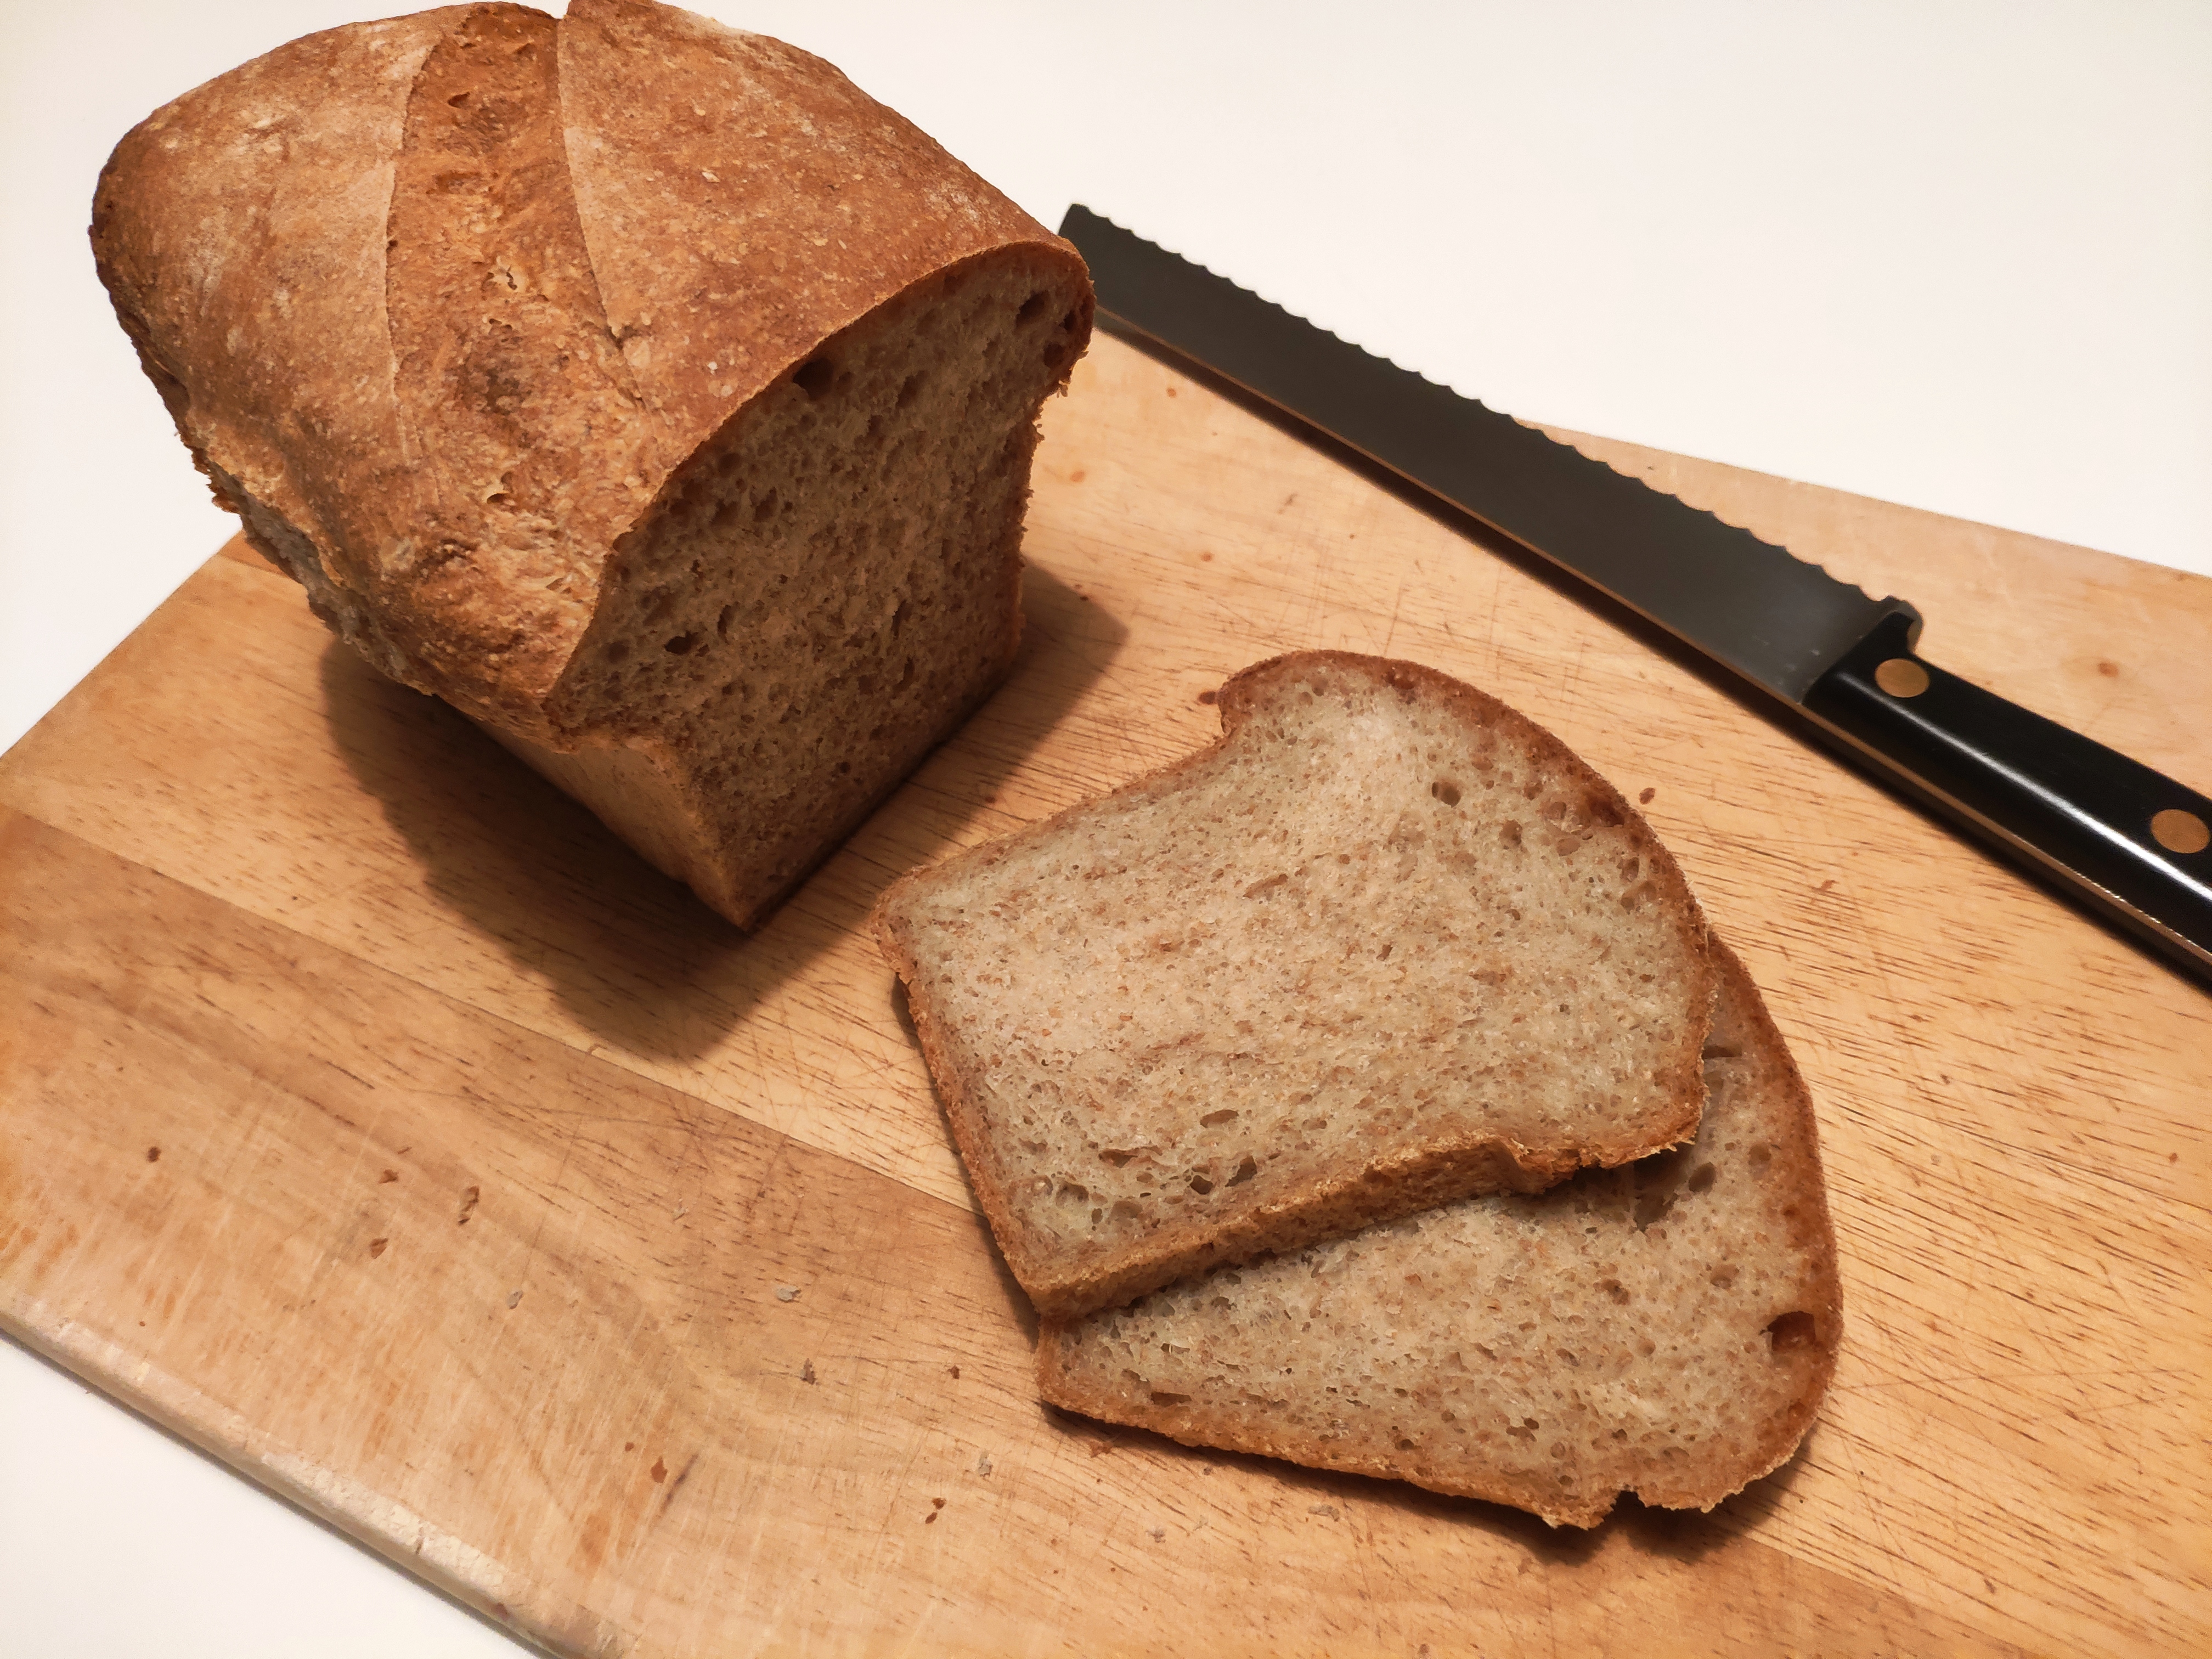
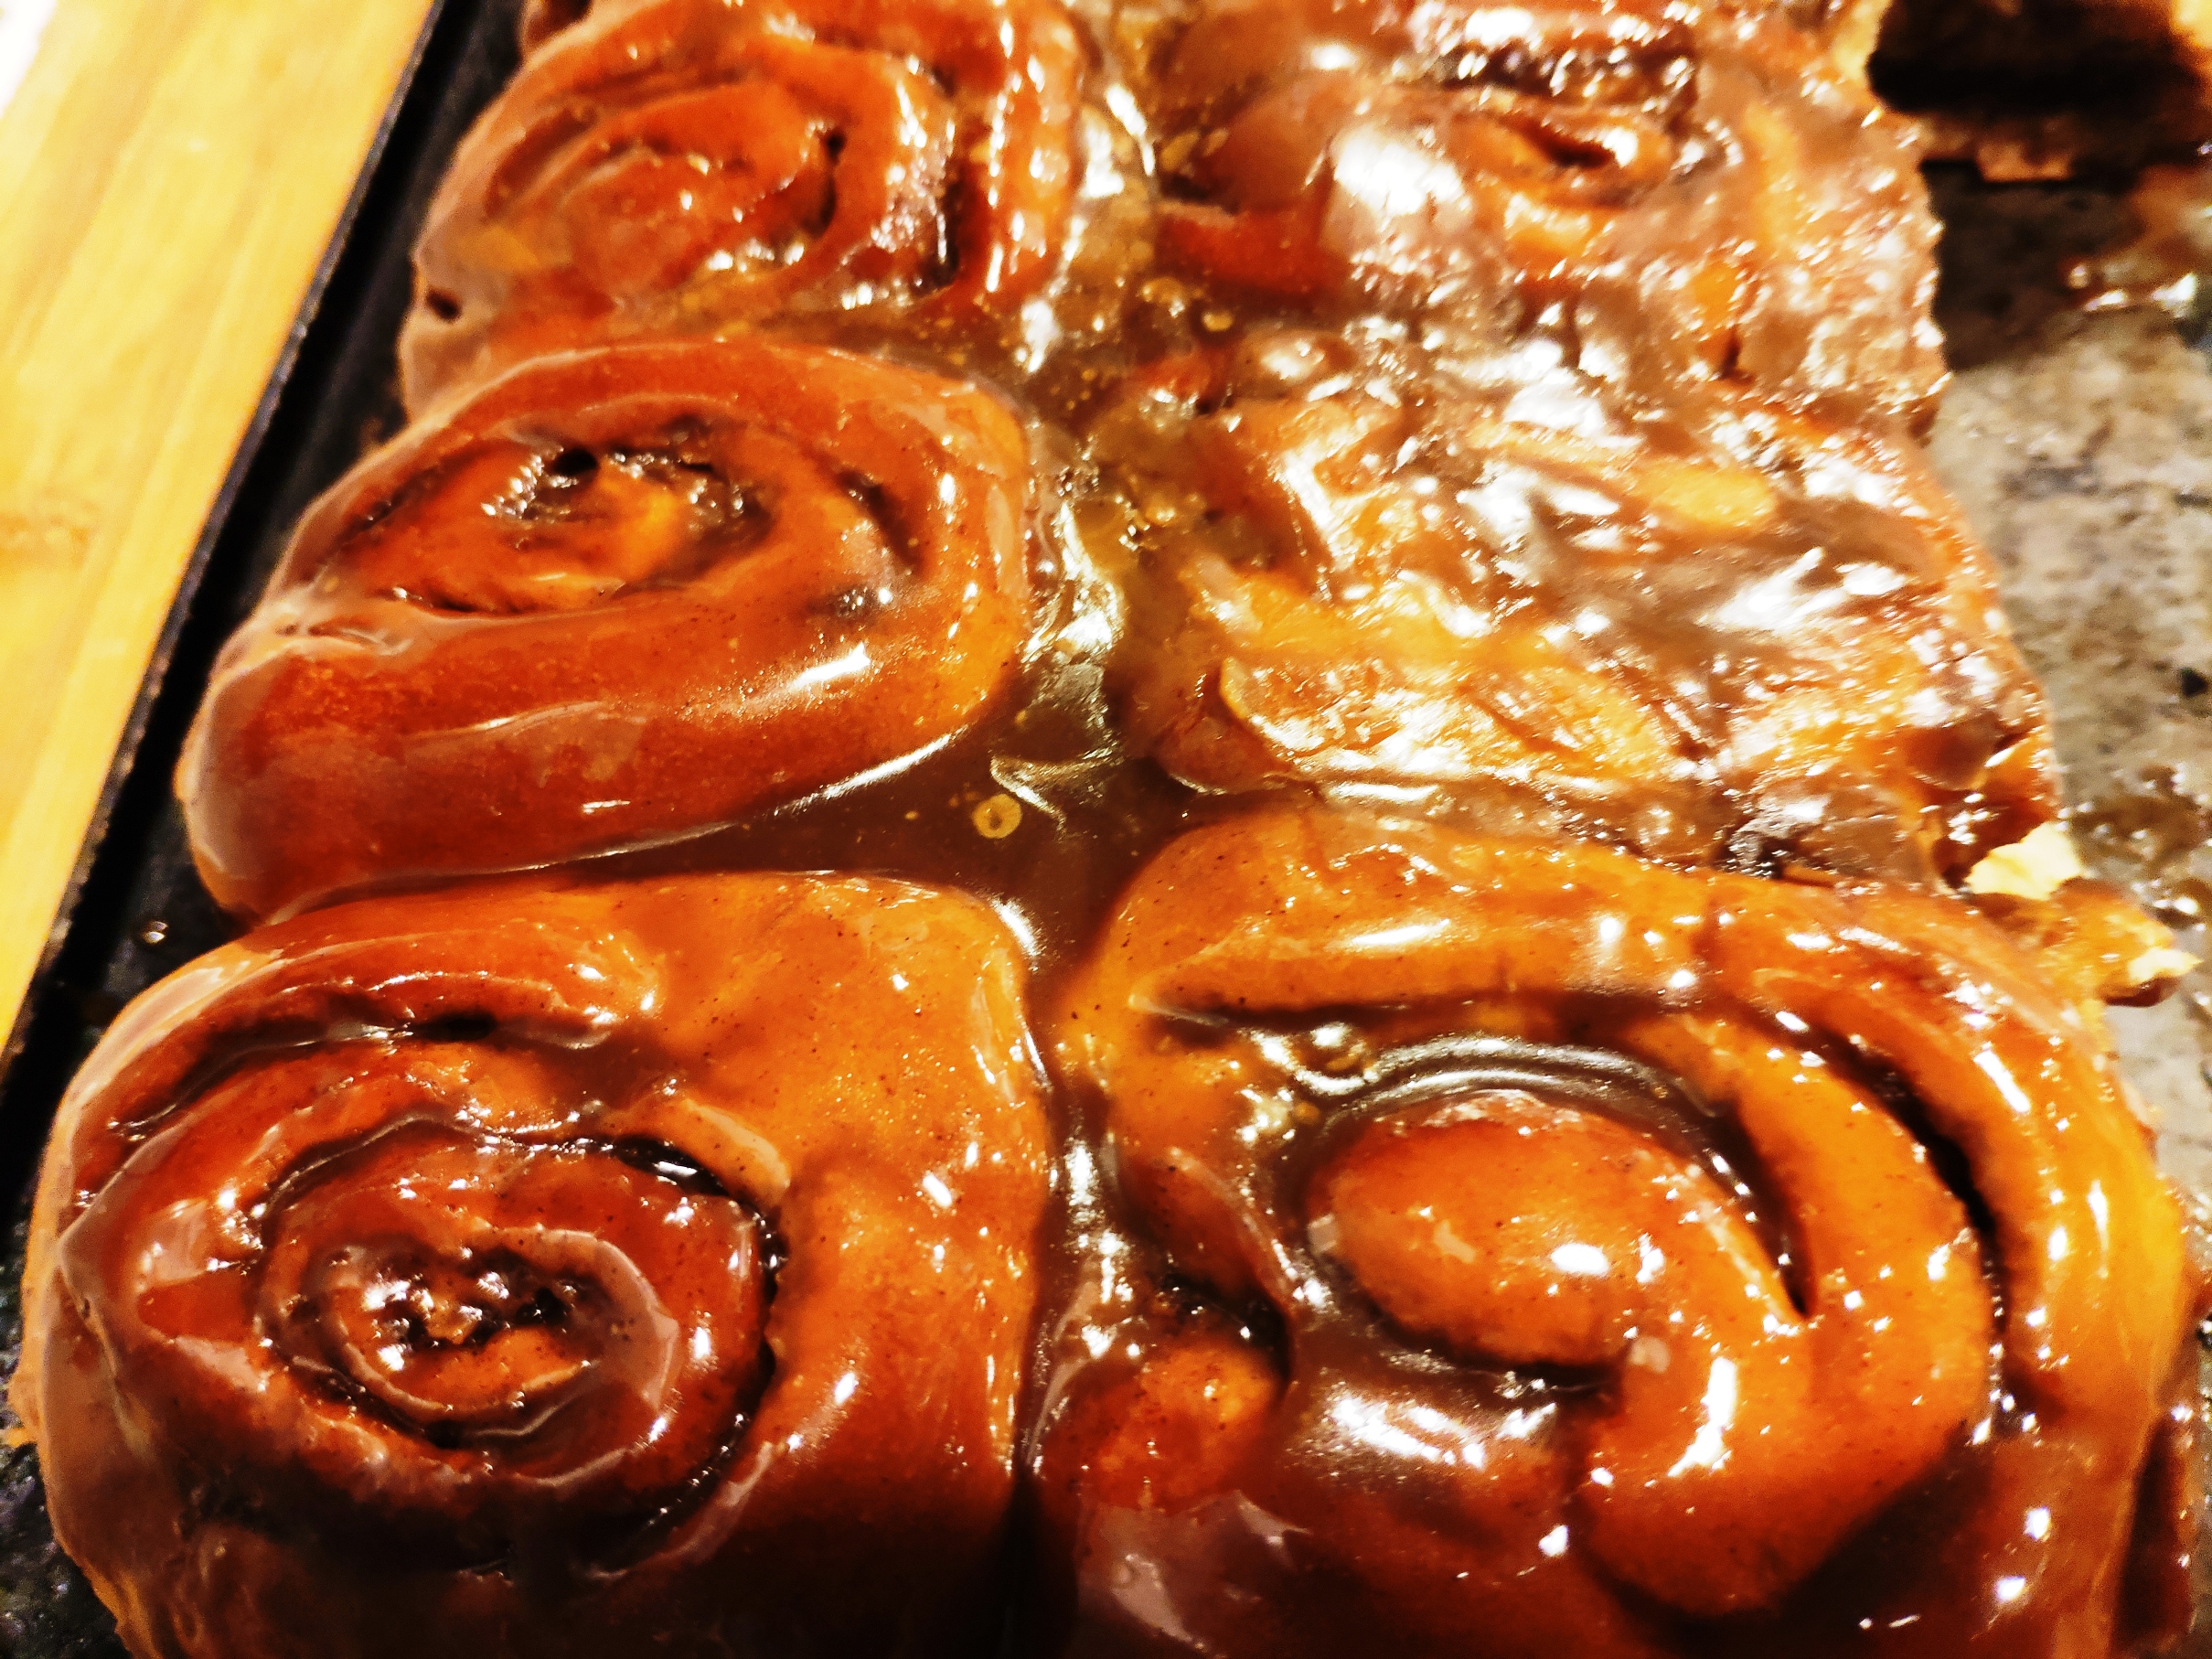
The recipe is from the 1993 baking classic The Bread Book by Linda Collister and Anthony Blake. They got it from a Kansas champion baker called Viola Unruh and it includes an optional tablespoon and a half of vital wheat gluten. Intrigued, I bought some online, something that wasn’t really an option back in 1993. I’m glad I did. I work with a lot of different doughs, and working this it didn’t feel particularly different to other relatively low hydration, enriched doughs. But the resulting buns had a chewy, moist crumb, not at all crumbly, indeed like the sort of crumb achieved by professional bakers in commercial products.

I plan to experiment with vital wheat gluten more: I’ve just used some in my standard, feed-the-family bread and it seems moister, and I plan to add a tablespoon next time I do brioche. In the meantime, here’s the sticky cinnamon rolls recipe. I’ve revised it slightly, ie standardising all weights in grams and adapting the method slightly. What I haven’t changed is the addition of a cream/muscovado sugar mixture to the tin when you’ve nearly finished baking to add a totally over-the-top sticky sauce to the finished bun. Oh boy. A long way from healthy.

Makes 15 buns

7g active dried yeast or 15g fresh yeast**
115g water, warm
5g caster sugar
4g fine sea salt
50g unsalted butter, diced
50g caster sugar
280g water, hot (around 65C)
680g strong white bread flour
15g vital wheat gluten
1 egg, beaten, around 45g

Filling
85g unsalted butter, softened
85g muscovado sugar – light or dark. I used a mix
12g cinnamon, or to taste

Caramel topping
200g muscovado sugar. I used light muscovado
115g double cream

1. Grease a roasting tin, around 30 x 22cm, and line with parchment. You’ll also need a lightly greased baking sheet, preferably one without a lip.
2. Activate the yeast by adding to the 115g water with the 5g of caster sugar. Leave to froth up.
3. Put the 50g of diced butter, 50g of caster sugar and 4g salt in a mixing bowl, or the bowl of a mixer if you’re using one. Pour over the 280g of hot water and stir, until the butter has melted.
4. Add 230g of the flour to the mixing bowl along with the vital wheat gluten and beat to combine.
5. Add the yeast mix and beaten egg and beat to combine.
6. Cover and rest for 10 minutes.
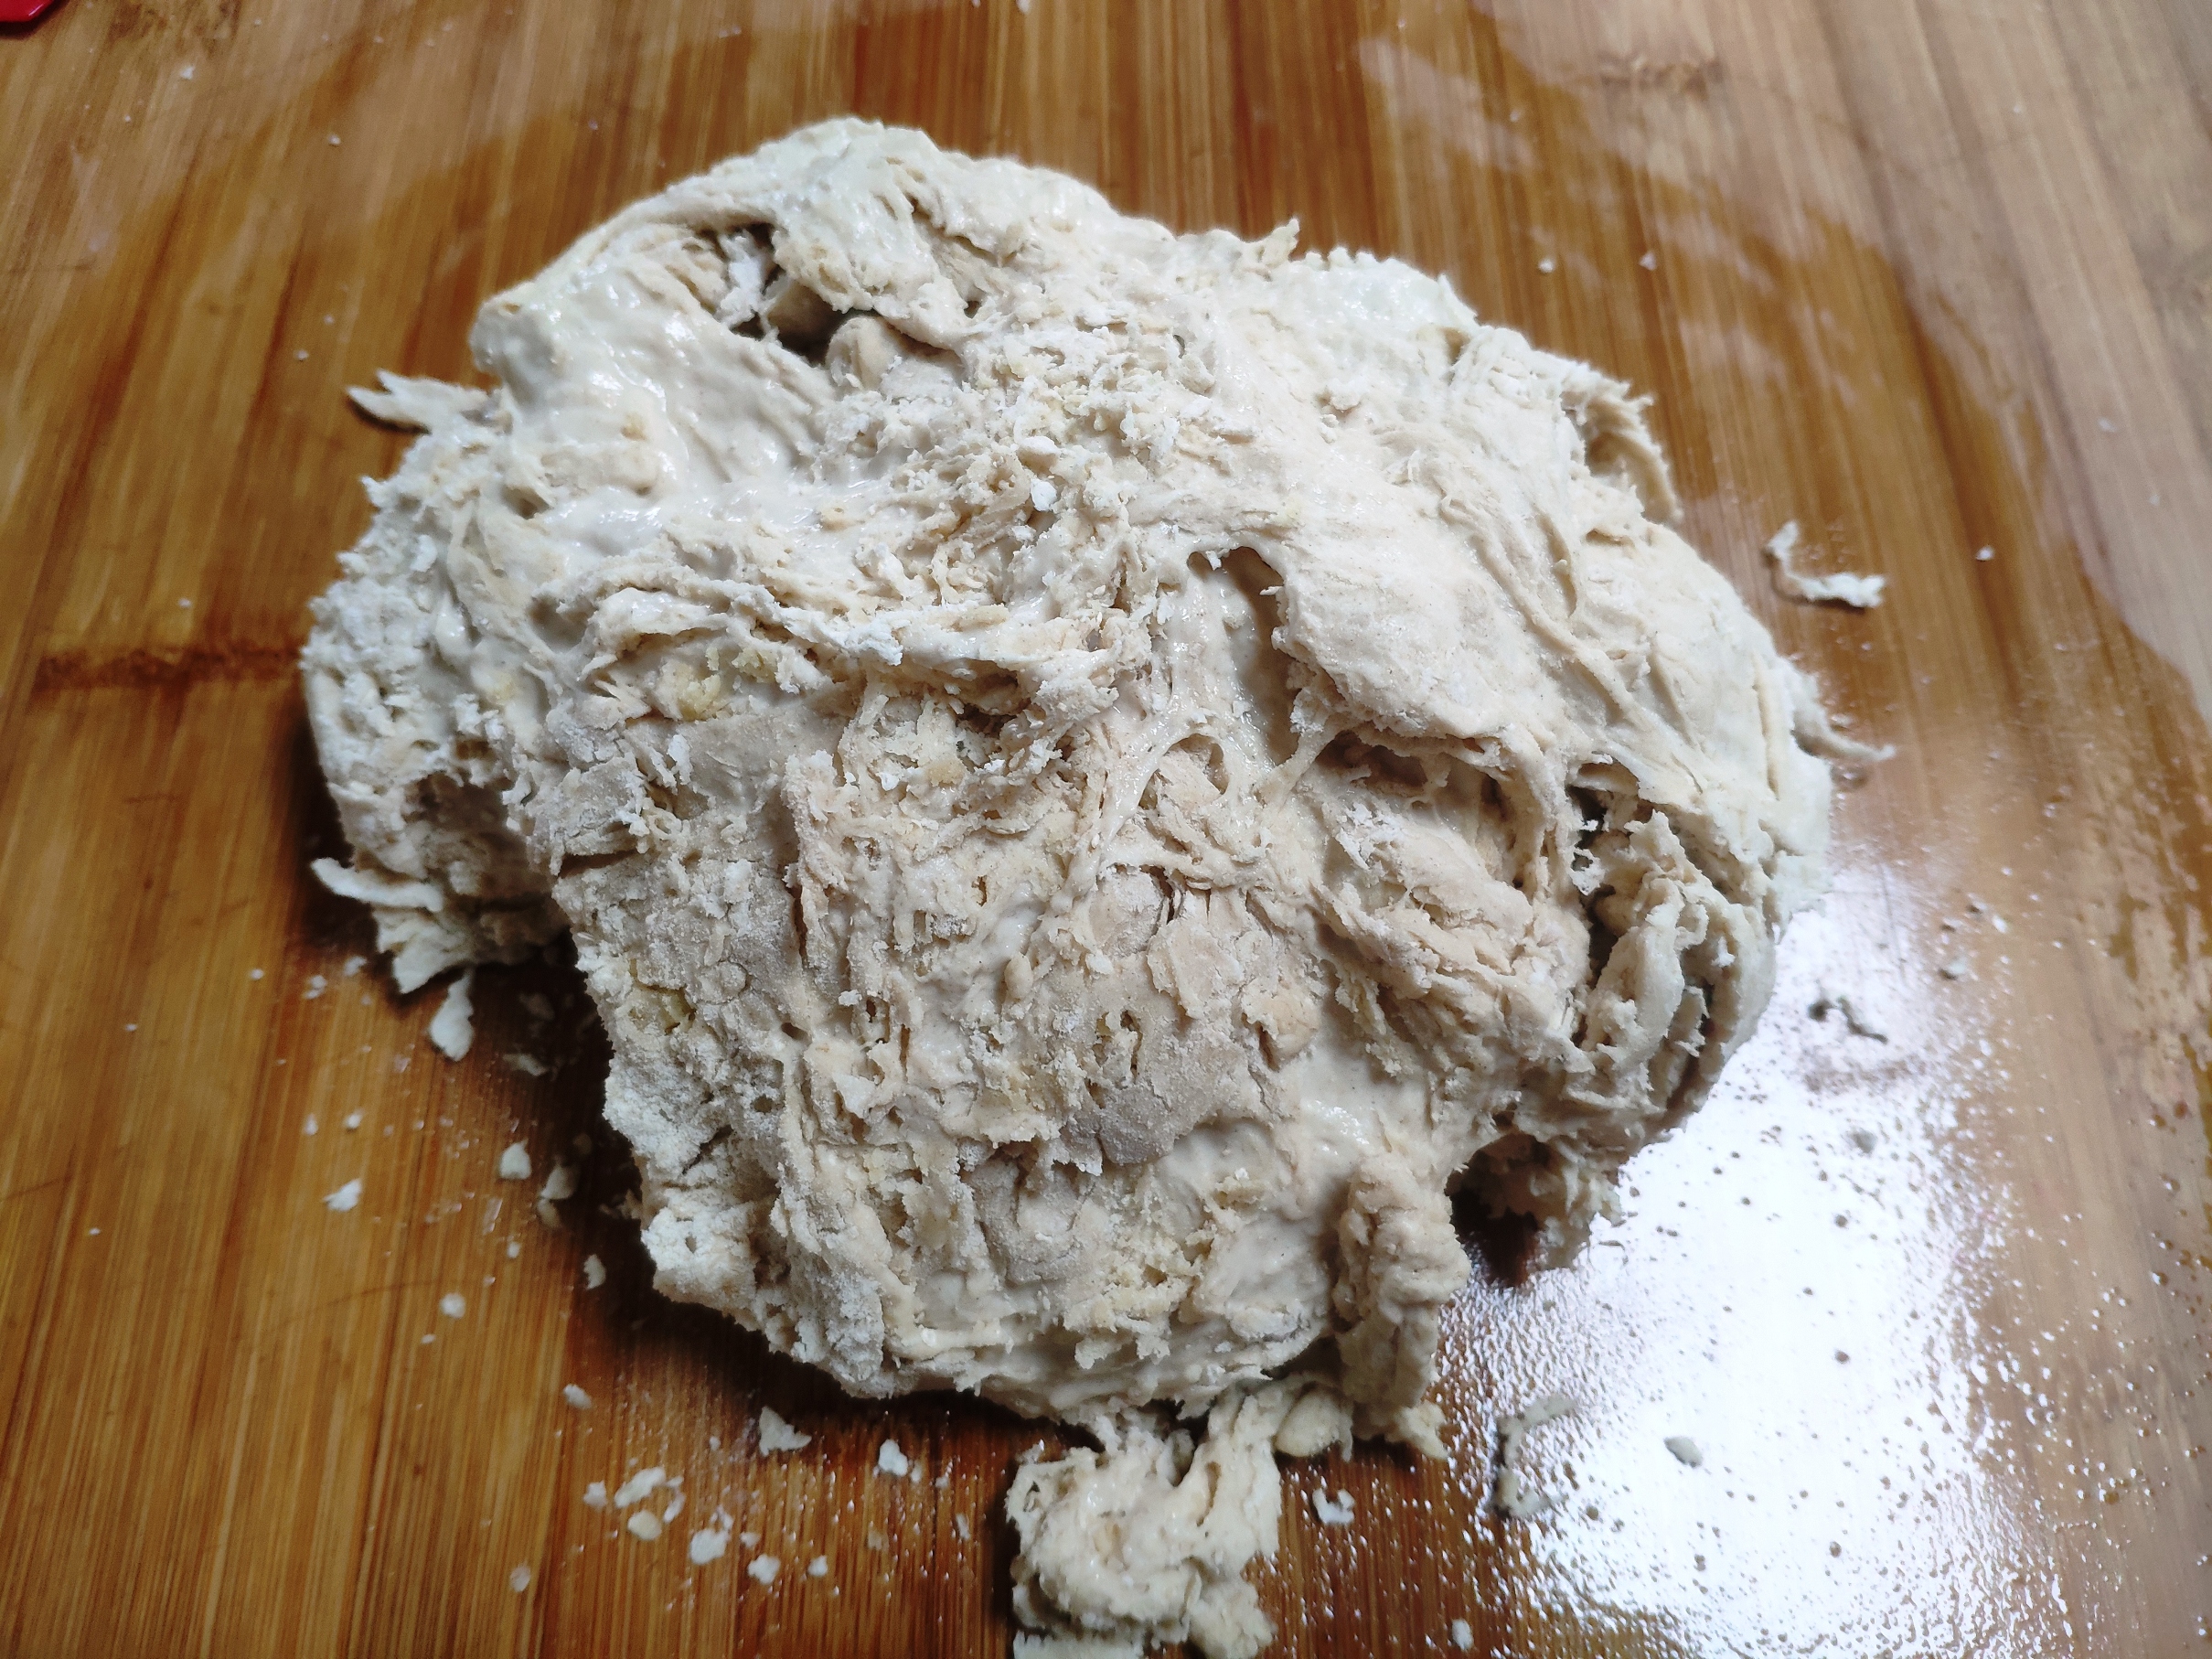
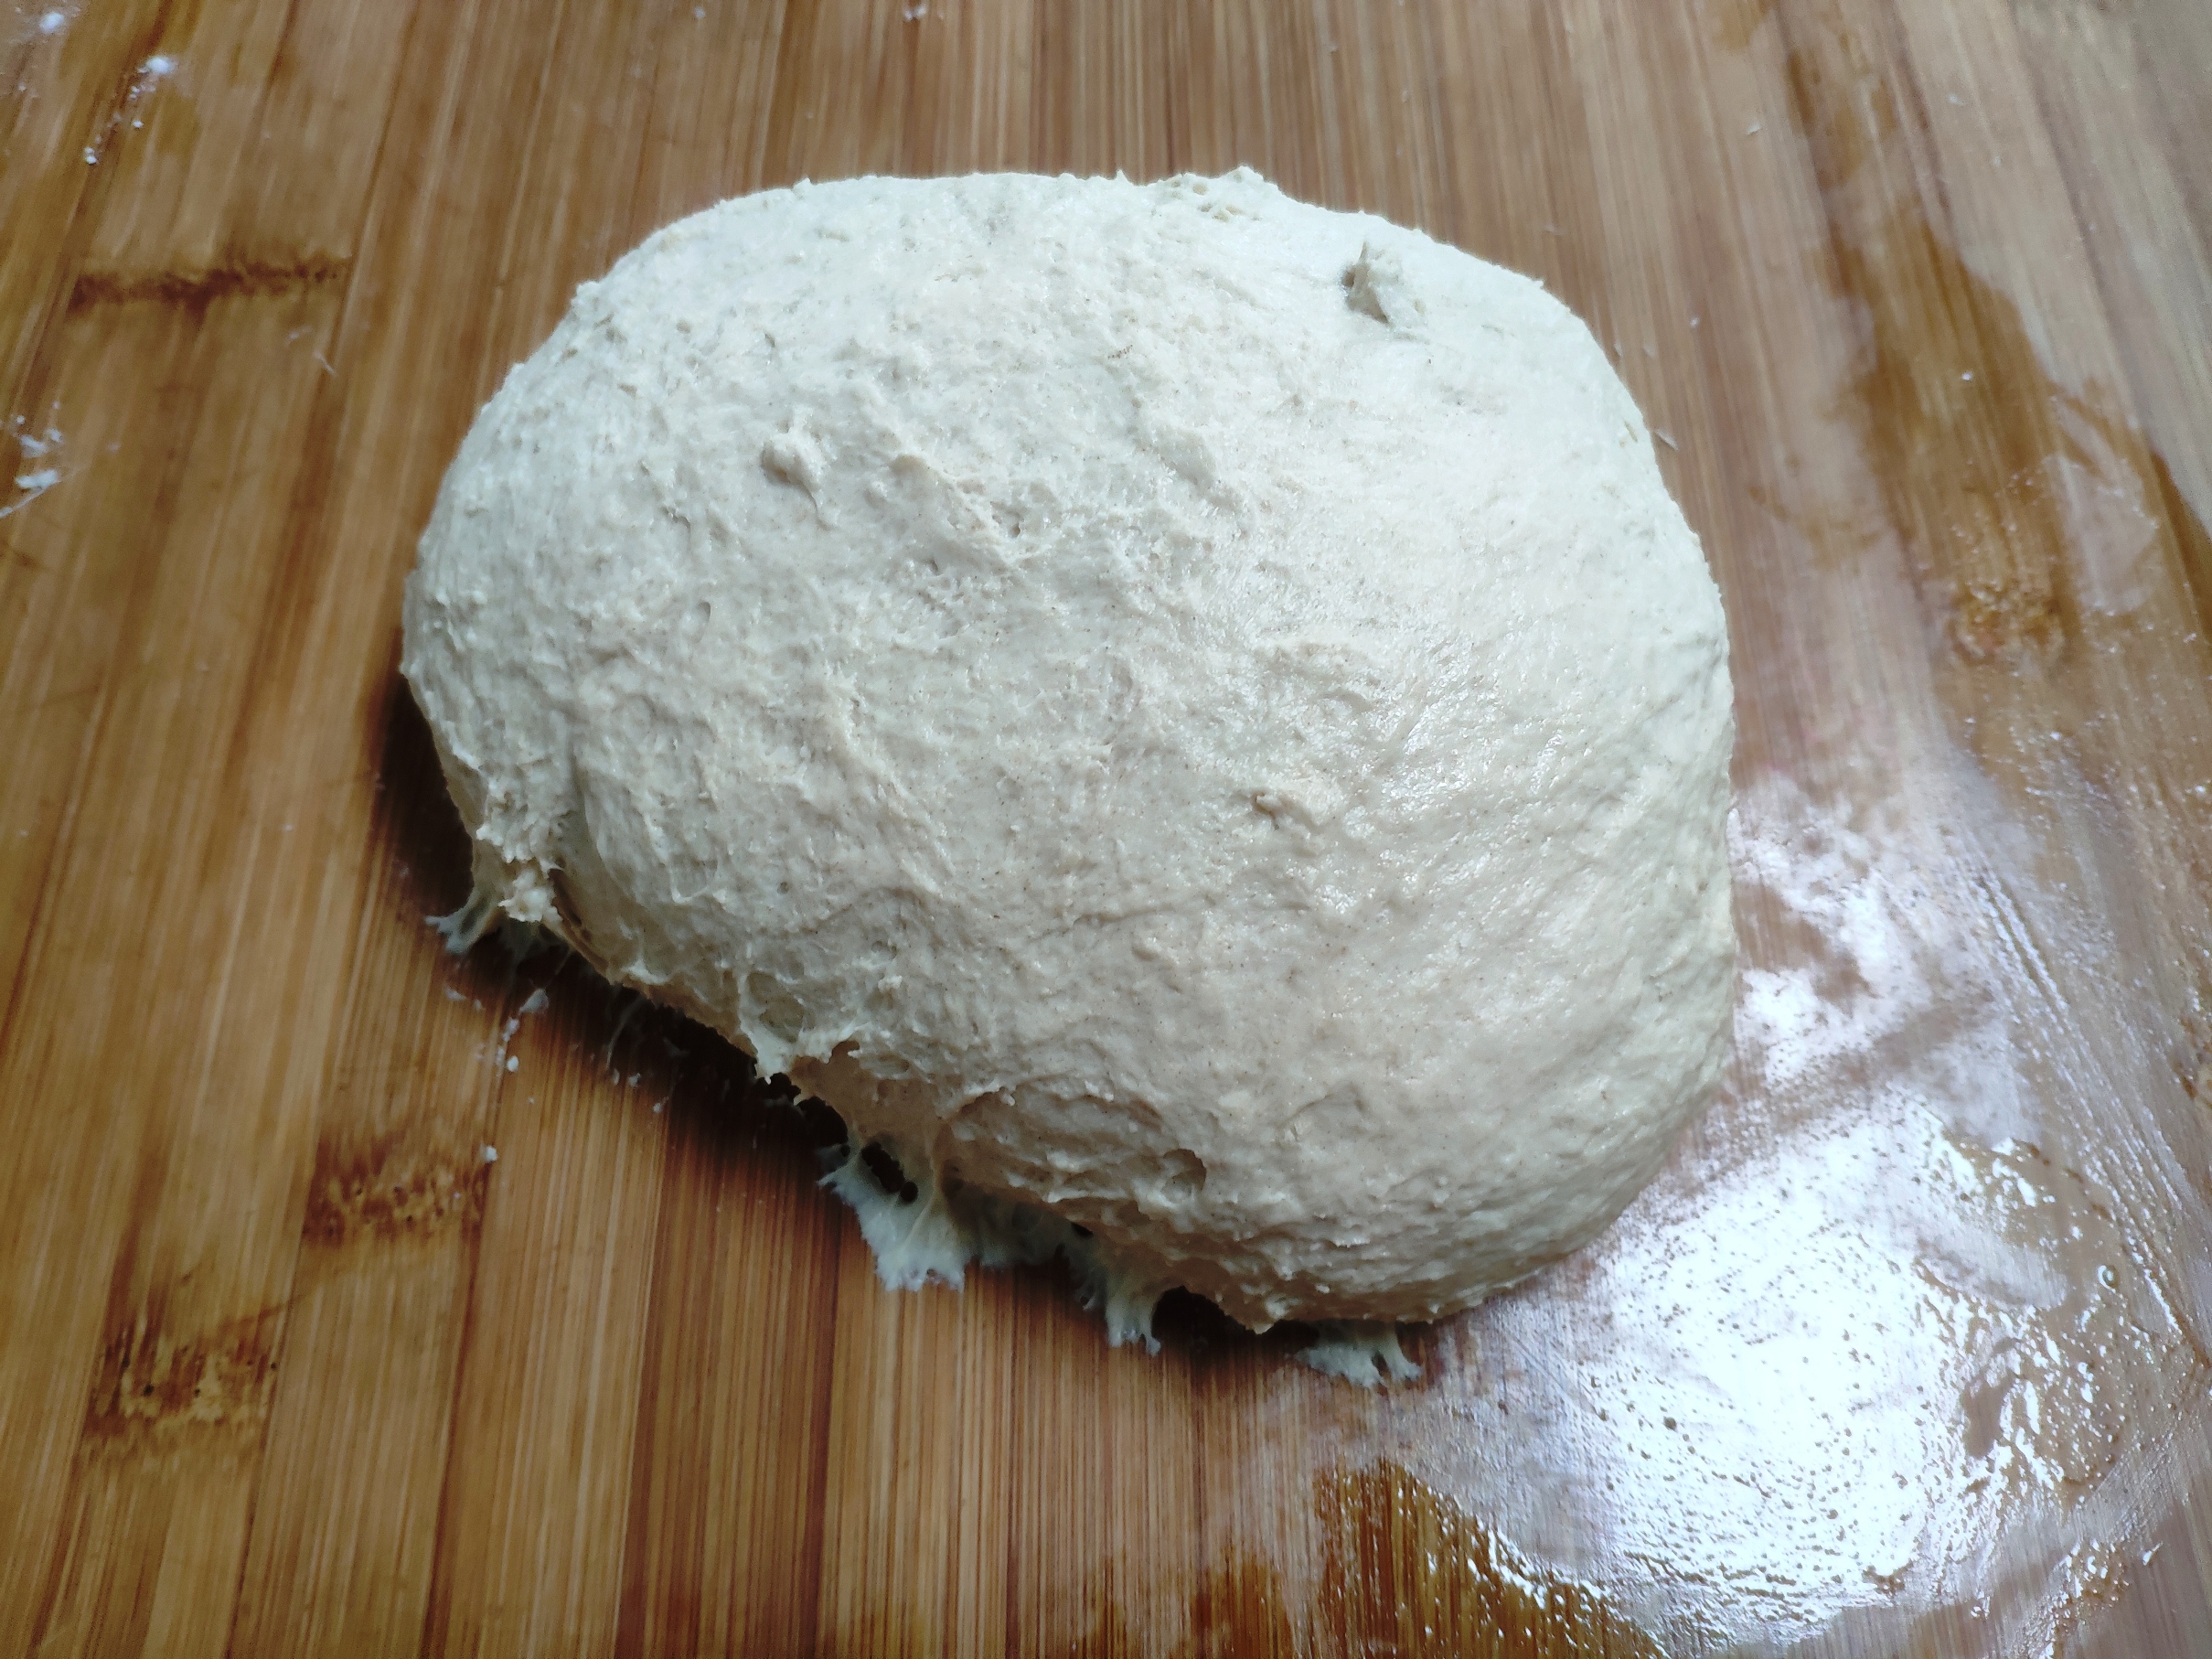
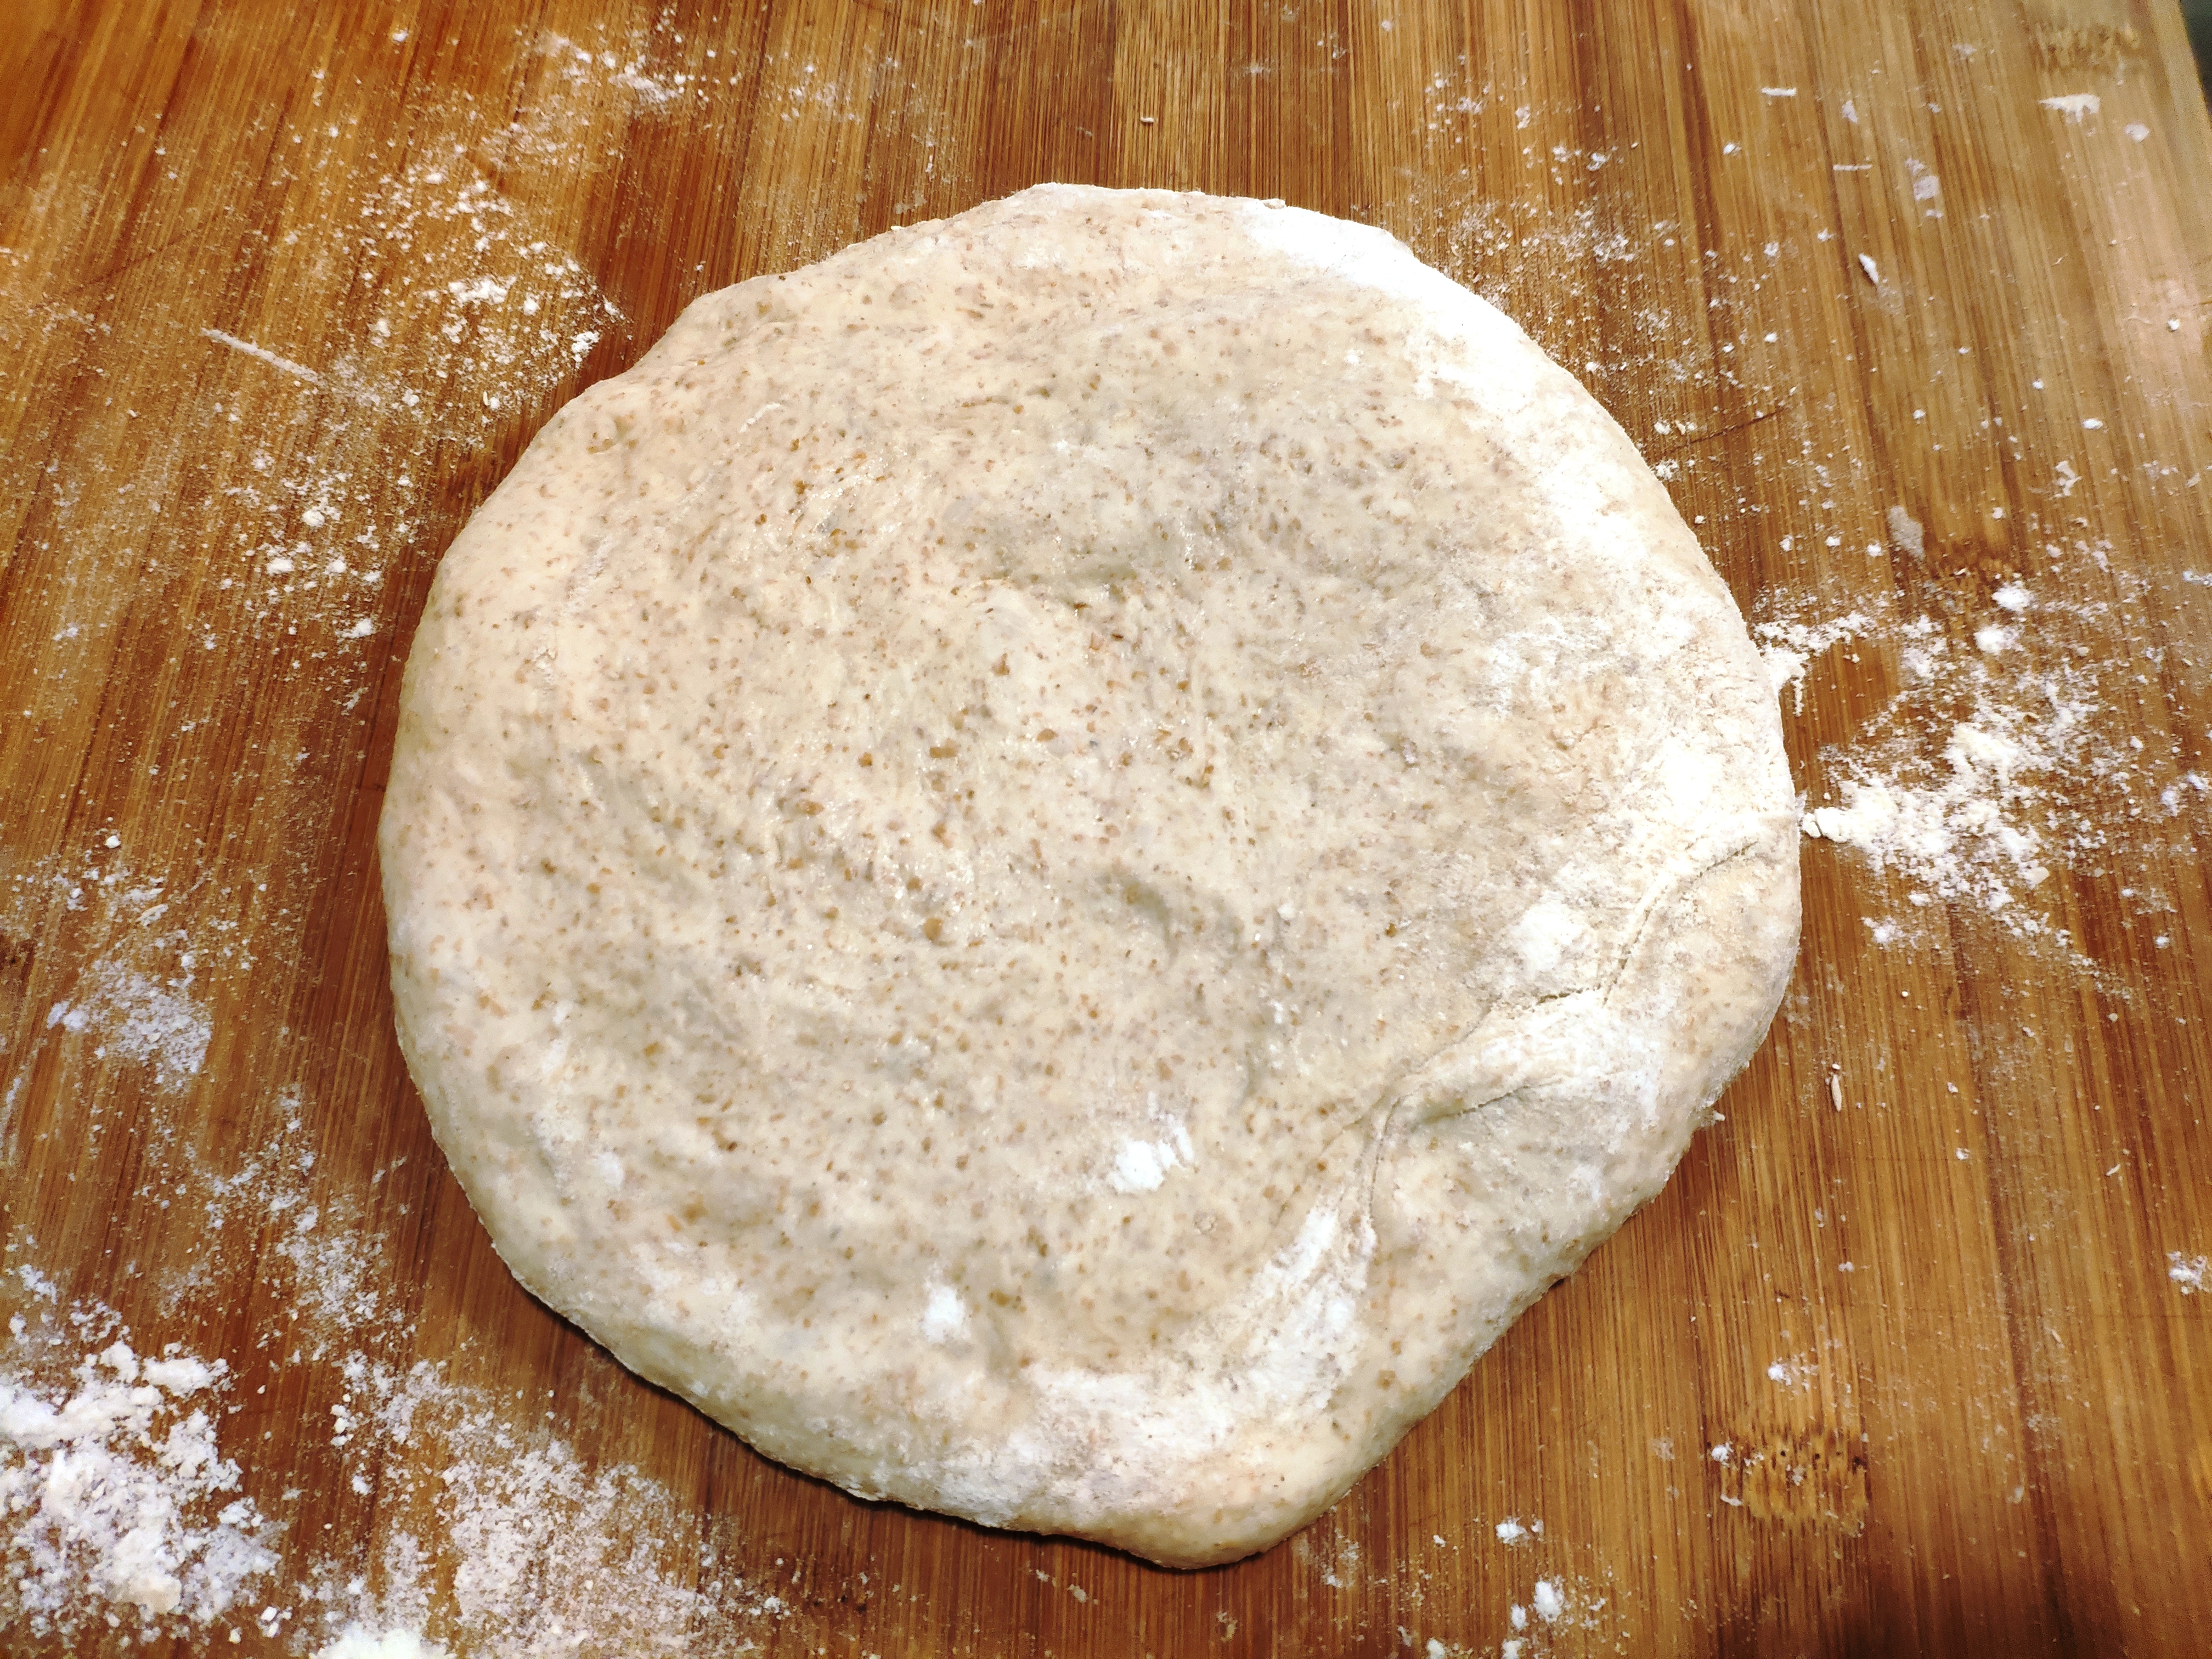
7. Add the remaining 550g of flour and bring to a dough, either in a mixer or by hand. As it’s fairly low hydration, you’ll achieve a fairly manageable soft, smooth dough that’s not particularly sticky.
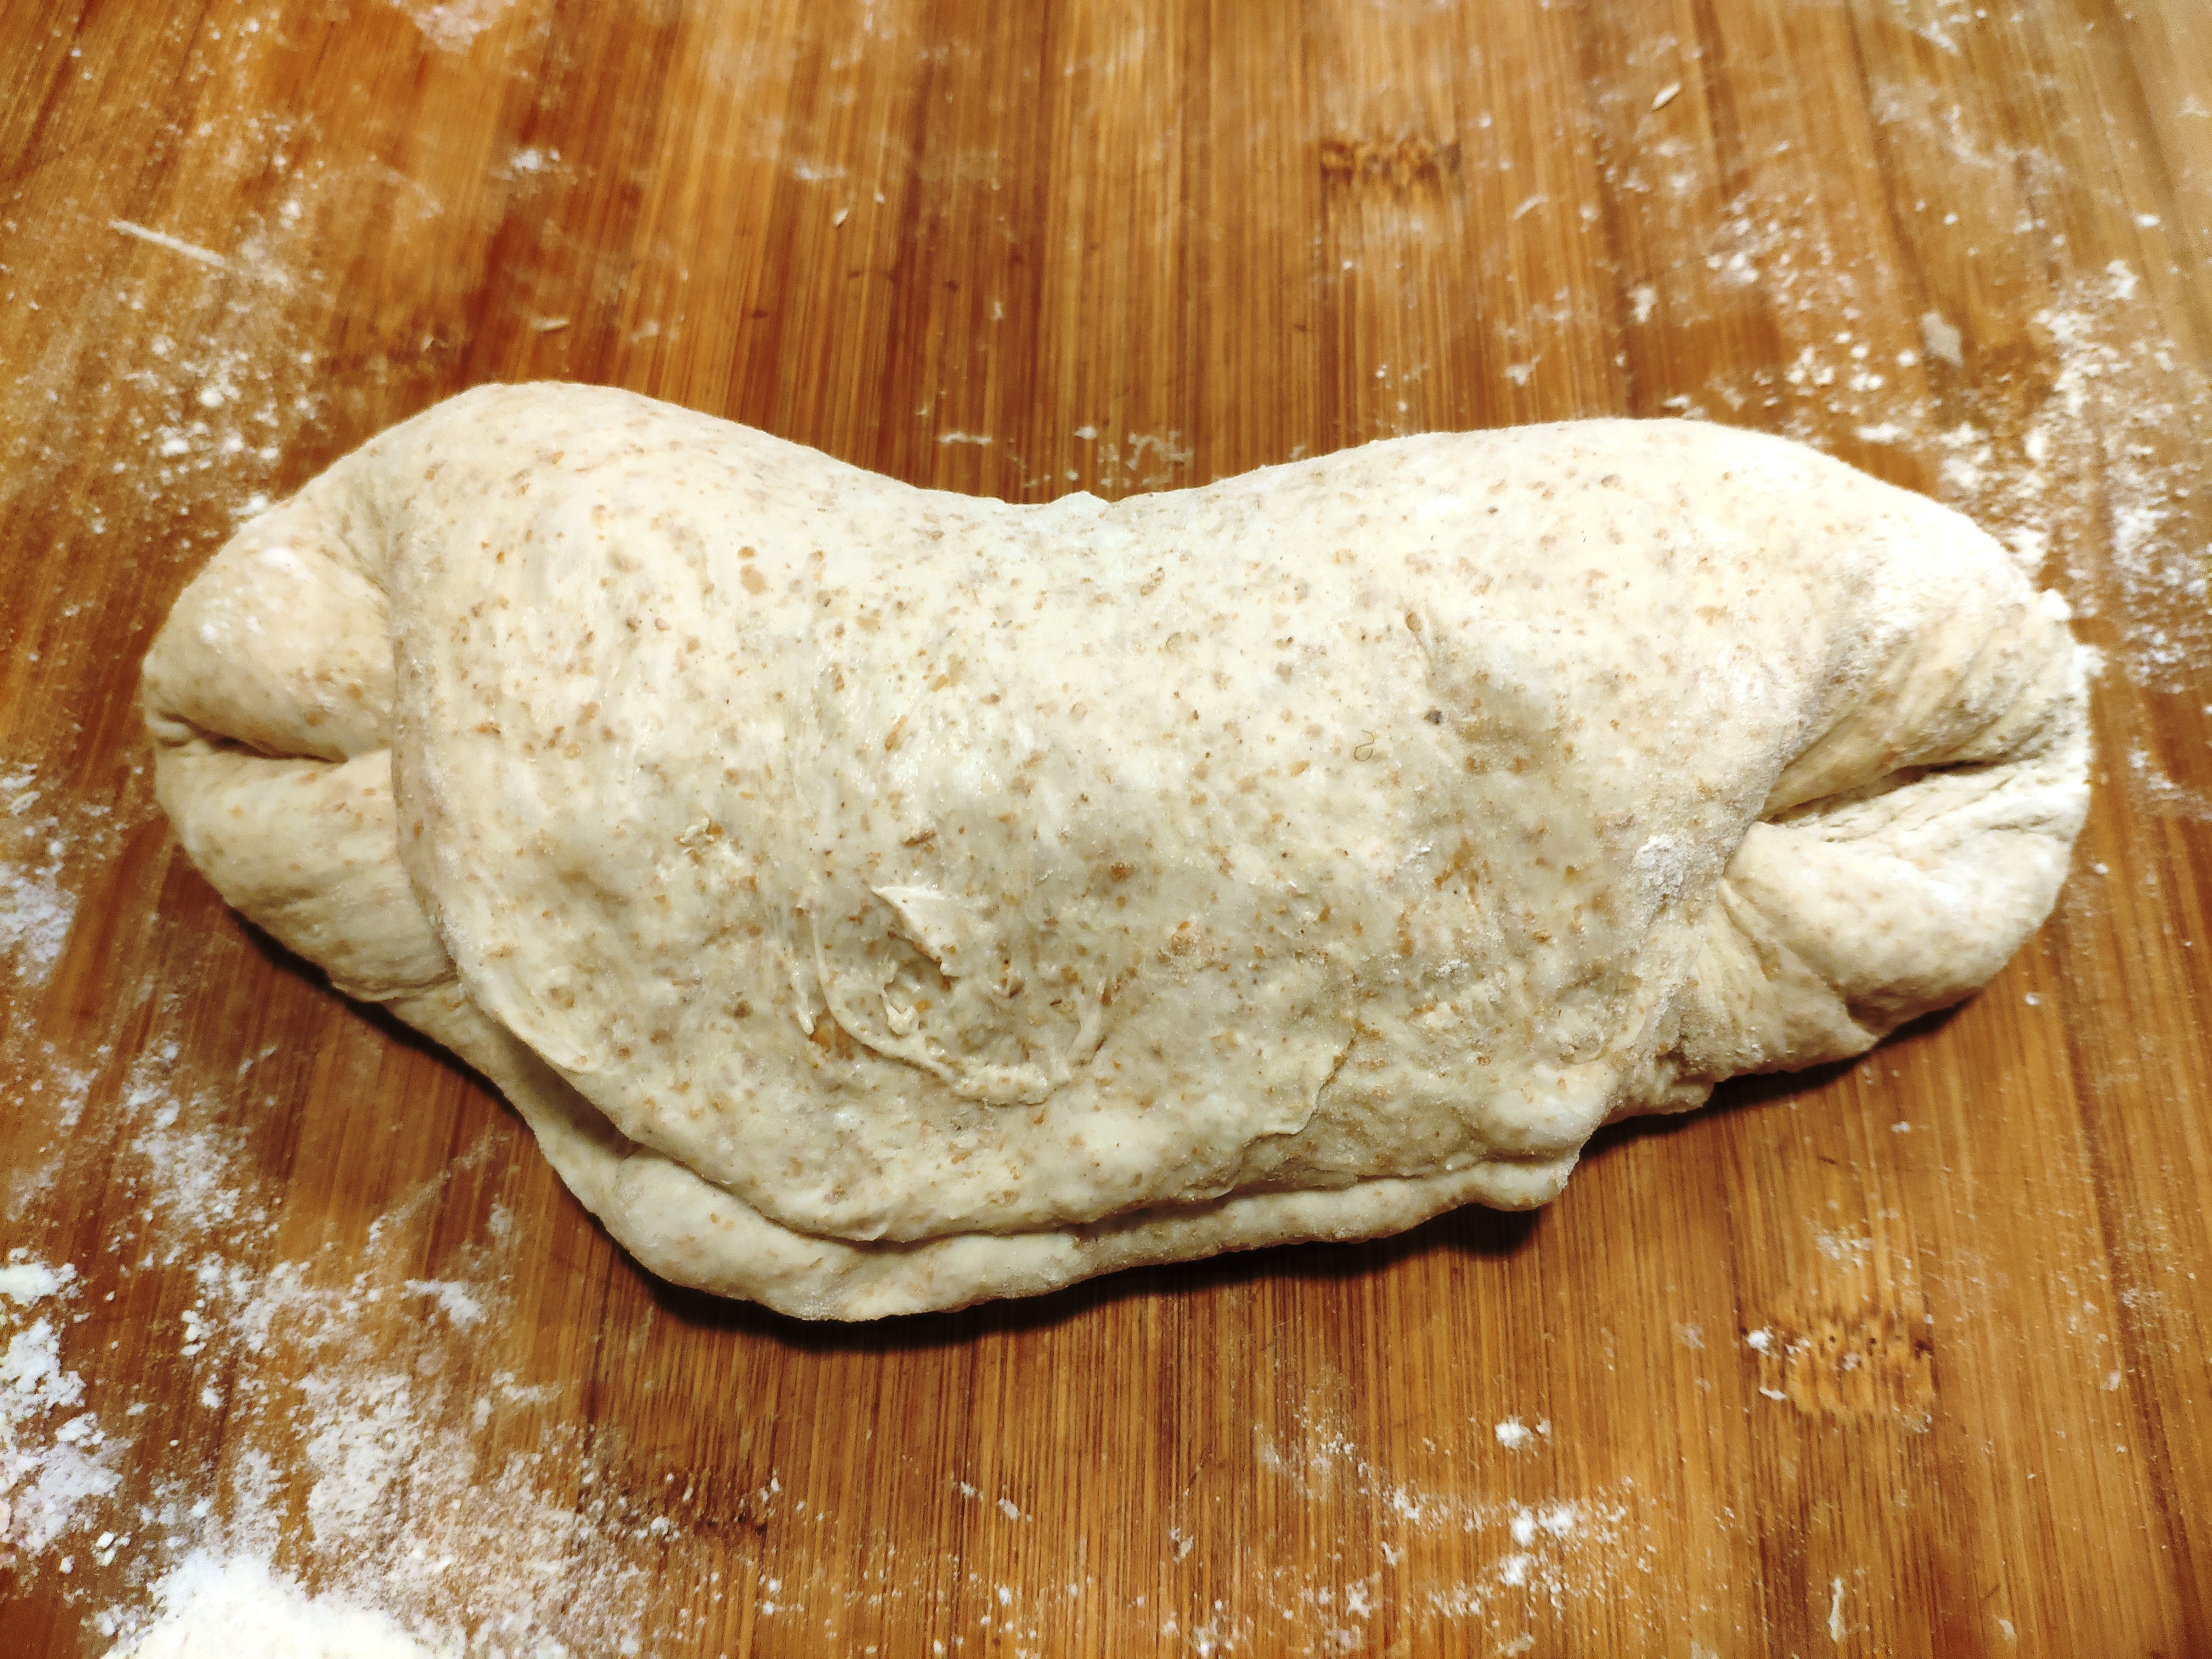
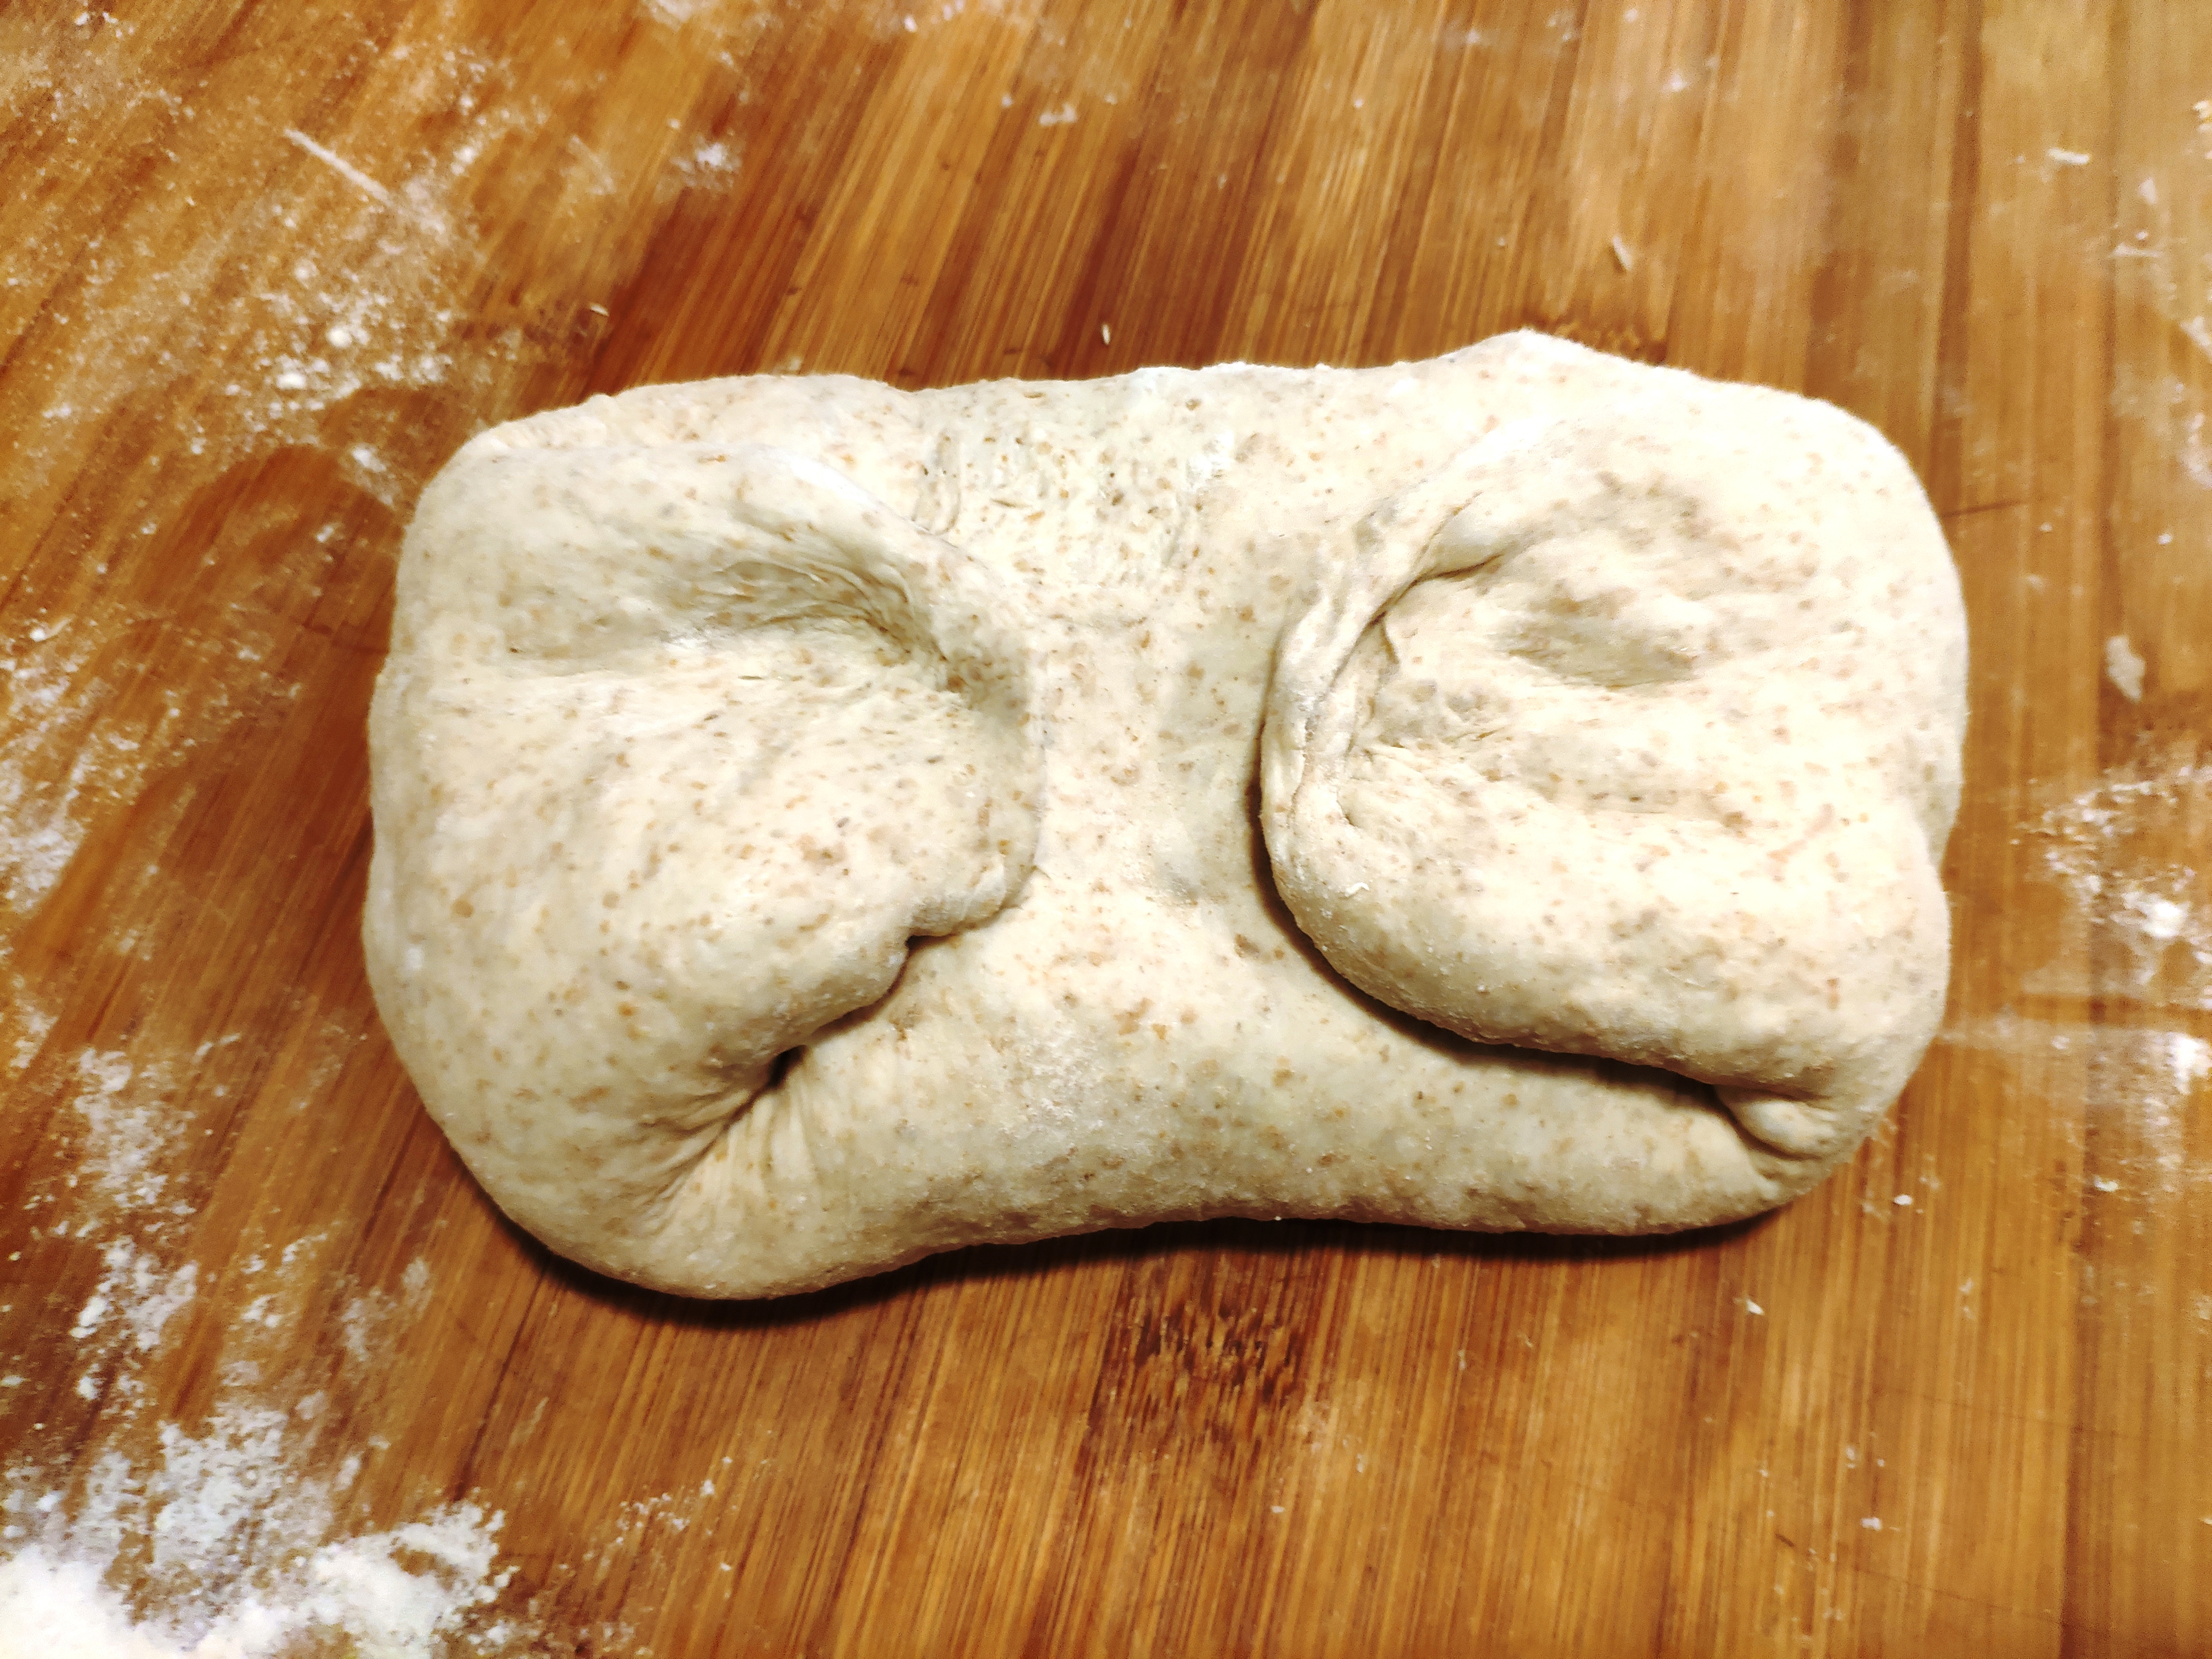
8. Grease a clean mixing bowl, put the dough in and leave to rest. After about an hour, give it a stretch and fold.
9. Cover again and leave to prove. After about an hour, give it another stretch and fold.
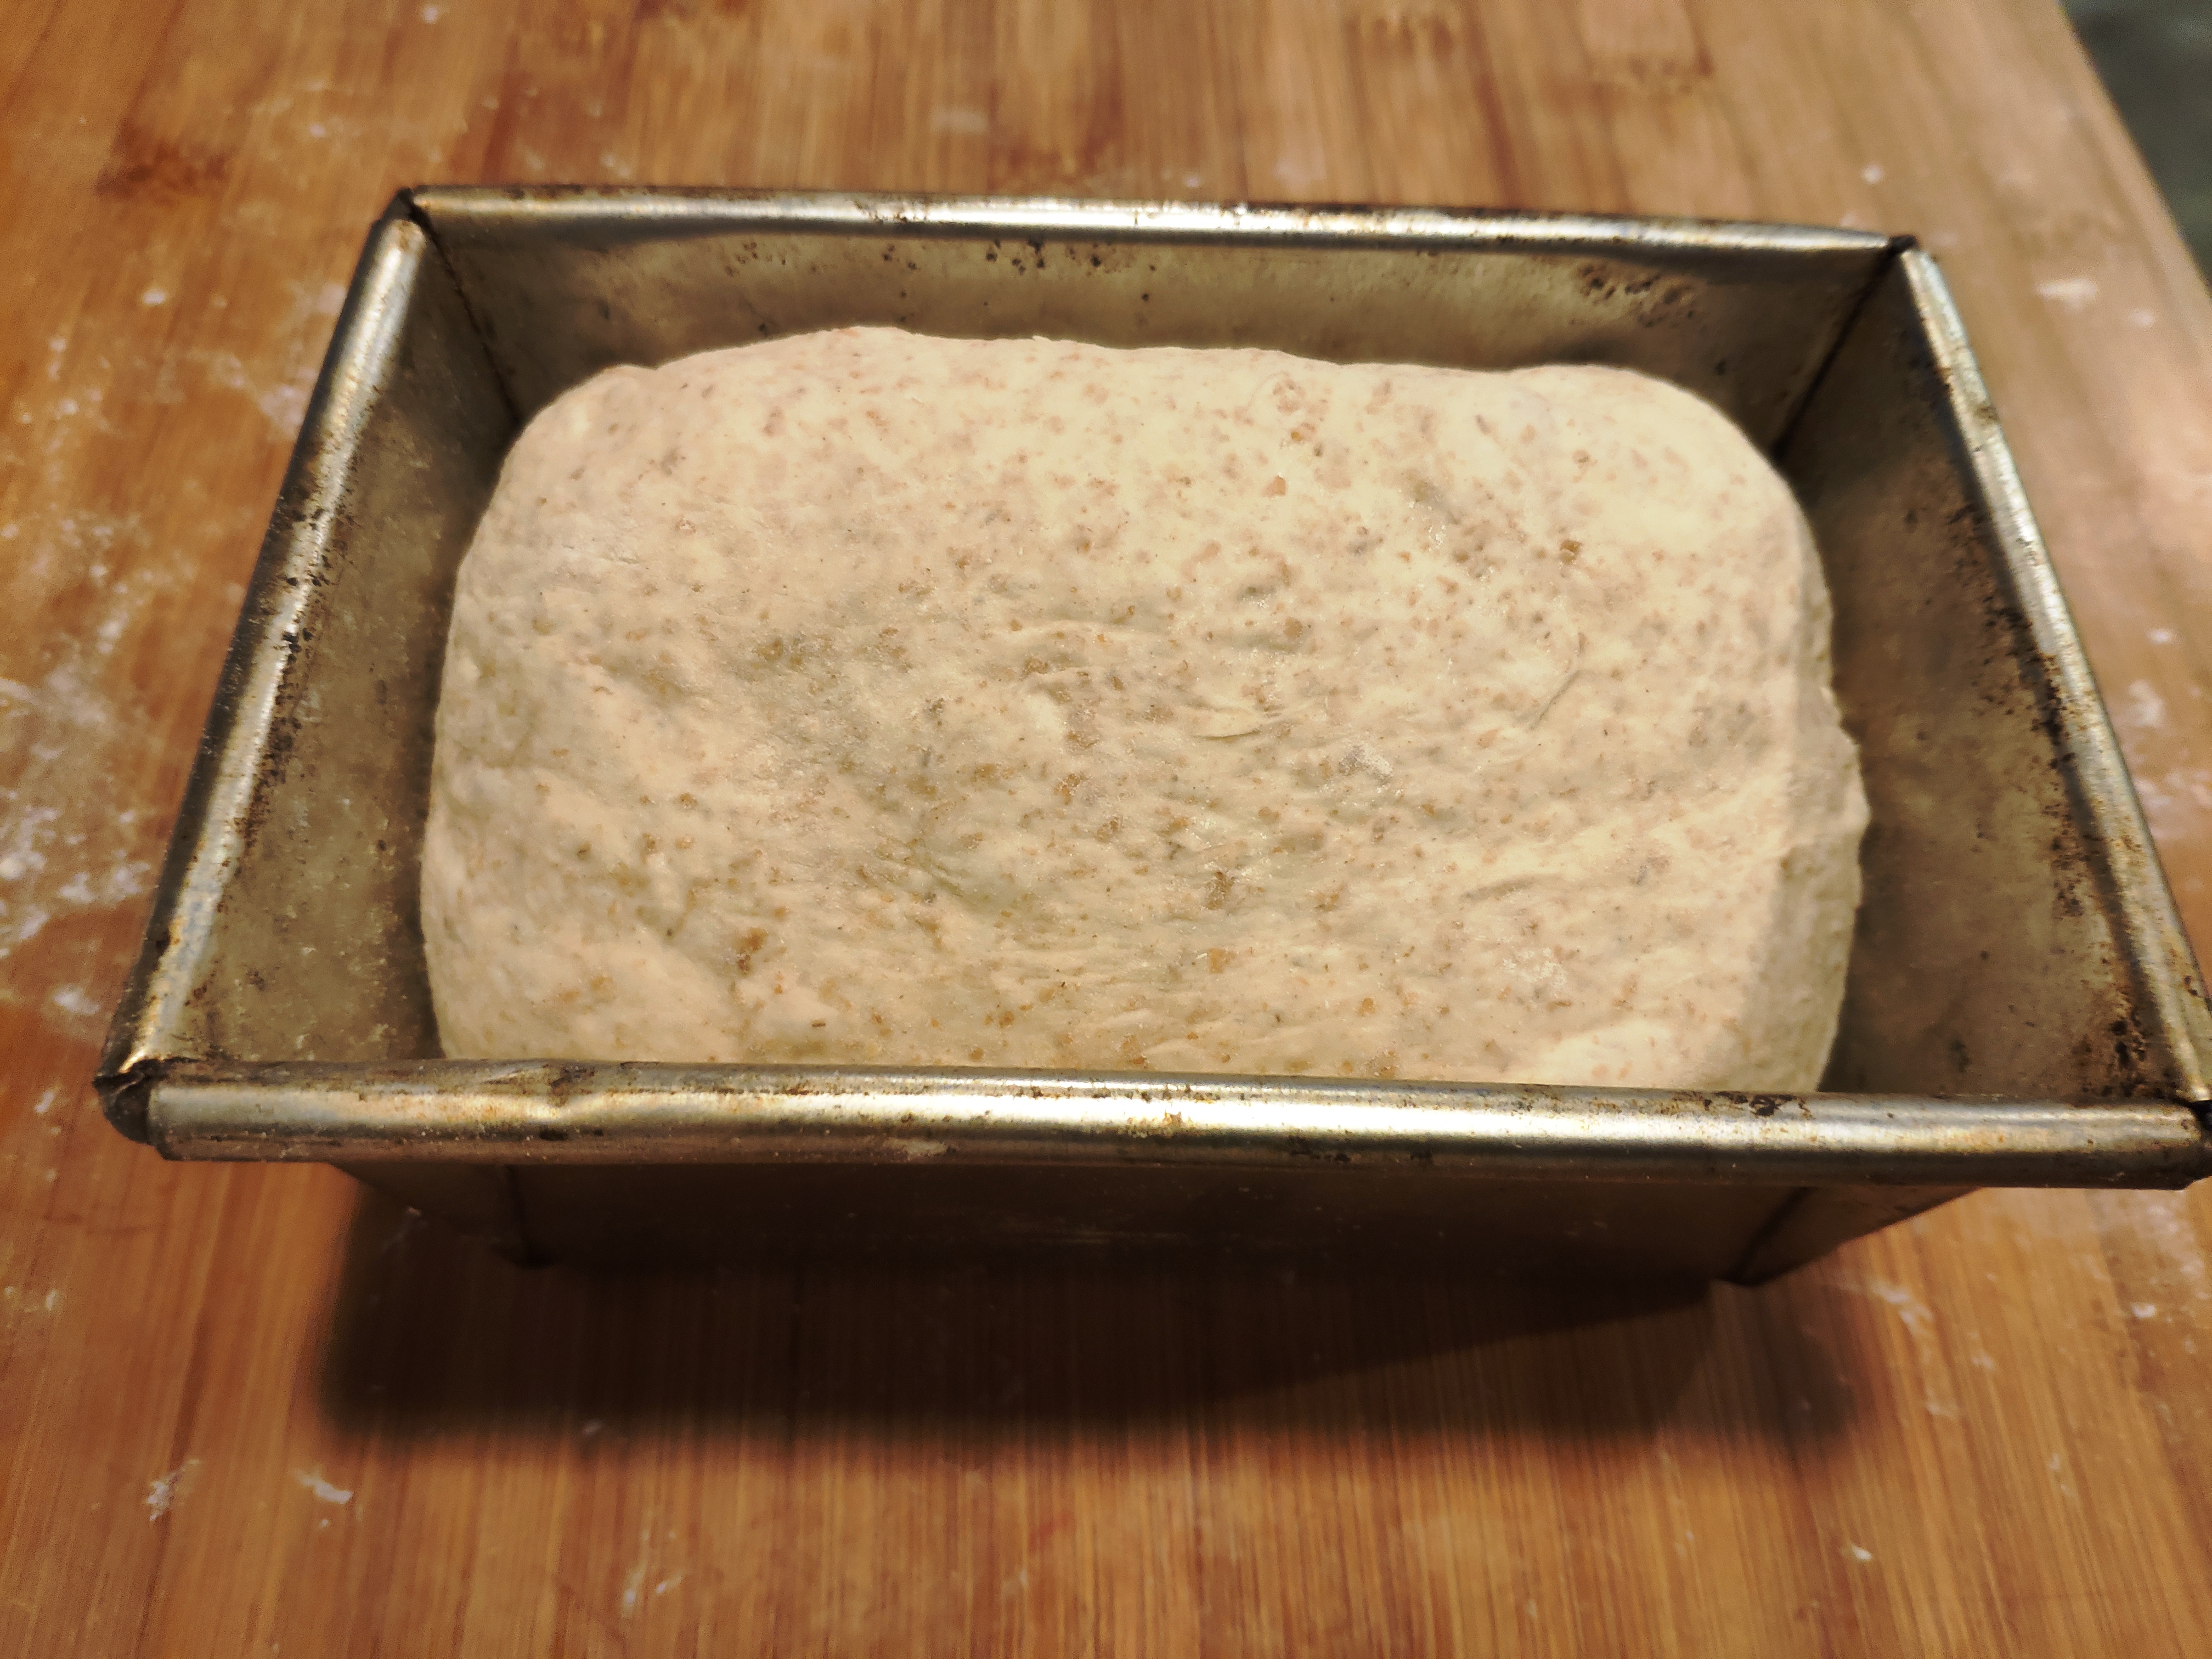
10. Cover again then leave to prove until doubled in size.
11. Meanwhile, make the filling by creaming together the 85g of softened butter, with the 85g of muscovado sugar and the cinnamon.
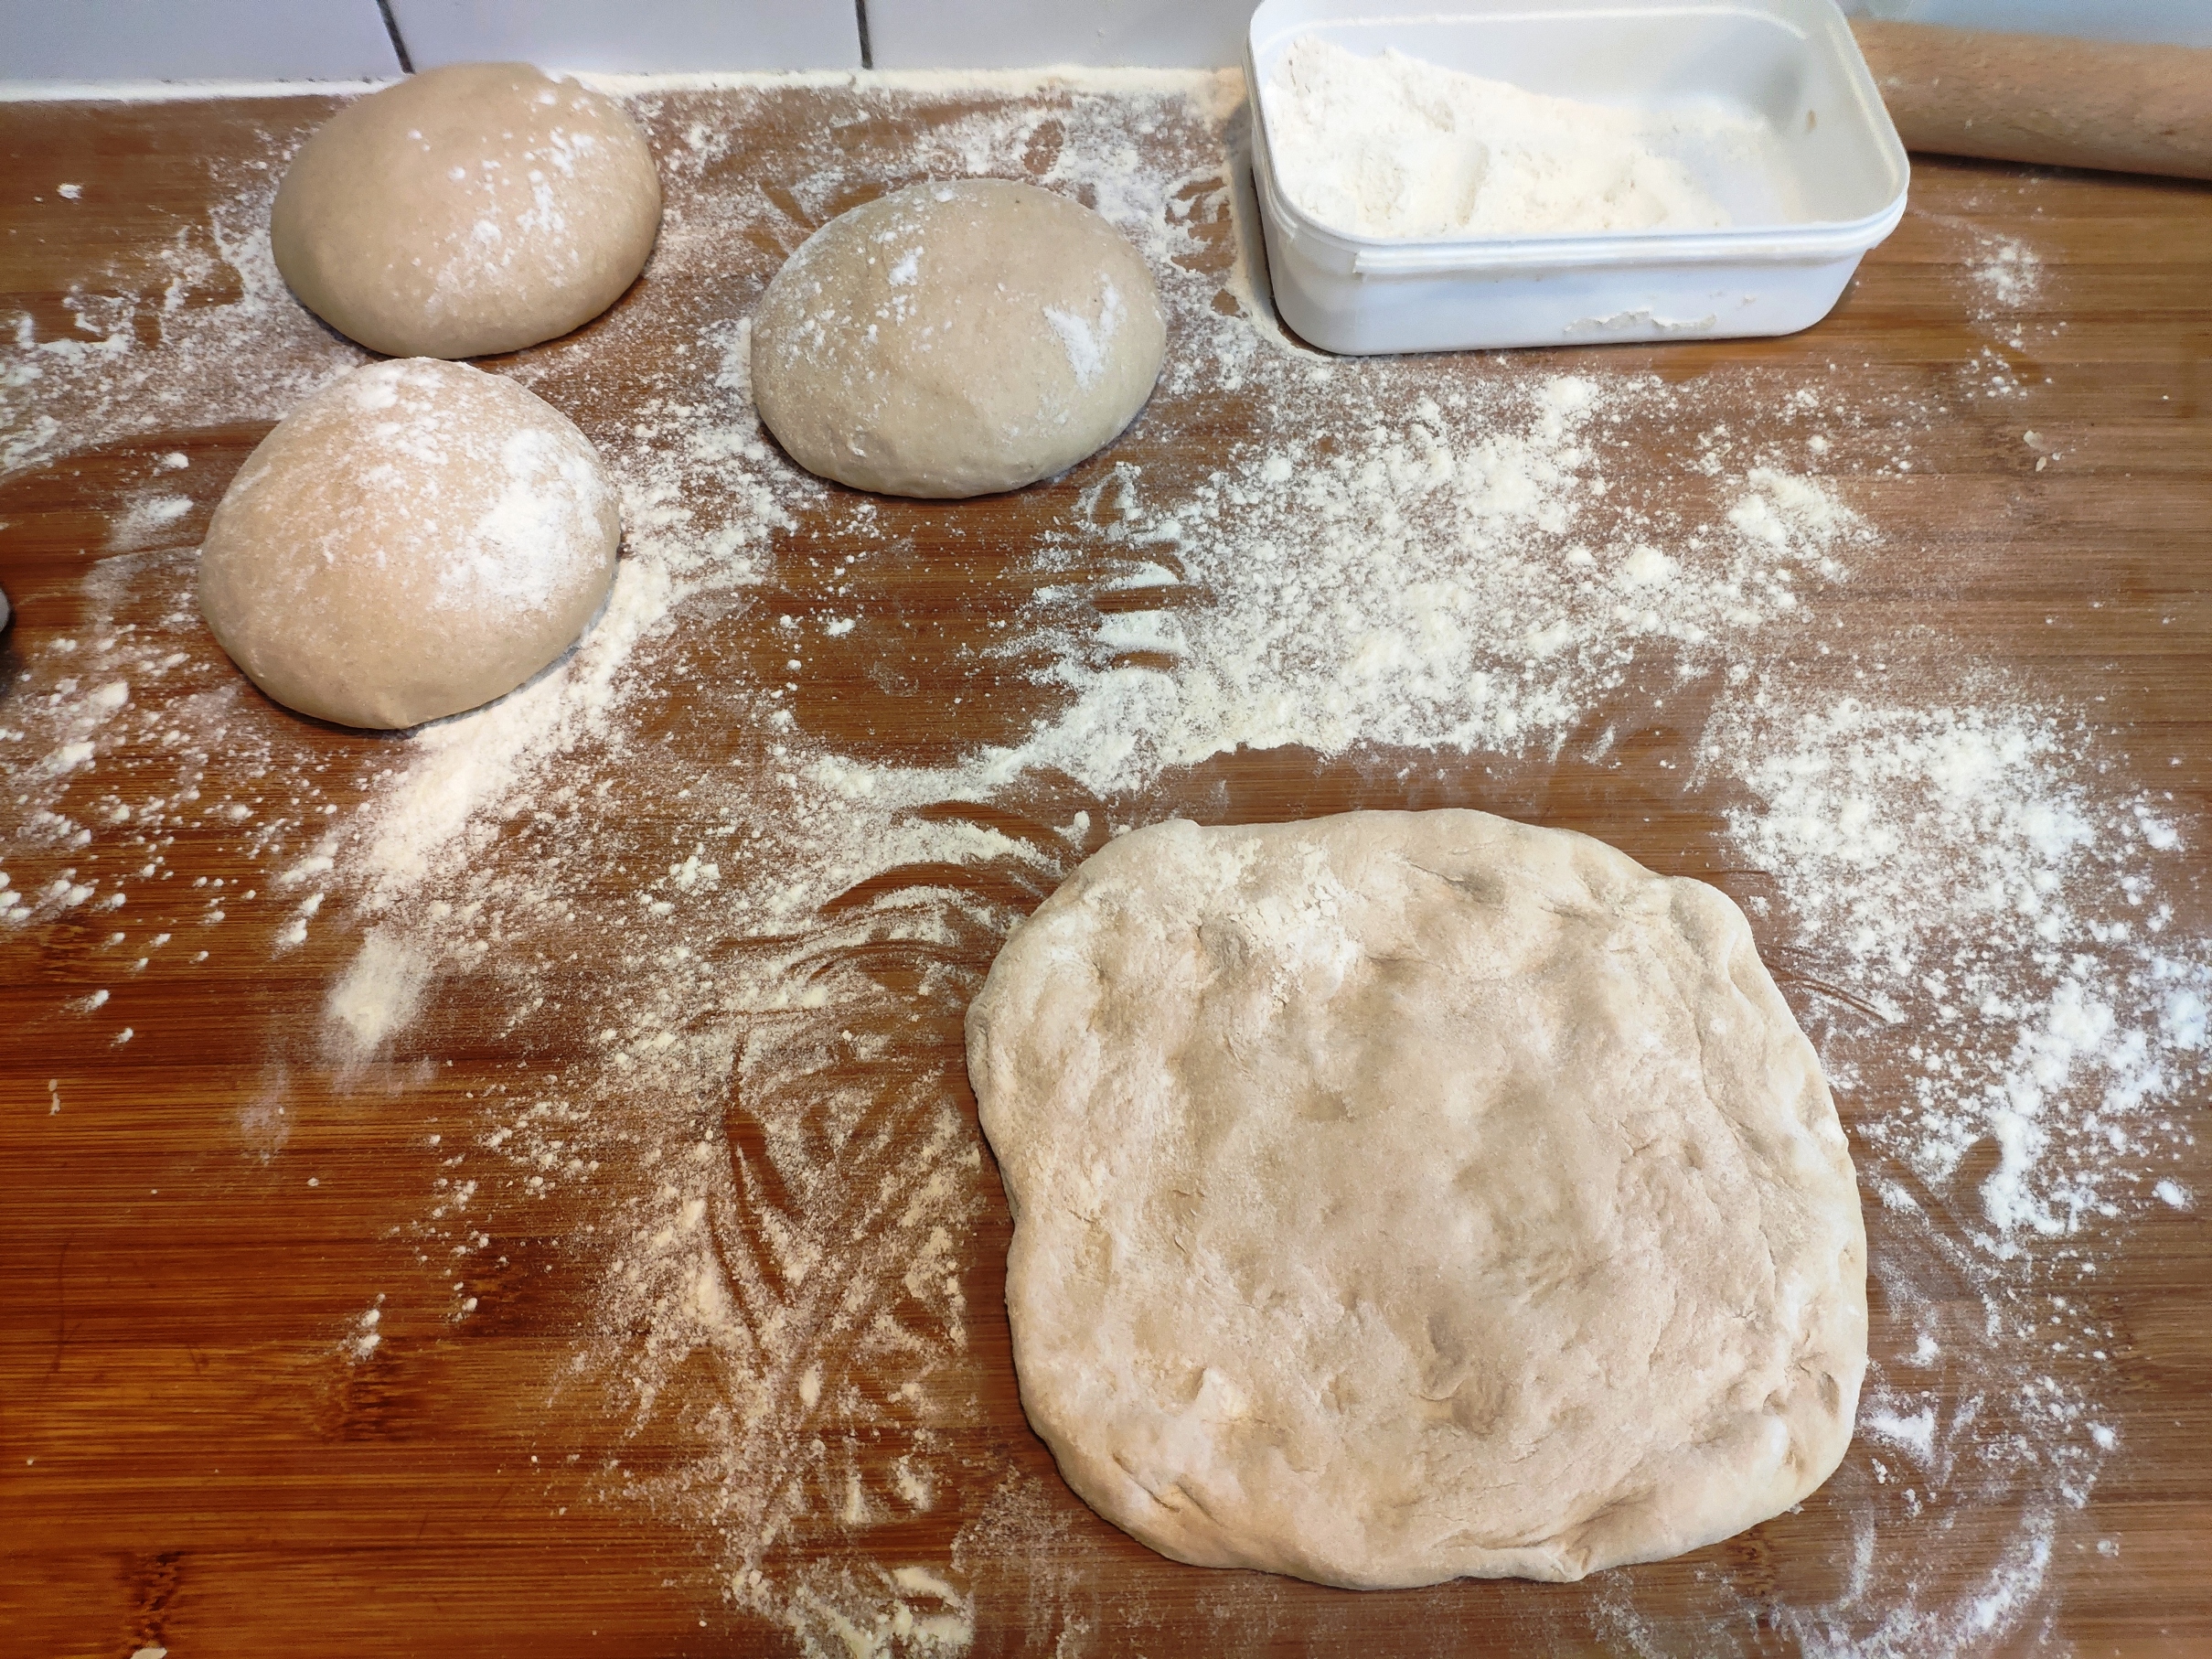
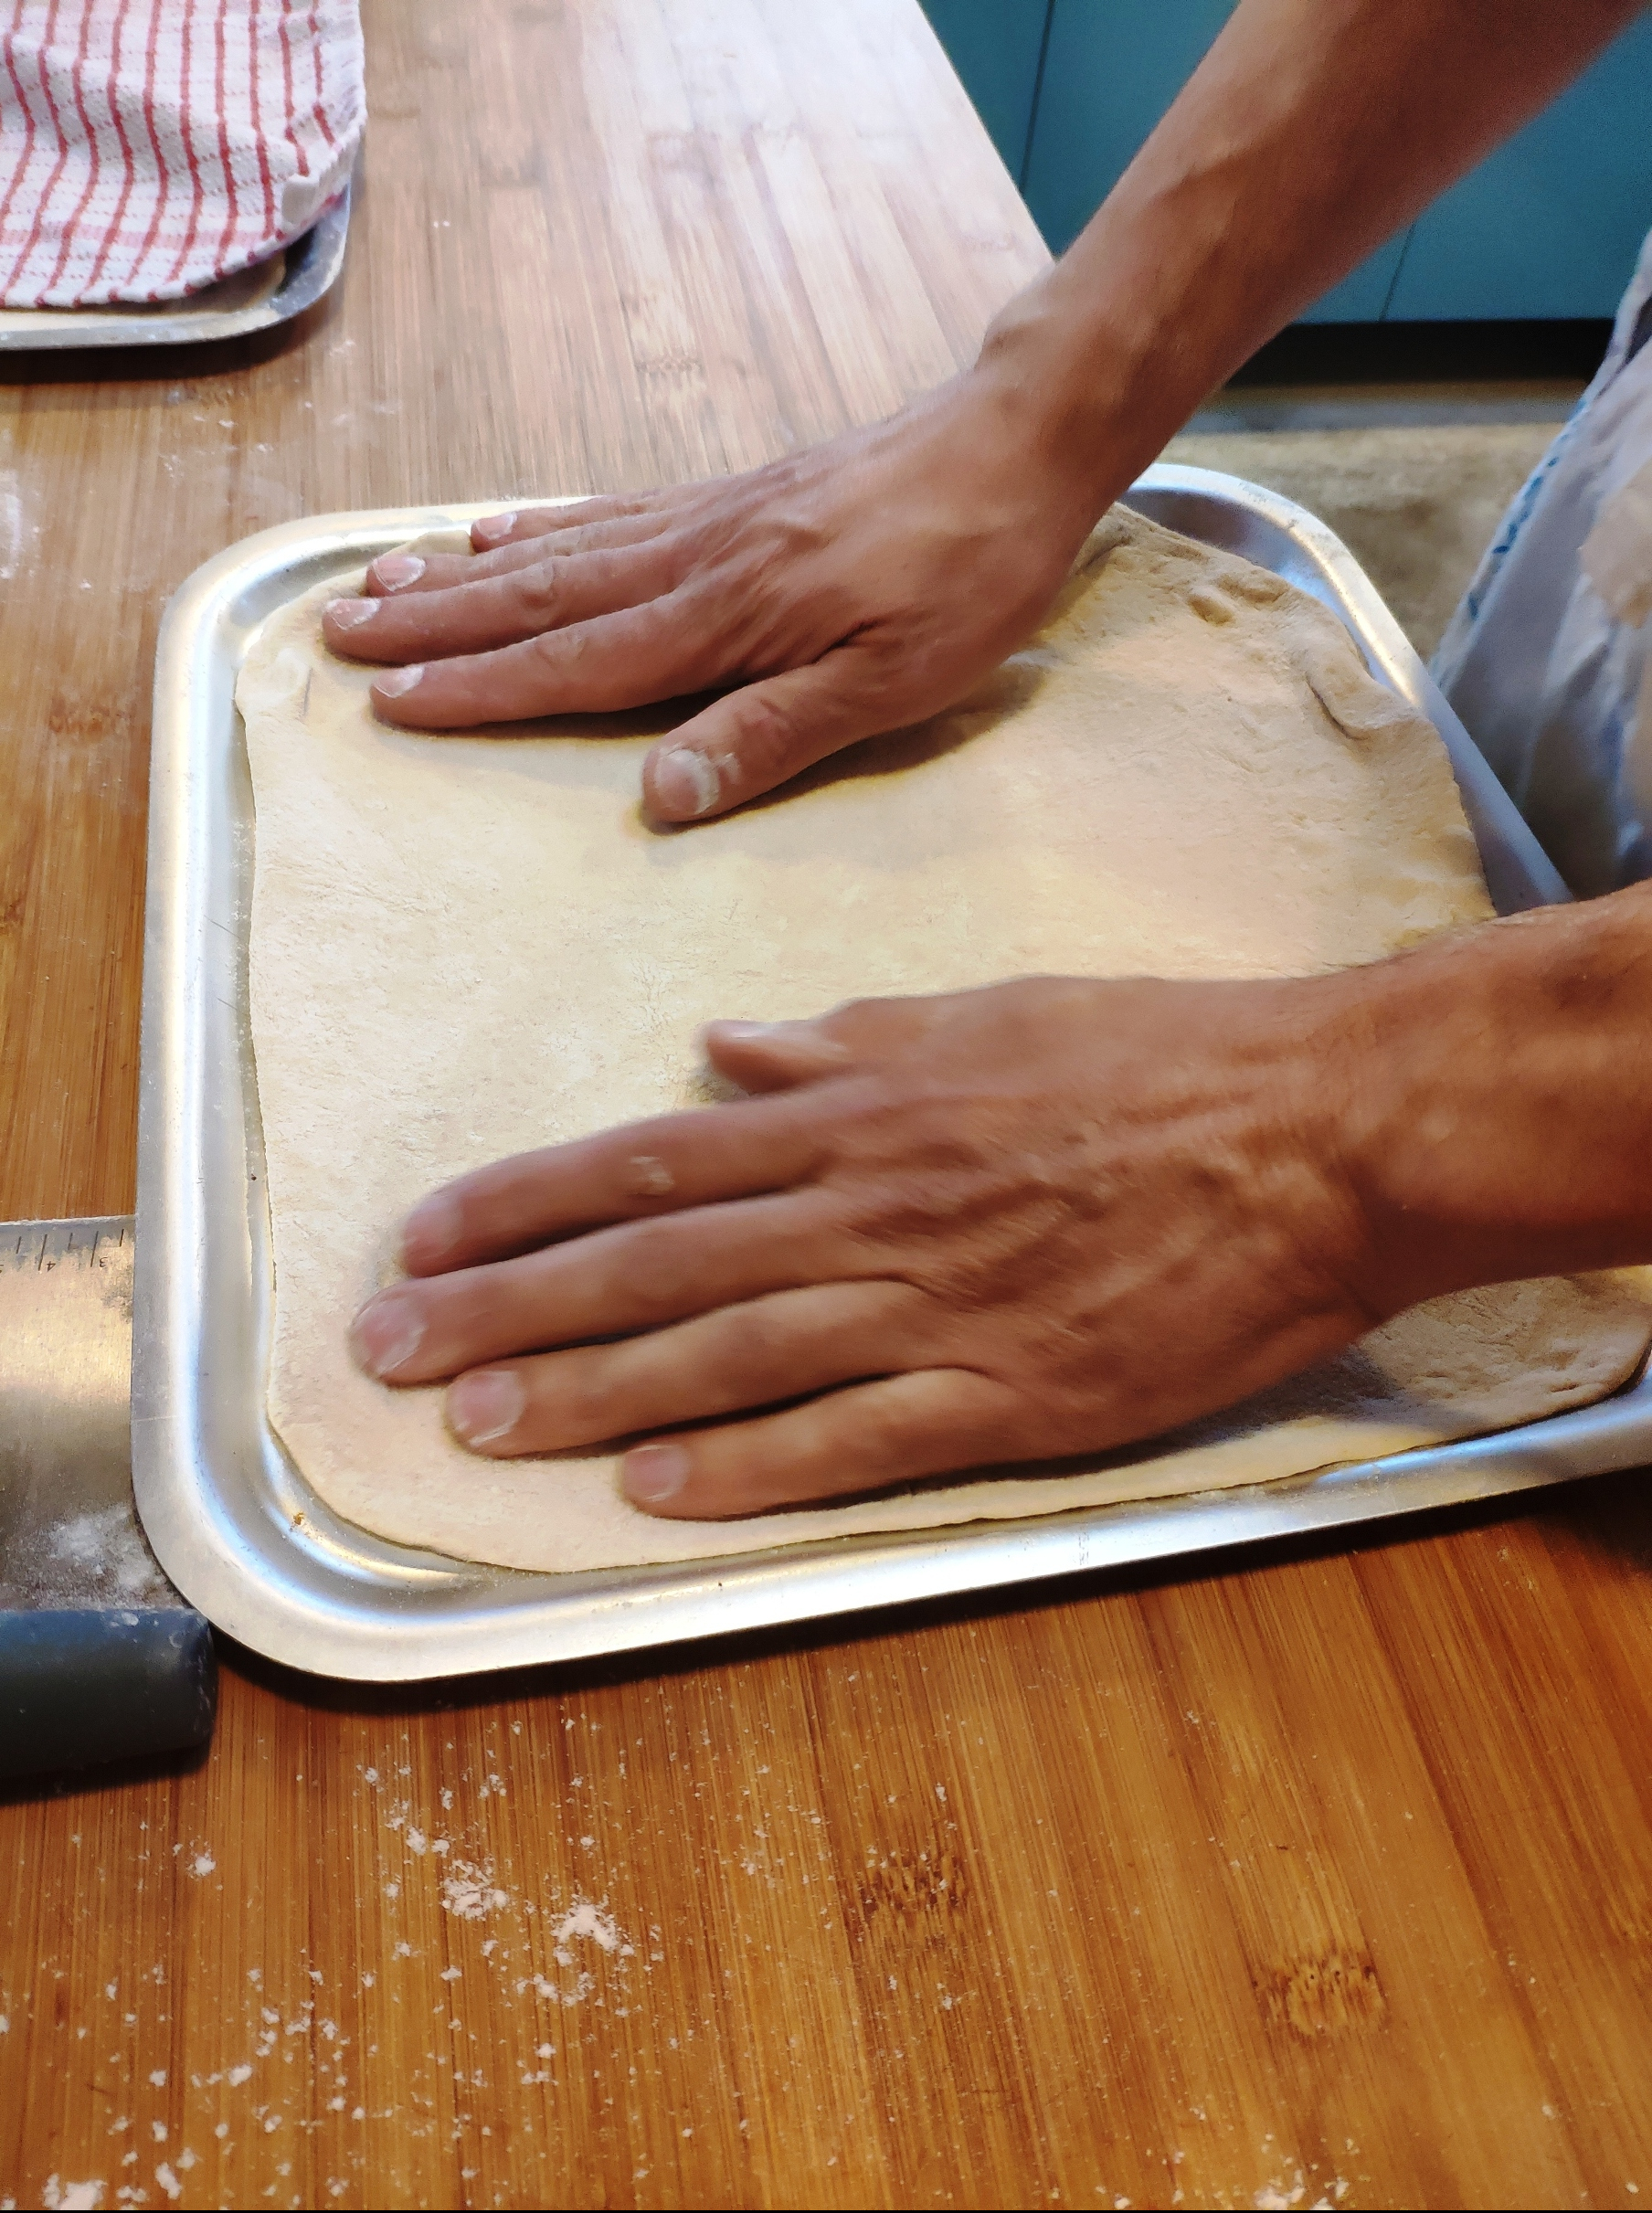
12. Turn out the dough and stretch it into a rectangle, using a rolling pin if you prefer, about 35x50cm.


13. Spread the cinnamon filling over the dough rectangle, then roll it up from the long side.
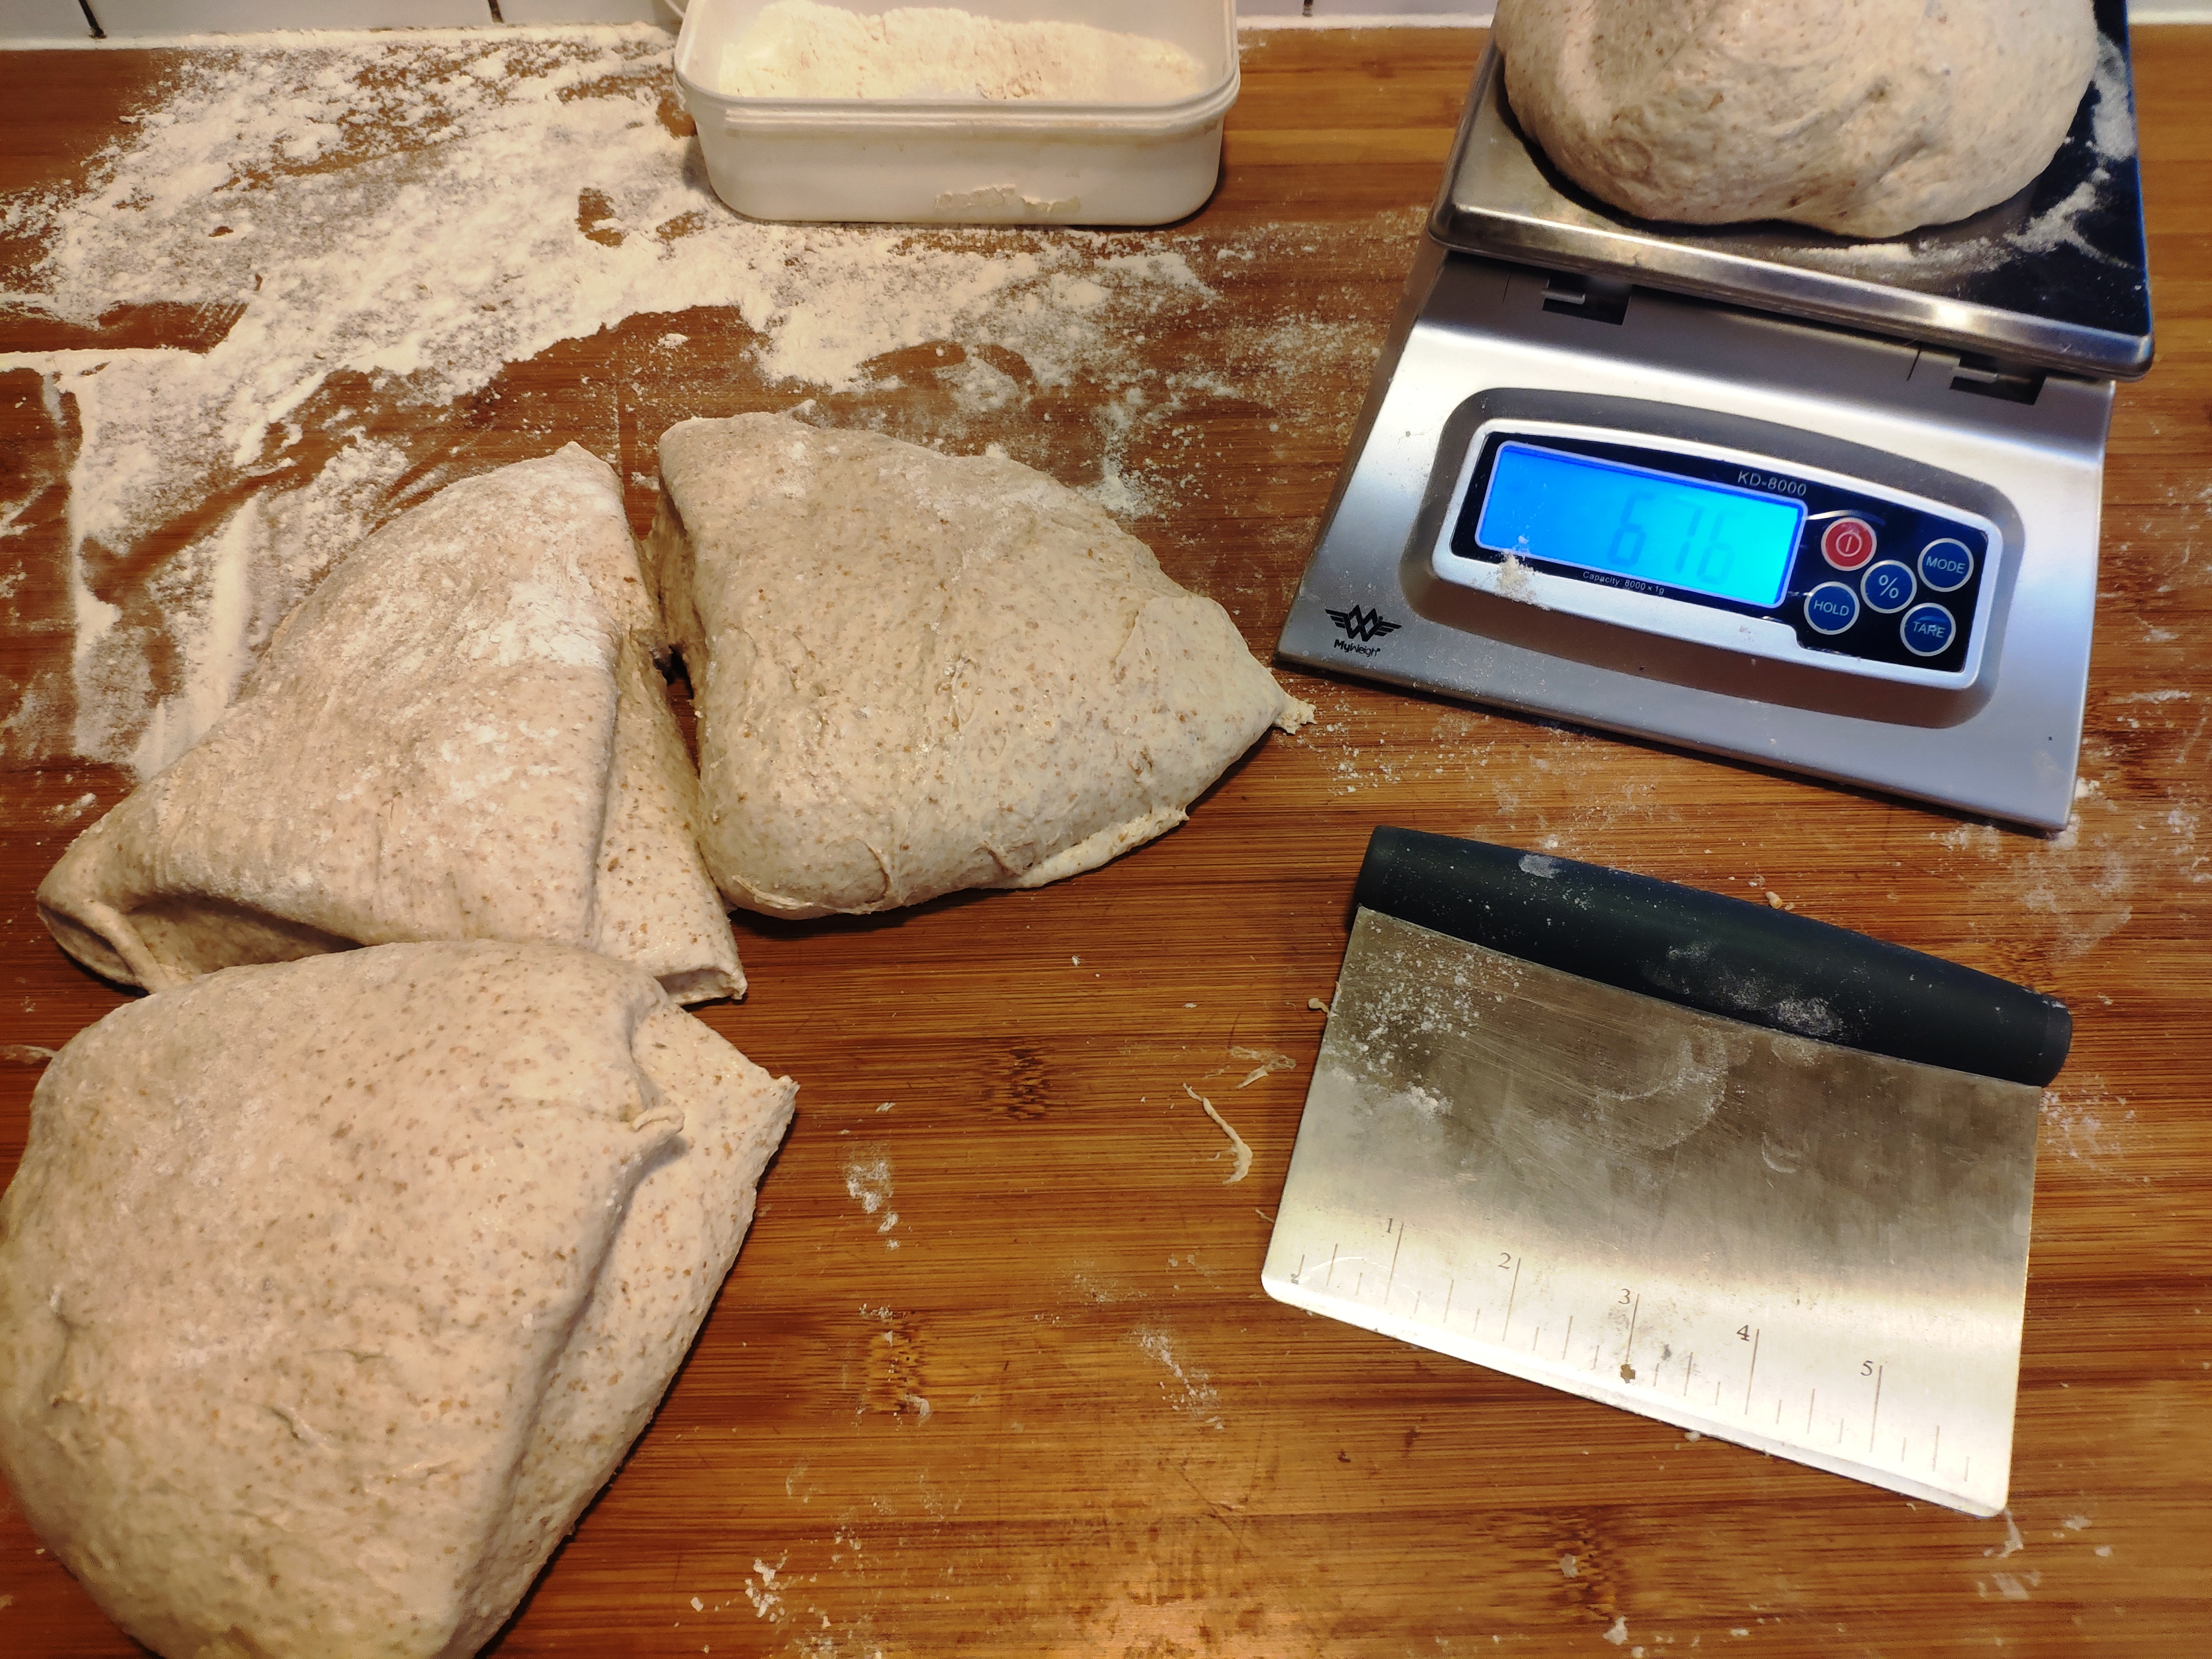
14. Measure the length of your sausage (fnar) and divide it into 15. Mine came to 15 slices at about 6m each. Cut these pieces.


15. Put the slices, in a 3×5 grid, in the prepared roasting tin.
16. Cover and leave for a final prove, until doubled in size. This will depend on the temperature, but should take around an hour or so.


17. Preheat your oven to 180C.
18. Put the rolls in the oven and bake for around 30 minutes.
19. Meanwhile, make the caramel topping by mixing the cream and muscovado.

20. When the rolls are baked and a nice golden brown, take them out of the oven and turn them out (and over) onto the lightly greased baking sheet.
21. Pour the caramel into the roasting tin, then return the rolls to it –with the tops on the bottom so they’re sitting in the caramel.
22. Bake for another 10 minutes.
23. Allow the rolls to cool for a few minutes, then remove from the roasting tin and allow to cool.

24. To serve, pull them apart and have a cloth ready to wipe any messy children. They’re lovely warm, but also last well as they’re so rich and slathered with sugar and dairy.

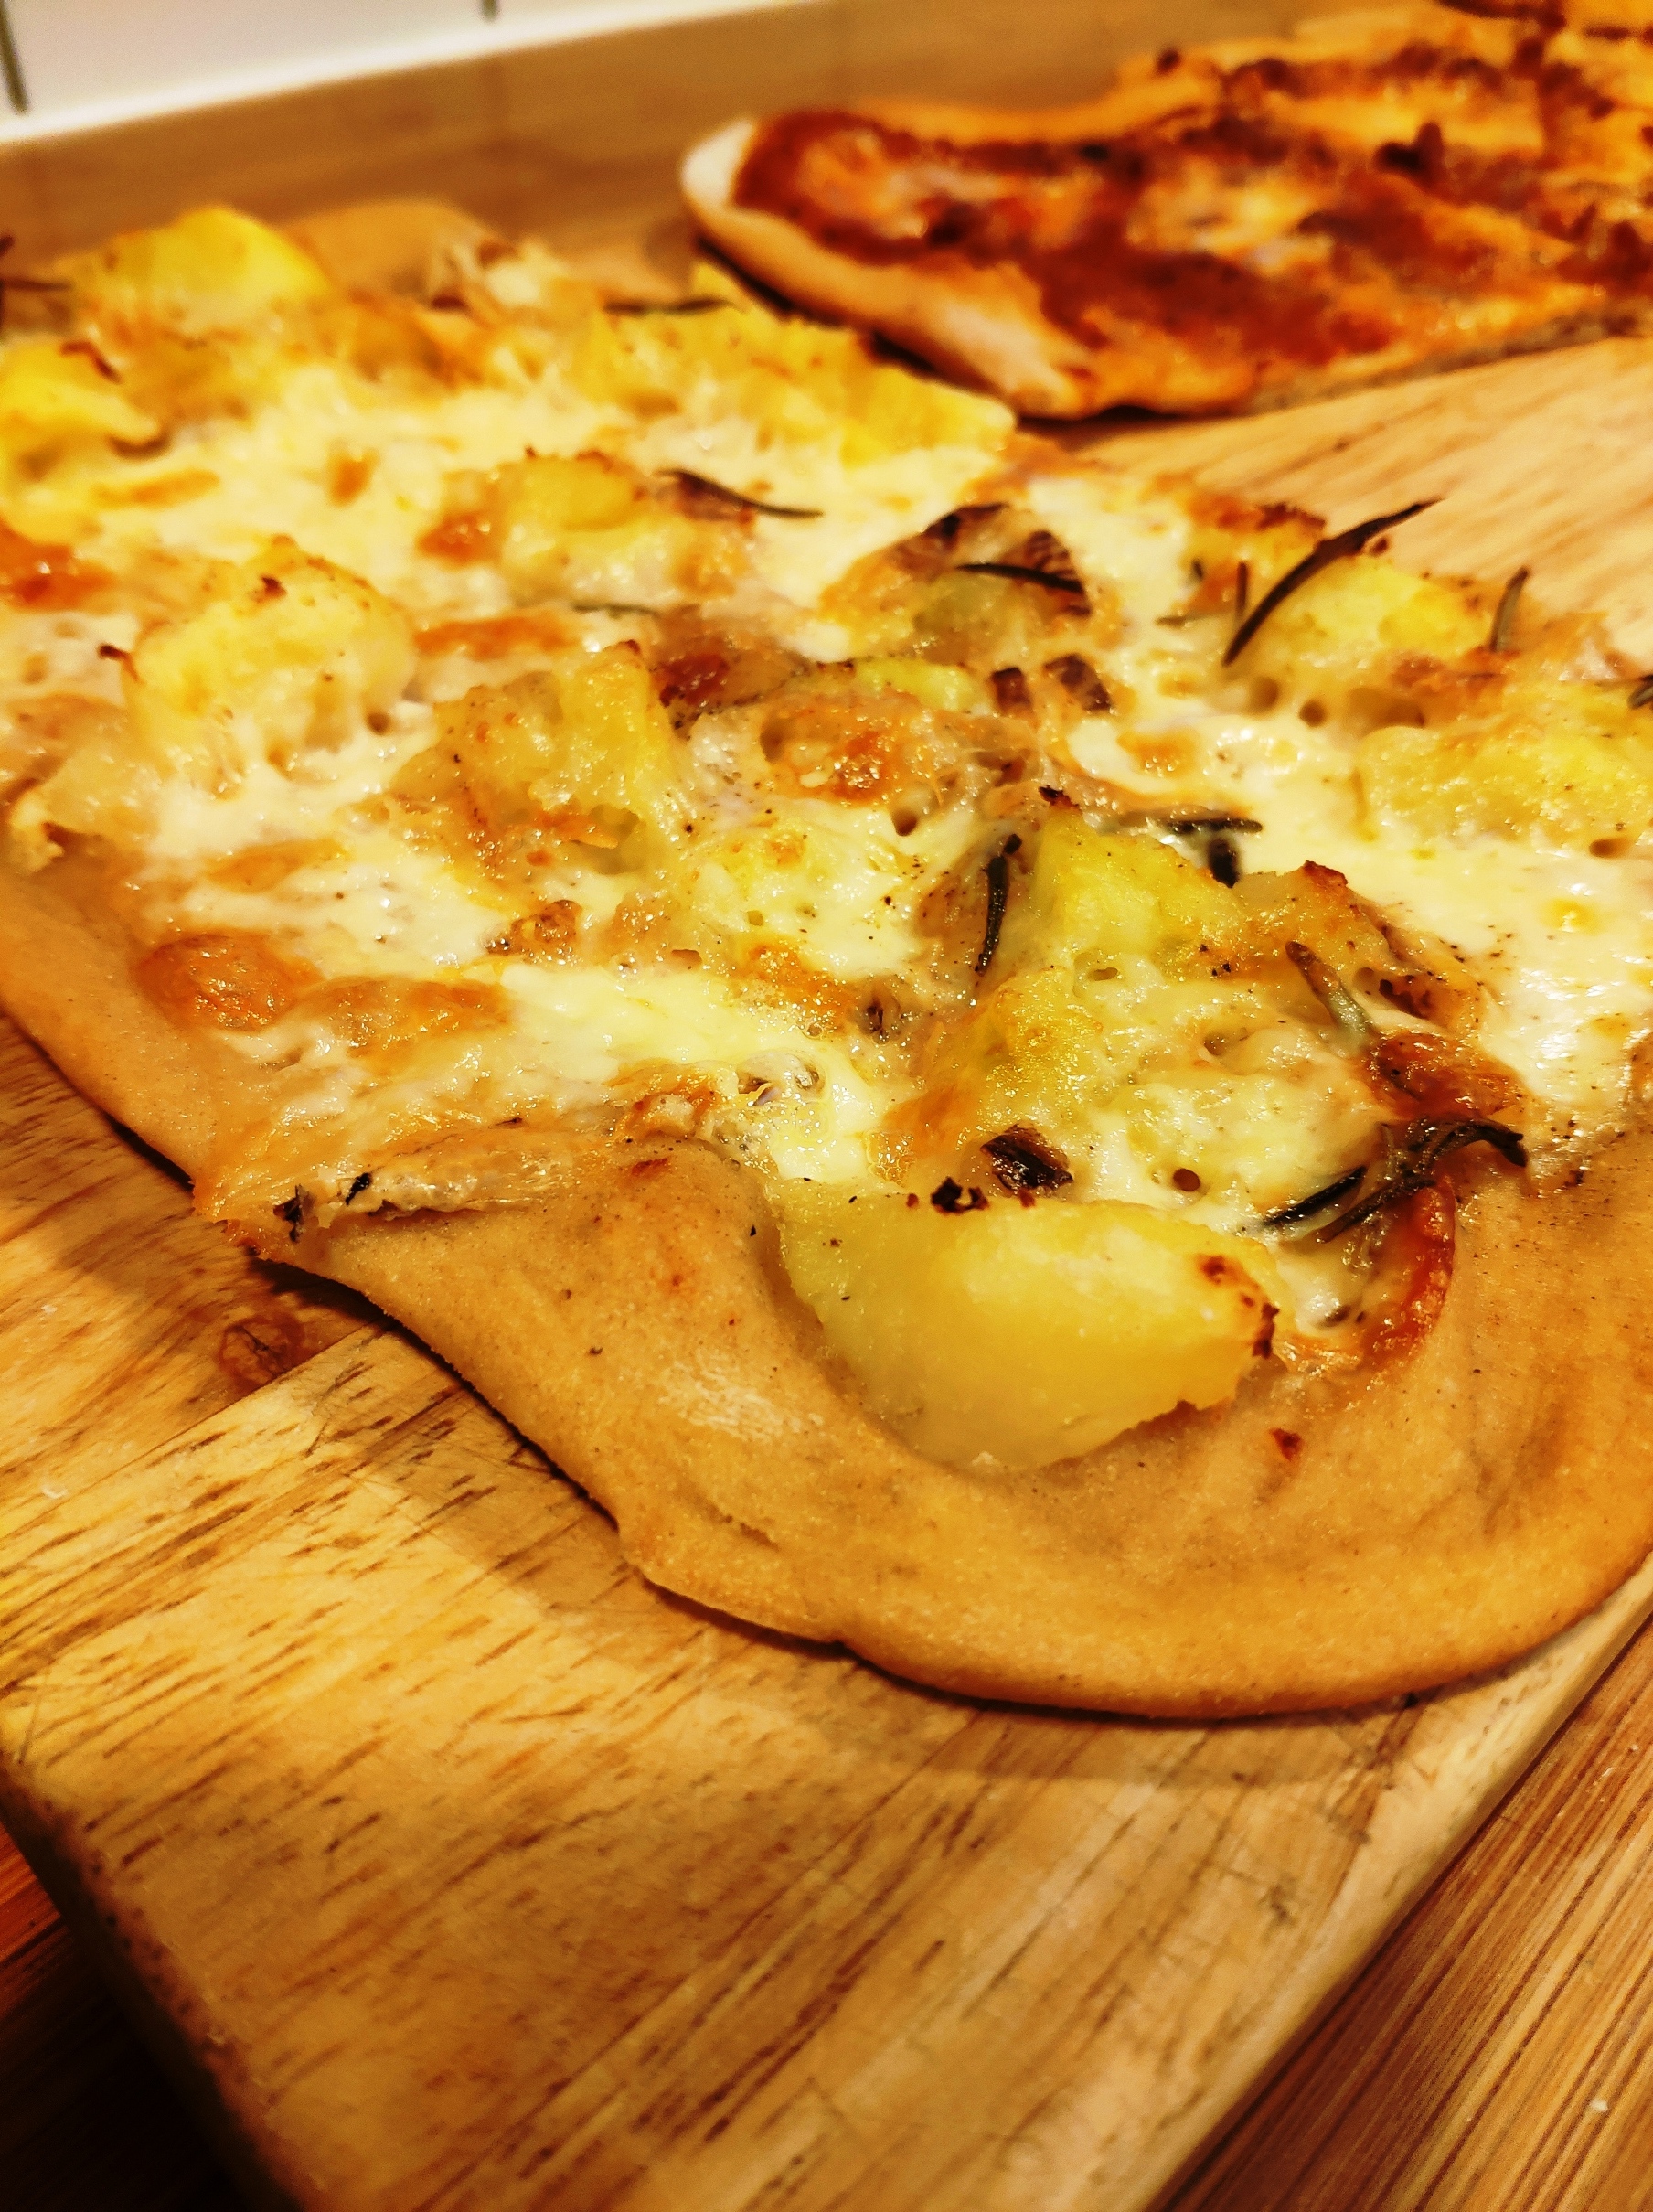
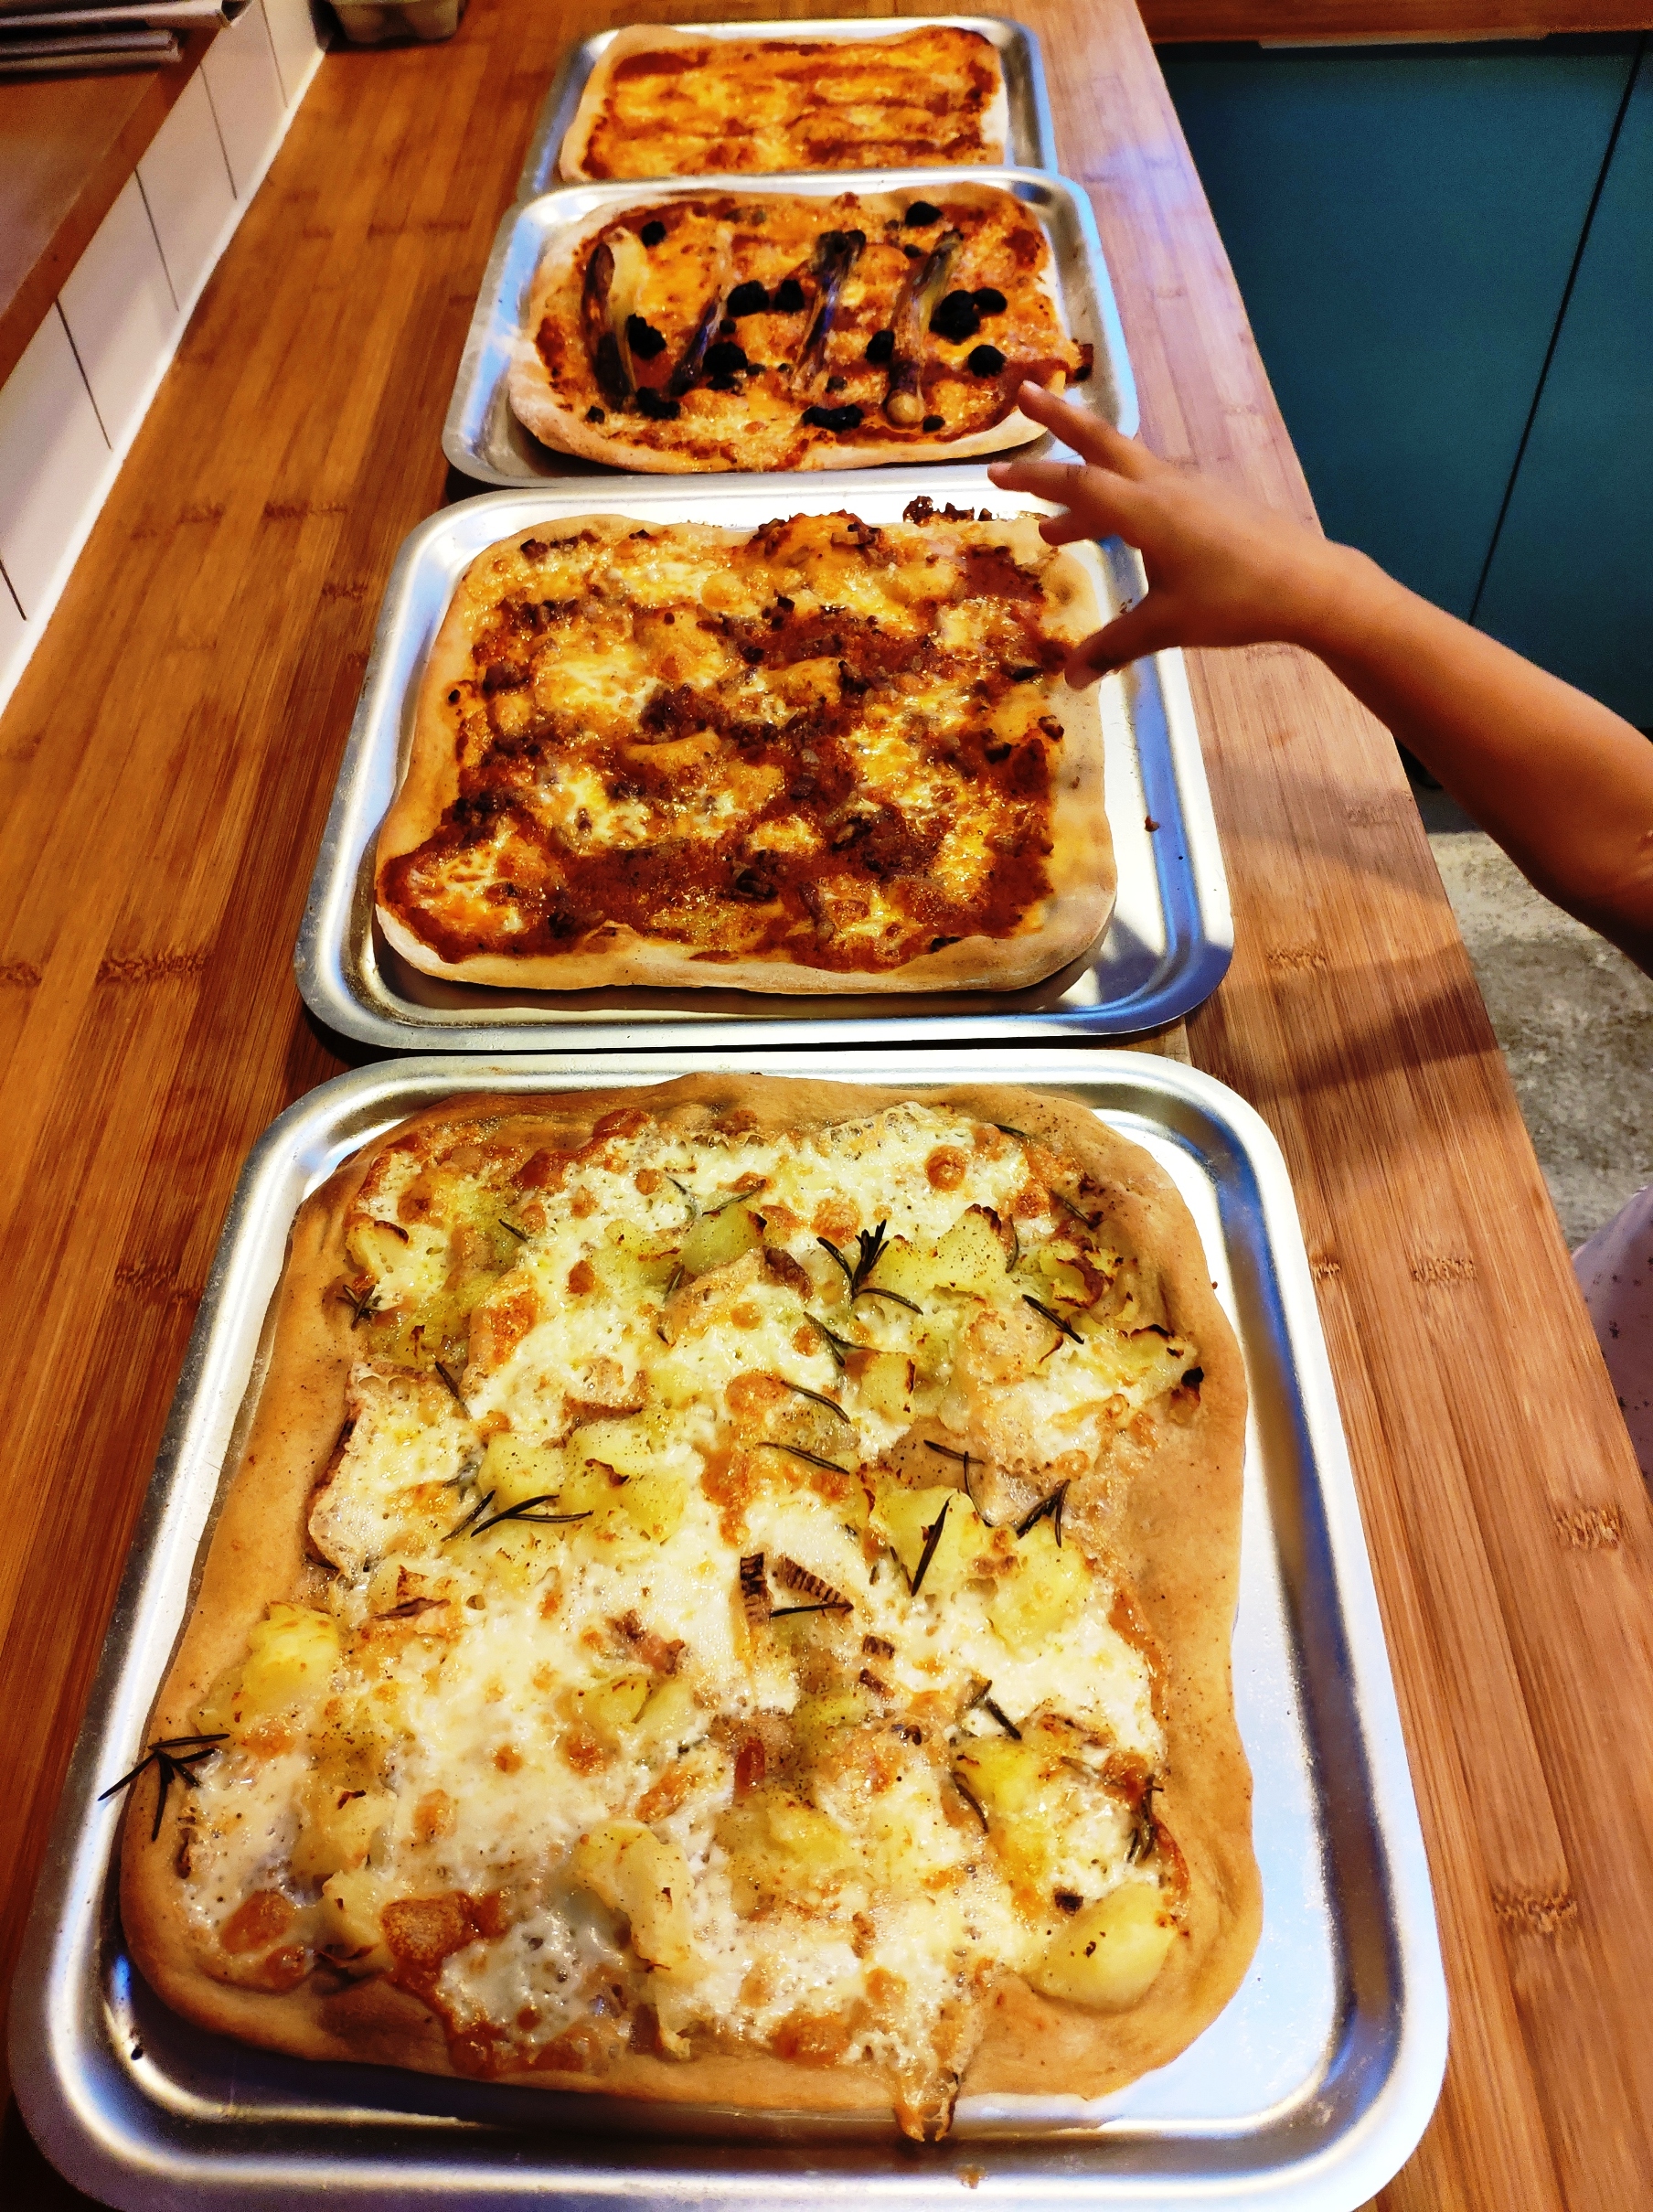
So good. So badly photographed….

* Or significant gluten sensitivity health issues.
** If you can source it in sensible quantities. I prefer using fresh, and used to be able to get it – lievito di birra – in small blocks in supermarkets in Italy. It’s not sold in convenient small blocks in British supermarkets. It’s not sold in Britain supermarkets at all, or at least not in my experience. I used to get it from a health food shop, but they do it in bigger lumps now and I don’t like to waste it. So I’ve resorted to active dried yeast (ADY) again. I talk about yeast types here.

7 Comments

Filed under Baking, Breads, Cakes (yeasted), Flour & grain

Pizza to feed the family

pizza

This is the pizza I make for family and friends. It’s rolled out, thin and crispy, and baked in my puny electric oven on baking sheets. I find this approach more convenient to make over the course of a family Saturday, starting with a sponge (aka preferment) in the morning before swimming lessons, making a dough around midday, then bulk fermenting for about four hours.

Much as I’ve enjoyed the certified Vera Pizza Napoletana – “real Neapolitan pizza”– in Naples, I don’t really feel the need to try and emulate the Neapolitan style pizza, with its wide crust (cornicione). And if I’m honest, I always preferred the thinner crust, no-nonsense Roman-style ones we used to eat in places like Ai Marmi on Viale Trastevere and da Remo in Testaccio anyway. This dough does work opened by hand, slid off a peel onto a baking stone, if you favour the round, pseudo-Neapolitan style, but I prefer to roll, bake four at a time, then sit and eat with my family.

Variation on a theme
Pizza is ubiquitous. It’s Italy’s most successful export. And as anyone who’s eaten pizza in various corners of the world will know, it’s changed a lot in its travels*. Even within Italy, and within the diverse regions, and the provinces within those regions, pizza has enormous variety, not just familiar Neapolitan and Roman. It’s fat, thin, doughy, crunchy, round, square, long (alla pala), stuffed (farcita, or scaccia from Sicilian) or sandwiched (pizzòlo, also Sicilian) or pasty-like (calzone) or pie-like (rustica etc), tray-baked (like Palermo’s sfincione), fried (fritta; they loved fried in Naples). Flatbreads have infinite variety. Populations move, cultures hybridise, and the human experience is constantly in flux. The weather changes (now more than ever), ingredients change, processes change. Food, like language, is always changing.

During our time in Rome we also encountered the great Gabriele Bonci, star Roman pizzaiolo. His original hole in the wall pizza place, Pizzarium, located behind the Vatican, doesn’t have a fixed menu, it varies constantly with what’s available. Our very last visit there before moving back to England from Rome, Fran had a pizza with mortadella and Brussels sprouts. Who’d have thought Italians even had sprouts, let alone put them on their pizza? It was inspiring and a long way from the sort of thing that would achieve certification from the Associazione Verace Pizza Napoletana – and all the more exciting for it.

Sauce and toppings
This post is principally about my pizza dough. For tomato sauce, I often use a very simple one made with a tin of tomatoes, with a dash of dried oregano, black pepper and salt. Sometimes I add a bit of garlic or pinch of chilli. Then I use a stick blender to puree it. Other times, I’ll make a sauce with garlic, basil, a pinch of chilli, salt and pepper in a pan with lots of olive oil, warm that up then add a tin of tomatoes, cook that down, then put the whole lot through a mouli (food mill) to get out any fibrous bits. This is my son’s preferred pasta sauce.

As for toppings – just go for it. Whatever you prefer. This time round I had some local leeks from market for one, roasted first. For another, I bought some taleggio, which I used on a pizza bianca (white – no tomato sauce) with some boiled potato, a good drizzle of olive oil and some sprigs of rosemary from the garden. For my bacon-loving wife, we had some quality pancetta from Beals, renowned charcuterie (or salumi, in Italian) made locally from mangalitza pigs.

My favourite is usually aubergine, sliced longways about 5mm thick, roasted with olive oil and salt and pepper, then add to a pizza rossa (red – tomato sauce), with salty black olives and pecorino – it’s an offshoot of what the Italians would call “alla Norma”, a pasta sauce from Catania in Sicily. We didn’t do that this time. Another one I like is broccoli – cooked to tender, then gently fried in olive oil with garlic and chilli.

My pizza dough recipe
Anyway, this is my pizza dough recipe. Not a whiff of “authenticity”!

It is a 66% hydration dough – ie the weight of water is 66% of the weight of the flour (400g/600g). That means it’s pretty easy to handle, not too sticky.

I use a blend of flours. I find this gives the best extensibility and doesn’t shrink back in on itself. For the light spelt flour, I either use Sharpham Park or Stoates, British, stoneground. You may have a local variation.

Makes 4 pizzas

400g water
4g active dried yeast (or 8g fresh yeast)
600g flour – 200g strong white, 200g plain (all-purpose), 200g light spelt
6g fine sea salt
20g extra virgin olive oil (approximately)
Extra oil for oiling worktop and drizzling

1. Warm the water, add the yeast. Allow to froth.
2. Add about half the flour, mix well to combine, then cover. Allow this sponge or preferment to get nice and bubbly. Depending on the temperature in your kitchen, this can take anything from half an hour to a few hours. Leaving it gives us enough time to swimming lessons and back.

Pizza sponge

3. Pour in a few good glugs of olive oil, around 20g, and combine.

Pizza sponge with olive oil

4. Add the salt and the rest of the flour and mix well. You can do this with a mixer with a dough hook if you have one.
5. If you don’t have a mixer, turn out the shaggy mass** onto a lightly oiled work surface and knead to bring together.

6. Form into a rough ball then put in a lightly oiled bowl, cover (shower caps are great for this) and rest for about 10 minutes.

2020-03-07 12.40.09

7. Turn out and knead briefly. It should be smoother now, and easier to form into a neat ball.
8. Turn out and give it another brief knead. Rest for another 10 minutes.
9. Give it another knead then return to the bowl, cover and rest.
10. Give it a nice long fermentation. You can give it a stretch and fold if you like. This is a good process for helping the dough structure. Simply turn out the dough onto the lightly oiled work surface, stretch out a rough rectangle, fold one third in, then the other third. (Check out my old post on pizza bianca for more details or this technique.) If it’s rising too fast and you want to delay things, you can also put it, covered, in the fridge.
11. When the dough has doubled in size, turn it out. It should weight just over 1kg.
12. Divide up the dough into four pieces, scaled at just over 250g each.

Shaping pizza dough into balls. Bottom two cut off the main lump, top left is tucked, top right is shaped.

13. Tuck any rough pieces underneath then shape into a ball, ideally by cupping in your hand and making circular motions.
14. On a liberally floured area, leave the balls to rest, covered. Alternatively, you can put the balls in a container, cover it with a lid and leave somewhere cool if you need some more time.
15. I give my pizzas a final prove for about half an hour once I’ve stretched then out, but this is optional. Again, it’s about what fits in with your household routine.
16. On a floured worktop, squash a ball of dough down with the heel of your hand, then flatten out. Roll out to a size that fits your baking sheets – mine are 30cm square. (If you prefer round, go for it. If you prefer using a peel and sliding your pizzas onto a pizza stone, go for it. This dough works well for that too.)

Shaping pizza dough

Rolled out pizza dough

17. Preheat your oven. Mine says it’s 220C on the dial, but it doesn’t really muster much more than 210C.

Pizza dough on baking sheet

18. Top your pizzas, helped and/or hindered by children.

2020-03-07 17.28.53

19. Put in the oven for about 8 minutes, then swap around on the shelves and bake for another 8 minutes or so. Your oven will be different to mine, but you obviously want nice bubbly cheese and some colour on the crust.

2020-03-07 17.46.52

20. Turn out onto boards, slice and dig in.

If we’ve got any leftovers, I’ll happily blast them in the oven again for a few minutes then eat them Sunday evening – the one evening when the kids are allowed food in front of the telly in our house. I love a slice cold too.

* What are your most memorable, weird and wonderful pizza experiences? Whitebait pizza in Hokitika, South Island, New Zealand is one of mine. And the abovementioned sprouts.
** This is a Dan Lepard turn of phrase.

11 Comments

Filed under Breads, Discussion, Flour & grain, Pizza, Recipes

How to make a basic loaf of bread

Over the years, friends have asked what my basic bread recipe is. As the simple daily bread – that keeps the kids in sandwiches and toast – I just never got round to it, with my flurries of interest in feast day recipes and almond concoctions and whatnot.

So here it is.

This will seem like quite an involved recipe, but I just want to share lots of tips, which I hope will be helpful for any baking newbies who find this post.

Kit
The first thing I’d say for anyone embarking on their first bread-making experience is: get a flexible plastic dough scraper. The dough scraper is the most essential piece of equipment for handling dough: it helps you scrape it out of the bowl, it helps you scrape it off the work surface, it helps you pick it up and move it around, it helps you tidy up.

As you may be able to see from my photos, I use one from Bakery Bits. I’ve used it for years. I’ve had a few smaller ones, but I prefer the shape and size of this one with my average sized hands. It’s a cheap bit of kit, so invest and see how it feels for you.

The other bit of kit I’d recommend is electronic scales. Sure you can use cups and weights and whatnot, but electronic scales just make life easier, they’re great for scaling up and the tare function will become invaluable.

You also need tins. They’re pretty easy to come by. Manufacturers seem obsessed with giving everything a nonstick finish these days, but I prefer plain steel. Oil it a bit before using and it’ll season nicely to the point where loaves rarely if ever stick.

Stickiness
My basic bread recipe is what’s known as 75% hydration in bakers’ percentages. You don’t really need to get into all that, but it simply means that for every 75g of water, there’s 100g of flour, ie the wet ingredient as a percentage of the dry. A good rule of thumb is 750g of water to 1000g (1kg) of flour. This makes a slightly sticky dough. If that scares you, just reduce the water to about 70% – ie 700g water to 1000g flour.

As we get through a lot of toast, I tend to scale up the quantities so I can make four small loaves (in 1lb or 450g tins) or a couple of large ones (in 2lb or 900g tin). I bake about once a week, and freeze some of the loaves. Some bakers may have reasons to dislike frozen and defrosted bread but for a tin loaf like this it seems absolutely fine. This recipe also works well for freeform loafs but I prefer the tin form these days as it’s easier to process, there’s less fiddling about, which I’ve found particularly useful during the past few years of refereeing parenting small children.

Flour
For the flour, I tend to use a mixture of strong white bread flour, strong wholemeal bread flour and some spelt* flour. You can change the quantities – use all white for example. Using all wholemeal is possible, but it can make for a denser, crumblier loaf, and it may also require a bit more water as the higher bran content of wholemeal seems to make it more absorbent.

Yeast
As for yeast, I used to use fresh yeast, but it’s harder to come by in practical quantities now where I live, so I’m using active dried yeast, ADY, the granular type that you activate in tepid water. I don’t tend to use the powder easy-blend yeast, which you can just stir through the flour, as I enjoy the frothiness of ADY or fresh added to warm water.

Sponge or pre-ferment
My preferred technique, described here, involves making a sponge or pre-ferment – a mixture of all the water and around half the flour. Technically this helps gives the yeast a good start as it can get to work feeding on the sugars in the flour, but in practical terms it can help with timings too.

The sponge can be seen as an easy alternative to a sourdough starter. It won’t have the character you get with wild yeast colonies, but it will help make a tastier bread, and it also means you can use less yeast and do a longer fermentation, which may well mean the bread is more digestible too. The biggest problem with supermarket and industrialised bread is that it rushes the fermentation. I’ve talked about this a lot on here before, but the Chorleywood process, developed in Britain after the Second World War to speed up bread production, has got to a point where the dough has a very short fermentation, less than an hour. I won’t get into it now, but there’s evidence to suggest this rushed fermentation is the key reason a lot of people feel bloated eating modern, industrial bread, or feel they can’t eat bread or wheat.

Kneading
I still knead by hand, despite my recent acquisition of a cheap Aldi mixer. Handling the dough is just so fundamental to the pleasure of making bread. It’s primal. And probably qualifies as quite good stress relief. In short it’s a great activity to help deal with the madness of modern life. I follow a technique described by Australian master baker Dan Lepard in The Handmade Loaf. This was the book that really got me into bread-making a decade or so back. It’s a technique that shows you don’t have to be slavish to one big long knead, you can do short kneads at intervals.

Ingredients
Makes four small loaves or two big ones.

1050g water, tepid
5g active dried yeast (or 10g fresh yeast, crumbled)
1450g bread flour
5g fine sea salt

Method
1. In a large bowl, sprinkle the yeast into the warm water and leave to froth up.
2. Add about half of the flour to the yeasty water and mix well. This is the sponge or pre-ferment. Cover it with a plastic bag, which you can reuse over and over, or even a shower cap. I have a nice floral one. You can leave it for half an hour, or a couple of hours if that’s more convenient for you. You’ll get a nice bubbly sludge. How active it is will depend on various factors, but notably the health of your yeast and the warmth of your room.


3. Combine the salt with the rest of the flour then add to the sponge. I use a silicone spatula to mix it well in the bowl initially.


4. Turn the rough dough out onto your work surface, scraping out the bowl with your dough scraper. I have bamboo worktops which I oil a little first with vegetable or sunflower oil to make it easier to handle the dough, stop it sticking as much.


5. You can oil or wet your hands a bit if you like, but just keep that plastic dough scraper to hand and some flour as the dough is quite sticky. Don’t be tempted to keep adding more loads of flour to make the dough easier to handle as it’ll make the resulting bread drier and denser. Just get stuck in, enjoy the feel, and knead away, pulling and folding. The dough will come together more as the protein structure develops, but don’t agonise. Knead for say five minutes, then scrape the dough off your hands and, using a little bit of flour, rub your hands together as if you’re washing your hands with a bar of soap as this will help remove the remaining dough.


6. Gently but firmly form the dough into a slightly rough ball and put in a clean, lightly oiled large bowl. I tend to use a bigger bowl than for the sponge stage as this is quite a lot of dough and will get quite big as it proves. Cover with the plastic bag.


7. Leave for 10 minutes or so, giving it a chance to rest. You should find it a easier to handle now. Turn out again onto your lightly oiled worktop and give the dough another short knead. Form a ball, put back in the bowl, and cover.
8. Repeat this process a couple more times, every ten minutes or so, then cover and leave for half an hour.
9. Turn the dough out again and you can now try giving it a stretch and fold. This is just another form of kneading. It’s good for trapping some more air in the dough, but it’s also about lining up the protein strands, the gluten orientation. It’s also a method that’s handy with wetter, higher hydration doughs like ciabatta. Just stretch the dough out, then fold in one end, then the other, as in these handy pics.


10. Return to the bowl, cover and leave for its long prove, its “bulk fermentation”. How long this takes will depend on the temperature. My kitchen is about 18-19C. I tend to leave the dough for at least four hours. You can even put it in the fridge overnight or while you’re out. It’s all about finding a technique that fits in with your life and routine.


11. Leave the dough until it’s doubled in size. This is a nice simple rule of thumb. You should see some nice big bubbles of CO2 produced by the yeast.
12. Using your scraper, turn out the dough onto a lightly floured worktop. Give it a gentle knead. This is called “knocking back”, but that sounds so violent. All you’re doing is regulating the structure, reducing any of the bigger gas bubbles to produce a more even crumb in the resulting loaf. This is important for basic sandwich and toast breads, but some breads, like ciabatta and artisan sourdoughs want nice big holes. But that’s another story.


13. Lightly flour the worktop then give the dough another rest, covered with a cloth, then after about 10 minutes weigh it. The total dough weight here is about 2450g. To make four small loaves in 1lb/450g tins, divided it into four pieces each weighing about 612g. Form these pieces into balls by folding the edges to the centre, then chafing by cupping your hands underneath slightly and rotating. This tightens up the ball; if you’re making a boule, you need it tighter so it holds its shape when baked freeform but as we’re doing tin loaves you don’t need to agonise.
14. Place the balls on a more liberally floured area of worktop, cover and leave to rest for another 10 minutes or so.


15. Now, you want to shape them into tube-ish shapes to put in the tins. There are various techniques to do this, but the one that stuck with me is, again, from Dan L. Flatten the balls into discs. Imagine four quarters, and stretch out one quarter, then fold the end into the middle of the circle. Repeat with all four quarters.
16. Now you’ll have a rough diamond shape. Fold one point into the middle, then another, so the points meet. Now fold in half again and use the heel of your hand to seal the join. You can then fold the ends in and drop this into the loaf tin, with the folds underneath.
17. Repeat with all the balls, then cover and leave to prove. Again, this isn’t an exact science but I tend to go for doubled in size again. You can also use a poke test – if you gently push in your fingertip, the dough should spring back slowly, meaning the protein structure is holding the gas nicely. If it springs back too quickly, it’s under-proved, if it slumps, it may well be over-proved, so give it another knead, and repeat the process from step 13.


18. At the end of this final prove, heat your oven to 220C.
19. Slash the top of the loaves with a sharp serrated knife or special tool called a lame or grignette (if you feel like another little investment). Put the loaves in and bake for 20 minutes, then turn the oven down to 200C and bake for another 20 minutes.
20. Turn the loaves out. You can tap the bottom and listen for a slightly hollow knock, and this give some indication they’re done, but with loaves this size, the 20/20 minute bake should be fine. If in doubt, put the loaves back in, without their tins, for another 5-10 minutes. “Under-prove and over-bake” is a rule of thumb from my old teacher Leslie Gadd**.
21. Cool the loaves on a wire rack. Resist the urge to cut them while hot. Sure the smell is amazing, but essentially they’re still baking. If you try to cut them while hot, you’ll mangle the crumb and it can get all gummy. It can be OK with buns and it’s best with (“English”) muffins, steaming and smeared with butter, but not with tin loaves. When they’ve cooled completely, the steam will have all escaped and the crumb will have firmed up. The flavour will be better too. So just enjoy that aroma and have some patience!
22. When cooled, store in a bread bin in a paper or cloth bag, and freeze any extra loaves.
23. Enjoy! When it’s fresh, my kids demand “soft bread”, after a day or two we go for toast.

Drop me a line with any questions!

* Spelt is just another, older variety of wheat – Triticum spelta, as opposed to the more common bread wheat, Triticum aestivum. There are quite a lot of species of wheat, the Triticum genus of the Poaceae or Graminea, or grass, family.
** Leslie was teaching at the National Bakery School at London South Bank University when I did a baking diploma there back in 2010. He now seems to be operating out of Grantham, Lincolnshire, as Lovely Loaves.

Leave a comment

Filed under Baking, Breads, Recipes

Back again and more brioche

That was a long hiatus. The past few years have been quite intense on the parenting front, and the blog was a victim. Last month we underwent a significant transition though – our younger one started school. So now I have a bit more time and headspace to get this blog going again.

One thing I have been doing the past few years is making brioche. We all love brioche in our family. As much as I like to support my friend Einat’s Mamoosh bakery, with its top quality pittas and brioche, I enjoy making our own. It’s cheaper too, obviously, and times is tough financially for us normal families as the years of moronic, shambolic Brexit suicide drag on. Never mind how the climate crisis is going to affect food supplies and costs.

All and sundry
Anyway, as I mentioned in a post back in 2016, when I started my brioche experiments I found more than 20 recipes in my cookbooks and notepads. I hadn’t realised quite how much variation there was. The Art of French Baking by Ginette Mathiot in its 2011 might have unreliable recipes but it’s good for highlighting the differing types, with the quantities of egg, butter, milk and all the things that enrich the dough varying enormously. After trying several Mathiot ones, I’ve tried, among others, the Roux brothers, Prue Leith and Caroline Waldegrave, Dan Lepard, Justin Gellatly, Andrew Whitney, Paul Hollywood, and one from the National Bakery School, an alma mater. The one I ended up preferring came from River Cottage Handbook No 3 by Dan Stevens.

One thing they have in common is that the dough is sticky and fatty from all the butter and as such can be messy to process with warm human hands. To bypass the sticky kneads, I simply mixed it with a spatula then left it in the fridge for a few hours, then kneaded again when the butter had firmed up.

Finally, a mixer
Something else makes made it all a lot easier though – the acquisition of a mixer. I’ve wanted one for years, but the classic KitchenAids and Kenwoods you see on Bake Off are beyond our means at £250 to £500. I’d seen one a lot cheaper in Aldi, which was originally £100 I believe then came down to £50. Which is great price-wise, but what of its quality? If it’s so poor that it lasts only a tenth of the time a £300 one does, it’s a false economy.

Then suddenly, there in the offers aisle, was an Aldi Ambiano mixer, the last one, for just £20. Which I couldn’t refuse. Now, it’s clearly not as robust as the big brands, it’s a bit noisy, and the attachments don’t do a great job of reaching the sides of the bowl. But it’s not bad, and has transformed my relationship with brioche dough.

Saturday night and Sunday morning
My goal was to come up with a recipe I could do during the day on a Saturday, bake in the evening, then have for Sunday breakfast, as Sunday is “Jam day” in our house, when the kids are allowed sugary spreads. With a few tweaks the Daniel Stevens one works well in that time – start Saturday morning, bake in the evening. You can even leave the dough in the fridge for longer to fit in with your day’s activities.

As for the flour: usually I make breads with Stoates, which is organic and stroneground – which is great nutritionally thanks to the higher content of bran and germ, but has given a greyer, crumblier result to some of the brioche. So now I’m using whiter, more industrial, more finely bolted strong white from the supermarket.

Ingredients
90g full-fat milk, warmed
25g caster sugar
10g active dried yeast (or 15g fresh)
400g strong white bread flour*
5g fine salt
100g butter, softened
4 medium eggs (220g), beaten

Egg/milk to glaze (optional)

Method
1. Stir the sugar into the warmed milk then sprinkle on the yeast and leave it to froth up.
2. In the bowl of a mixer, combine the flour and salt.
3. Pour in the frothy yeast mix, add the beaten egg and soft butter, then mix on a slow speed until well combined. Alternatively, mix all the ingredients in a bowl and combine by hand with a silicone spatula. With both approaches, make sure to scrape down the sides of the bowl so everything is combined.
4. Cover the bowl and put in the fridge for a few hours to firm up the butter.
5. Turn out of the bowl onto an lightly oiled worktop and give a it a bit of a knead by hand, forming a nice neat ball.
6. Put the bowl in a clean, oiled bowl, then cover and leave to prove at around 18C. It doesn’t need a warm place, as you want a nice long fermentation time.
7. When it’s doubled in size, remove from the bowl and decide how you want to shape it.
8. Sometime I use classic fluted, tapering brioche moulds, sometimes I form a long snake then twist it before putting it in a loaf tin, but this time I went for the tear and share approach. The total dough weight is about 820g, which I divided into 10 pieces at 82g each. You could do more, for smaller tearing pieces – say 14 at about 58g each. Form these pieces into balls, leave them to rest, covered, for 10 minutes, then put them in a long loaf tin. I use one that’s 29cm long, 10cm wide, 7cm deep.
9. Cover the tin with a cloth then leave for a final prove. Timing will depend on the air temperature, but leave until nice and swollen.
10. Preheat the oven to 200C.
11. You can glaze the loaf with some egg, or a mix of egg and milk, but frankly it’ll get wolfed even if you don’t.

12. Bake for 10 minutes then turn the oven down to 180C and continue baking for about 30 minutes. Make sure you don’t have an oven shelf above it, as it rises quite a lot when it the yeast experiences the oven heat (this is called the oven spring).

13. Turn out onto a wire rack to cool.
14. Wrap it in a cloth or put in a cloth bread bag until you’re ready to eat it.
15. Serve with jam and butter. (Though my kids demand honey.)

* During the 2020 lockdown, when everyone got into baking and flour became scarce, I managed to score a sack of T55 flour. This is a French flour, equivalent to Italian type ‘0’. Although the wholesaler I bought it from listed it as “Strong Bread Flour”, it’s actually low protein – 9.8%, which is around the same as or even lower than many plain/all-purpose flours. I’ve been using it to make brioche and it’s worked well.

8 Comments

Filed under Baking, Breads, Recipes

Santa Lucia crown

Santa Lucia crown

The feast day of Santa Lucia,  St Lucy, is celebrated on 13 December. Her name derives from the Latin lux, as in “Fiat lux!” – “Let there be light!”. We also have a cat called Lux. She’s not divine in any way, she’s a needy, bony scrag, but we still love her.

Lucia was supposedly born into a wealthy family in Syracuse, Sicily, in 283AD, a time when the Roman Empire was still officially devoted to Zeus, Apollo and co. Christianity only won out a century later. The Emperor Diocletian was old-school, and she was killed during his reign, in 304AD. Medieval accounts of her death are grim, and involve her eyes being gouged out before she was burned at the stake. She remains the patron saint of the blind. As well as salesmen, oddly.

The facts are, of course, uncertain, but her veneration spread to Rome by the 6th century, and had even reached Britain by the 8th century. Today, she’s mostly celebrated on her home island and in Sweden. Her namesake role as a bringer of light was particularly important in the mid-winter gloom and her feast day may previously have been celebrated on the solstice, the shortest day of the year: now 21 December and more bound up in Christmas itself.*.

Santa Lucia crown cut in half

Anyway, this is based on another recipe from Cooking with the Saints by Ernst Schuegraf, “The Most Unique Catholic Cookbook Ever!”. It’s purportedly based on a traditional Swedish bake, but I can’t guarantee that. I’ve made Swedish inspired Santa Lucia buns before, which feature a similar enriched dough with saffron. And in the book Scandinavian Baking, Trine Hahnemann has a saffron bread recipe and recounts a Swedish legend about a man being woken by beautiful singing on the long, solstice night, 13 December 1764. It was St Lucia, bringing light, food and wine, and adding herself to the pantheon of Swedish annual traditions.

125g water
125g full-fat milk
A few sprigs of saffron
6g active dried yeast
250g plain (all-purpose) flour
250g strong white bread flour
2 eggs
120g caster sugar
50g butter, softened
3g salt

Plus
1 extra egg to glaze
100g icing sugar
30g milk, possibly more
3g vanilla essence
Candied fruit, lightly toasted flaked almonds, nibbed sugar or sprinkles to decorate

1. Combine the milk and water, warm slightly, add the saffron and leave to infuse for at least 20 minutes, even overnight.
2. Warm the liquid again then add the yeast and leave to froth up.
3. In a large bowl, combine the flours, sugar, salt, softened butter and two of the eggs.
4. Add the yeast mix and bring everything together to form a rough dough.
5. Turn out onto a lightly greased surface and knead to combine and create a smooth dough.
6. Form the dough into a ball and put in a clean, lightly oiled bowl.
7. Leave to prove until doubled in size. This will depend on the temperature. I don’t have a prover or warm cupboard, and our kitchen was about 19C; the doubling took a couple of hours.
8. The total dough should be about 1030g. Cut off a piece weighing about 350g, leaving the other at about 680g. Form these into balls, rest them for 10 minutes or so.
9. Stretch the balls slightly then slice each one into three equal sized pieces.
10. Roll the small pieces into snakes around 40cm long, and the larger ones into snakes about 80cm long.
11. Braid the three longer pieces, then form into a circle, pinching the ends together. Put this circle on a greased baking sheet.
12. Braid the three smaller pieces and go through the same process. Put this smaller circle on top of the larger circle.
13. Cover with a clean cloth then leave to prove again until doubled in size.
14. Preheat the oven to 190C.
15. Whisk the final egg, then brush over the dough to glaze.
16. Bake for about 15 minutes then turn down to 180C. Keep an eye on this bake as the glaze can brown then burn easily. If it does, cover with foil. Bake for another half hour or so.
17. Cool on a wire rack.
18. Sieve the icing sugar, then add the milk (adding more as necessary) to create a basic icing.
19. Drizzle the icing over the crown and decorate as you wish – you could use glace cherries, I suppose, but they’re the Devil’s work. The kids like sprinkles, so I’m using vermicelli and nibbed sugar.
20. Serve the crown with birthday candles for Lux, Lucy, Lucia, light.

Enjoy in the pre-Christmas mayhem of Advent, close to the solstice.

St Lucia crown baked

* I’m talking about the northern hemisphere of course. The shift from the old Julian calendar to the new Gregorian calendar involved removing between 10 and 13 days, depending on when the transition took place. Strongly Catholic countries like Italy, Spain, Portugal, France and Poland made the switch in 1582. Britain, Canada and most of the US didn’t until 1752.

5 Comments

Filed under Baking, Breads, Cakes (yeasted), Feasts, Recipes

Mamoosh pittas and the question of artisan food

Real pittas from Mamoosh

When making food by hand to sell direct to the public, one thing you will almost certainly argue about with yourself – and possibly with friends and family too – is pricing. Despite Britain being a place where we idolise chefs, buy recipe books in bulk, sit glued to food-themed TV, and like to fantasise about the artisan food producer life, most people still buy most of their food from supermarkets. And supermarkets are very much a product of the post-World War 2, post-rationing hunger for cheapness and plenty, quantity over quality.

Any artisan food producer has to compete with this.

Einat Chalmers of Mamoosh rolling pittas

Einat Chalmers runs Mamoosh1 out of small bakery within an industrial in Newhaven, on the East Sussex coast. Her main product is pitta2 bread. She sells four for £2. This seems like a bargain to me, but then I’m a middle-class stereotype who tries to eschew industrial food. People, even friends, criticised my prices when I sold Italian biscuits on the market, but my margins were very narrow, and the time it takes to handmake real food is a world away from the time it takes for a factory to spit out industrial food.

Scaling brioche buns by hand

Einat has some professional kit but is essentially making her pitta by hand: dividing the dough, shaping the balls, feeding a small dough roller, laying them on trays to prove, then dropping them onto her new addition: a proper pitta oven. Then removing them by hand too. With a supermarket’s pitta, the dough is almost certainly not touched by hand at all as it moves through an automated production process in a factory, not a bakery.

And frankly supermarket pitta tastes like cardboard; a conclusion I reached years ago and one that’s affirmed every time I eat Einat’s bread. Never mind that many will find the result indigestible; not because they can’t eat wheat, but because industrial bread doughs simply aren’t proved for long enough.

Mamoosh brioche buns

Einat, who grew up in the north of Israel close to Lebanon, sells her delicious pitta on the markets in Lewes. They’re a key part of my family’s diet these days. My fussy son calls it “pocket bread” and it’s a good way to get him to eat something filling. Einat also makes brioche buns to supply The Pig and Jacket, who do pulled pork and hog roast, and croissants and Danish, which she sells at the smaller market in Newhaven. She says she turns out up to around 250 brioche buns and 900 pitta a week but is gradually expanding. The latter production is helped by that pitta oven.

Mamoosh croissants, pain au chocolate and Danish pastries proving

I’ve never seen one before but it’s a great bit of kit, gas elements heat a large rotating disc of cast iron from below, while other flames brown the pittas from above. Einat says she was encouraged to invest in one by her restaurateur father in Israel, and when I visited the bakery I got a great sense of its efficacy. It heats to about 450-500C (a temperature similar to that found in a wood-fired pizza oven) in about 10 minutes. About a dozen pittas can fit on the disc and the rotation takes about a minute. The results are great: pocketed but puffy and tender, an entirely different animal to the abovementioned cardboard pittas more familiar to British supermarket shoppers. They may cost about 50p for six, but to my mind that’s a false economy: not only are they poor quality in terms of ingredients and production process, they’re also barely edible for anyone who’s even vaguely discerning about the bread they eat.

Pitta oven

Einat, who trained as a chef at the French Culinary Institute and interned in bakeries in New York in the late 1990s, taught herself sourdough and pitta at home. She’s lived in Sussex with her Scottish husband for about 15 years and worked on and off for Brighton’s Real Patisserie before starting her pitta business. I think she’s really onto something. I urge anyone who’s in Lewes for the food markets to check out her pitta, they’re one of those foods that very tellingly highlights the difference between real, handmade products and industrial crap. One of those products that, in a mouthful, qualifies and justifies the price differences3.

Mamoosh pittas are available at the Friday morning food market, in the Lewes Market Tower, from Talicious falafel stall, or you can get them straight from Einat’s Mamoosh stall at the Lewes farmers market on the first and third Saturday of every month. I’m eating some now with some of my hummus as I hit “Publish”.

Pittas baking

Mamoosh pittas and other products are available (as of April 2017):
At the Lewes Farmers Market, morning of first and third Saturday of the month, the Precinct, High Street, Lewes BN7 2AN, where Einat has a stall.
At the Lewes Food Market, every Friday morning at the Market Tower, BN7 2NB.
At the Hillcrest Country Market, every Thursday morning, the Hillcrest Centre, Newhaven BN9 9LH.

Footnotes
1 Einat explains the name thus: “Mamoosh comes from the word mummy (mother), probably introduced by the Polish Jews and become part of the Hebrew slang. “e use it mainly as a slang for sweetie, darling, honey, dear.”

2 In English pitta or pita is borrowed from the modern Greek πίτα. As it’s a transliteration, presumably there are arguments for both spellings. Indeed, the Greek word can also be translated as pie or cake. Older etymology of the word is contested so can’t help.

3 This is a tangent but just to preemptively respond to any criticism that I’m writing simply from a naive middle-class position, here’s a little more food for thought. Many people say that only the better-off can eat what I call real foods, and the poorer are dependent on cheap industrial produce, often frozen or in the form of ready meals, from budget supermarkets etc. This is obviously a complex issue but a story I read in the i newspaper on 2 March seemed to confirm something I’ve long thought – if you base your diet on fresh veg, grains, pulses, don’t expect red meat with every meal and don’t throw away food (itself an enormous issue, and one of the things that will bring about the downfall of our society), you can eat more affordably.

The article quotes from a report by the Institute of Economic Affairs (IEA), “the UK’s original free-market think-tank”, and its author says, “A diet of muesli, rice, white meat, fruit and vegetables is much cheaper than a diet of Coco Pops, ready meals, red meat, sugary drinks and fast food. The idea that poor nutrition is caused by the high cost of healthy food is simply wrong.” The IEA is not a body I know well, and it’s of neoliberal disposition and I’ve not read the original report, so I’m slightly wary of quoting from it.

15 Comments

Filed under Bakeries, Breads, Discussion, Food misc

Semi-sourdough, no-knead, casserole-baked bread

No knead, semi sourdough crumb shot

Purists will disdain it, but I’ve not got a problem with using a combination of sourdough starter and commercial yeast. This is semi-sourdough baking. The sourdough gives some depth of flavour while the addition of the yeast helps a baker of my middling ability to control the timings better.

It’s a technique I learned from the essential book The Handmade Loaf by Dan Lepard. It’s a technique that stands me in good stead as, honestly, I never mastered getting satisfactorily consistent sourdough loaves. I probably could master it if I had a real push but it’s not really where I’m at these days. Indeed, mostly I just make a fairly basic tin loaf these days for toast, something my family Hoovers at breakfast time. It involves yeast and a mixture of stoneground strong white and wholemeal wheat and spelt flours.

When I want something a bit more interesting, I reach for the sourdough. This is what I’ve been making recently. It involves the no-knead and Dutch oven techniques. The latter means baking it in a preheated Dutch oven, cast iron casserole dish or even a terracotta chicken brick. I’ve got one called a knuspertopf, my mum’s got one called a römertopf. My German-speaking father tells me topf means pot, while knusprig means crisp or crunchy. Römer means Roman, apparently. They all work well, retaining the moisture, adding some steam to the bake.

Knuspertopf no knead loaf

Combine to make a preferment
100g of sourdough starter at 100% hydration (ie, refreshing it with equal quantities water and flour)
2g active dried yeast or 4g fresh yeast
100g stoneground wholemeal wheat flour
100g water

I don’t worry about the temperature of the water. Leave this mixture at room temperature (about 19C in our place now) for about 6-8 hours. One good option is to make it at lunchtime.

After the allotted time, when the preferment is bubbling nicely, make the dough by adding
500g flour (I used a 50/50 mix of stoneground white wheat and wholemeal wheat)
400g water
7g fine sea salt

1. Just beat it all together until it clears, that is, until the flour is fully mixed with the water and there are no dry bits left. It’ll be a sloppy, wet dough. For those interested in bakers’ percentages, this works out at about 85% hydration. Ie, the total flour comes to 650g, the total water comes to 550g; 550/650 x 100 = 84.61.
2. Cover the bowl; I use a floral shower cap but a plastic bag is fine. Leave the dough for about 12 hours. I’ve been putting it in the fridge for about 10 of that. Overnight is good.
3. Remove the dough from the fridge and allow it to come back to room temperature. I’m not sure how important this is and haven’t scientifically investigated it yet. Some suggest a cold dough is good for oven spring, but I’m not convinced about that, it’d just be a sluggish spring.
4. Set your oven to maximum. Sadly, my electric Rangemaster only musters about 220C, at best. Put your chosen casserole dish in and heat it up for about 20-30 minutes.
5. Using a dough scraper, carefully remove the dough from the bowl onto a floured worktop. Handling it gently so as not to deflate it or damage it structure too much, fold one side into the middle, then the other, like a letter, to form a rough loaf shape.
6. Take the hot, hot dish out of the oven, remove its lid and, gently as you can, er, drop the dough into it. Put the lid back on, put it in the oven and bake for about 40 minutes.
7. Turn the oven down to 180C and bake for another 10 minutes.
8. Take the dish out, turn out the loaf, then return it to the oven for another 10 minutes. One risk with a dough this wet is that it may not cook all the way through. It should do with the preheated dish and a baking time this long but if you’re not sure, over-baking won’t do too much harm, other than thickening the crust a bit.
9. Remove from the oven and cool on a wire rack.

Casserole no knead loaf

Now, this is a pretty easy way to make fairly satisfying loaf. It’s got a good chewy crust and a reasonably open crumb structure. My only criticism is that it can feel slightly rubbery, if that makes sense. It’s definitely worth a try though, for that artisan vibe, and it makes cracking toast. Even if kids do fuss about the crust. Honestly, some mornings it feels like all I eat for breakfast is rejected crusts…

7 Comments

Filed under Baking, Breads, Recipes

The sheer indulgent excess that is monkey bread

Monkey bread

In my time as a baker and sugar addict, I’ve made or consumed a vast number of rich concoctions and enriched doughs, from multinational doughnut variations to chocolate babkas. But nothing was quite as indulgent as monkey bread, something I’d not heard of until a few weeks back when a recipe by Jane Hornby popped up in a BBC Good Food newsletter.

Monkey bread is basically made with an enriched dough, with balls or chunks dipped in more butter, sugar and spices, and arranged in a ring shaped tin for baking. It is a kind of sticky, cinnamony, buttery, pull-apart, tear-and-share bread that clearly has its origins in traditional sweet, spiced buns and breads of Germany, Scandinavia, the Netherlands, and even Britain (eg the Chelsea bun). Those traditions crossed the Atlantic with migrants who settled in America, where they changed, evolved – and had gallons of butter and tons of sugar thrown at them.

The oldest print version of monkey bread is from 1945, and by ZaSu Pitts1, an American actress with a career that spanned the silent and early sound eras. While much of Europe was suffering from rationing, American was producing monkey bread. Goshy.

No one knows where it gets its name, but it’s either because it supposedly resembles the monkey puzzle tree, or because it’s like something monkeys would get in a frenzy over pulling apart. The latter seems more likely to me, as we – four adults, four little monkeys (aged 1 to 11) – ate it together, falling on it with simian fervour.

There are savoury versions or versions with dried fruit, but this one is based on Hornby’s – cinnamon, sugar, butter, some roasted pecans – and it seems closer to the classic US type. My bundt tin wasn’t quite big enough, the whole thing was absurd, and I can’t really imagine being able to justify making it too often, but it’s a pretty awesome thing to have in one’s repertoire.

Recipe

Dough
200g full-fat milk
85g unsalted butter
12g active dried yeast (or 20g fresh yeast)
50g caster sugar
2 eggs (that is, about 110g of egg)
550g strong white flour
6g fine sea salt

Assembly
125g unsalted butter
12g cinnamon
4g powdered ginger
2g grated nutmeg
225g light muscovado or light soft brown sugar2
140g pecans, toasted and roughly chopped

Icing
100g icing sugar
3g vanilla essence
15g milk
5g cinnamon
30g unsalted butter, melted

Method
1. You need a bundt pan or similar ring-shaped tin, ideally 30cm in diameter.
2. To make the dough, first melt the butter and warm the milk slightly. I did this in a microwave. Stir in the caster sugar, scatter in the yeast, and leave it a few minutes to get going.
3. Put the flour and salt in a large bowl, then pour in the yeast mix. Of course, you can do this in a mixer. If you have a mixer, combine and mix and skip to 8.
4. Beat the eggs together then pour in too.
5. Bring together to form a sticky dough.
6. Turn out and knead to combine and homogenise.
7. Form a ball, then leave to rest again, covered, for another ten minutes.
8. Give it another knead, then cover and rest again. Repeat this once or twice more until you have a nice smooth dough.
9. In a clean, lightly oiled bowl, cover and leave to rest again, until the dough has doubled in size.
10. Prepare the bundt tin by melting the 125g of butter then using some of it to brush the inside of the tin.
11. Mix the sugar and spices, then sprinkle some of this into the buttered tin. Add a handful of the roasted, chopped pecans.
12. When the dough has proved, you need to divide it into pieces. Hornby’s recipe said 65, I went for 50 as that seemed a tad excessive. The total dough weighed about 1060g, so I divided it into pieces each weighing about 21g.

Balls of dough for monkey bread

13. Roll these into balls. You don’t really need to, but I fancied it, just cos, to maintain the technique, which involves cupping your hand over them, and rolling them on a lightly oiled worktop. If you get proficient, you can do one in each hand. Ta da.
14. Leave the balls under a cloth as you work so they don’t dry out.
15. Put the rest of the melted butter in a flat-bottomed bowl or container, and the rest of the sugar and spice mix in another.

Assembling monkey bread

16. Roll the balls, in batches, in the butter, shake off any excess, then roll them in the sugar and spice mix. Place them in the tin.
17. Form a layer, sprinkle with more pecans, and keep going until the tin is full and balls all used up.

Monkey bread, before final prove

18. Cover again, then leave to prove one last time, until bulging and springy to the touch. Push a finger in and the dough should slowly re-expand.

Monkey bread, after final prove

19. Heat the oven to 180C, then bake the bread for about 40 minutes. Turn the oven down a bit, or cover with foil, if it’s over-browning before this time.

Monkey bread, baked
20. Leave to cool in the tin, then turn out when still warm but not hot.
21. Whisk together the ingredients for the icing then drizzle over.
22. Eat with for breakfast, with a morning coffee, as afternoon tea, or even as a dessert – which is what we did.

Good. Excessive. Indulgent. But good.

Monkey bread

Footnotes
1. More about her here. Her recipe, and more about monkey bread, can be found here.
2. I find these sugars behave pretty similarly in baking, though muscovado sugars were originally those of lower quality, and have higher molasses content.

13 Comments

Filed under Baking, Breads, Cakes (yeasted), Recipes

Brioche: not just a buttery French breakfast

Sicilian brioche

One of the projects I set myself last year was to perfect brioche. Specifically, I wanted a recipe where I could give a final prove overnight then bake in the morning to have for breakfast. I haven’t achieved that yet as the research is proving seemingly endless.

In many ways, brioche is the classic enriched dough. An enriched dough is a standard bread dough – yeast, water, flour, salt, time – that’s been made into something more indulgent by the addition of sugar, eggs, butter etc. Indeed, I always thought butter was pretty essential. But when I started looking at recipes, I realised there was enormous variation.

I already knew it was a bread that came in many forms – personally I’ve done tin braids, freeform braids (like challah), rings, and the classic Brioche à tête or parisienne, with the smaller ball on top of a large ball, usually baked in fluted tins. The variation, however, goes beyond the shape. I’ve got a list of 20-plus recipes, with the first eight alone coming from the 2011 Phaidon English version of Ginette Mathiot’s The Art of French baking, first published in the 1930s in France as Je sais faire le pâtisserie (“I know how to make patisserie”). There’s classic brioche, rich brioche (lots of eggs and butter), poor man’s brioche (very little butter and egg), brioche with no butter but crème fraîche instead, a brioche leavened with baking powder not yeast (and therefore more cake than bread) and even a Norwegian brioche (no eggs; peel and dried fruit).

The recipe I’m doing here, however, is another variation, from Sicily. Naples and Sicily have historical connections to France – not only did Normans invate Sicily around they same time they conquered England (what an incredible logistic achievement), but there was a 15th century invasion and claim to the throne, and a Napoleonic Kingdom in the 19th century – which in part explains a French influence in their baking traditions. Notably in the presence of brioche. I don’t know these parts of Italy, but I’m aware of the stupendous idea of eating small brioche as a kind of gelato sandwich, or with granita.

Interestingly, this brioche, based on the version in La cuccina Siciliana by Maria Teresa di Marco and Marie Cécile Ferré, doesn’t even contain butter. It’s instead made with lard, strutto. It’s called “Brioche con il tuppo di Nonna Adele”. So many Italian recipes seem to originate with someone’s nonna (grandmother).

A tuppo is a chignon, though it may also be related to tappo – plug, cork, stopper. Di Marco and Ferr also give the dialect variation tuppitieddu, which may be Catanese – from the port of Catania. Which is all getting a bit much for me with my basic linguistic skills.

250g strong white flour
250g plain flour
200g milk, tepid
80g caster sugar
75g lard, softened (or butter, see below)
2 eggs, about 110g beaten egg
15g fresh yeast (or about 8g active dried yeast)
3g fine sea salt
5g vanilla essence, or to taste
1 more egg, lightly beaten, for the glaze

1. Combine the flour, sugar and salt in a bowl.
2. Dissolve the yeast in the milk, then add this to the flour.
3. Add the vanilla and the salt and blend.
4. Add the softened lard and keep blending.
5. Keep working to achieve an elastic dough.
6. Rest the dough in the fridge, covered in plastic, for at least 6 hours, up to about 10.
7. Take the dough out of the fridge. The total dough weight should be about 1kg. Divide into 10 pieces, each scaled at about 100g.

Form bigger and smaller balls

8. Take pieces, about 20g, off each ball to form “u tuppitieddu”. Form small balls.

9. Tighten up the balls. Then roll the smaller ones into a teardrop shape.

Form teardop shape and poke a hole in larger ball

10. Form a hole in the top of each of the bigger balls with your finger then insert the teardrops, pointy bit first. Make sure they’re well attached or they can fall off.
11. Put on baking sheets, cover with a cloth and leave to rise until doubled in volume, around an hour, hour and a half in a warm-ish kitchen.
12. Preheat oven to 180C.

Prove up and brush with beaten egg

13. Brush the buns with beaten egg then bake for about 15 minutes.

Now, I must say, I like these little brioche, the shape is fun, and I can imagine they’d work well with gelato or granita. As a breakfast bun, however, the lard quality isn’t half so nice as buttery brioche. It just feels like something’s missing.

Historically, poorer people may have had a pig, and therefore pig fat, as they can be kept in small spaces and eat almost anything. Dairy fats, on the other hand, require grazing – and land ownership was the preserve of the wealthier. So I can see how a lardy brioche might have evolved among Nonna Adele’s ancestors and their demographic peers. But these days, when we can easily buy butter, frankly, I’d use that instead. Unless you particularly like lard.

Oh, and apologies if my blog updating is a little haphazard these days. Not only did my computer just die an unfortunate death, forcing me to try and cope with Fran’s aged, badly maintained old laptop, but we’re also in the process of expanding our family. Big changes afoot.

13 Comments

Filed under Baking, Breads, Recipes

Pangiallo, primitive cakes and winter festivals

Pangiallo

Pangiallo is a cake I encountered in Rome, and indeed one of the last posts I wrote before leaving there in October 2013 mentioned it. But I’ve only recently started to make it, and discovered a quite a lot variation in recipes. Which might seem quite surprising, until you consider it’s a cake that purportedly has roots in Ancient Rome.

Pangiallo, or pancialle, is a Roman, or Lazio, cousin to panforte, “hard bread”, the better-known dense fruit and nut cake of Sienna, and panpepato (“pepper bread”). All three can be arguably be classified as “primitive cakes”. It’s easy to imagine the first cakes were compressed discs of nuts, seeds and dried fruit bound and sweetened with honey.  Although food historians suggest pangiallo’s origins are ancient Roman, and panforte is comparatively recent, possibly from the 13th century, people have probably been making these kinds of things for millennia.

Spice trails
There’s debate about what spices the ancient Romans had, but they almost certainly used cardamom, cloves, coriander, black pepper, ginger and nutmeg, and possibly cinnamon too. Such spices, many of which arrived in Europe via the Silk Road, maintained a role as important for feast day foods through the “Dark” and Middle Ages. As they had travelled so far they were expensive, so were used only for special foods on special days.

Britain, of course, has a very similar tradition of rich, spiced fruit cakes for midwinter celebrations in the form of our Christmas cake and Christmas pudding. Their characteristics have similarly ancient origins, though spices were even more scarce and valuable in northern Europe, compared to Italy. Ports such as Genoa and notably Venice were the western extremes of the maritime Silk Route, the dropping-off points for such valuable cargo; spices still had a long way to go before they reached Britain.

Pangiallo spice mix

Festival of light
Today, Pangiallo is eaten to celebrate the feast day of Santa Lucia, St Lucy, and also for Christmas. Both of these Christian feasts are associated with older winter solstice celebrations. The ancient Romans had Saturnalia, when the ancestor of pangiallo may well have been eaten. When Rome took Christianity as its official religion, many of the pagan festivals were Christianised too, and the consumption of special spiced cakes continued.

The calendar change of 1582 has confused things somewhat as St Lucy’s Day is now celebrated on 13 December in the Gregorian calendar, with Christmas Day closer to the solstice of 21-22 December. In the earlier, Julian calendar, however, St Lucy’s Day would have been closer to the solstice, the day when the night is at its longest. To dispel the darkness, it’s a festival of light, and indeed the very names Lucy and Lucia derive from lux, lucis, the Latin for light.

One Roman blogger suggests the yellow, saffron-tinted glaze of pangiallo is symbolic, looking forward to the new light of spring. The only problem with this theory is that pangiallo doesn’t always feature a yellow glaze. Many versions don’t seem yellow at all, but instead more brown from the dried fruits, caramelised sugar and honey, and even cocoa and chocolate.

Testing times
At the weekend I made the version in Rachel’s book Five Quarter’s: Recipes and Notes from a Kitchen in Rome. It’s closer to the version by the blogger mentioned above and does feature a rich glaze, coloured with saffron and egg yolks. Although they all contain flour, Rachel’s version is not leavened, with yeast or chemicals. So I was intrigued when I read the recipe in Oretta Zanini de Vita’s The Food of Rome and Lazio. Hers features a yeasted bread dough. That said, the dough only forms about 20 per cent of the total mass: which is predominantly raisins. Her original recipe is huge, with “1.8kg (about 4lb) zibibbo (seed raisins)”, with the whole formed into a loaf and proved for 12 hours.

For my testing process, I can’t really do such enormous bakes, so I halved the recipe and tweaked it. Hers included pine nuts too, for example; I love them, but they’re so expensive and the ones in the shops here have all travelled from China, which seems crazy. I’ve also favoured the disc-shaped form. Half quantities still produced four cakes, each scaled with 400g of dough. So I’ve halved it again here.

Pangiallo ingredients

5g fresh yeast, or 4g active dry yeast
50g plain flour
50g strong white flour
35g caster sugar
100g water, warm
20g olive oil
2g fine sea salt
250g seedless raisins
100g dried figs, quartered
120g whole or blanched almonds
20g candied peel
Spices: a mixture of ground cinnamon, coriander, black pepper, nutmeg, cardamom to total about 8g, to taste

1. Dissolve the sugar in the water.
2. Make a preferment with some of this sugar-water, the yeast and about 25g of the flour.
3. Leave to get bubbly.
4. Put the rest of the flour in a roomy bowl.
5. Add the preferment, the rest of the sugar water, the olive oil and salt.

Pangiallo mixture
6. Form a dough, adding more water if necessary, then turn out onto a lightly oiled surface and knead until smooth.
7. Rest 10 minutes, then add the spices, nuts, raisins and peel.
8. Combine. I can’t really say “knead” as it’s all fruit and nuts. It’s more a case of getting your hands in there and squishing it all together.
9. Cover and rest again, for about 6 hours.
10. Form the desire shapes. I recommend a couple of equal balls.
11. Put the balls onto baking sheets lined with parchment or silicone, and squash them down into discs, about 25mm high. If it’s too sticky, flour your hands a bit as you form the discs.
12. Cover and leave again, for about 4-6 hours. Less if it’s warm, more if it’s cold.
13. Heat the oven to 180C .

Unbaked pangiallo
14. Make a batter with 15g flour, 15g water, 15g oil and 15g sugar. De Vita’s glaze wasn’t coloured yellow, but if you want to, you can add some saffron to the (warm) water and leave it to infuse for half an hour or so. Or cheat and sprinkle in a little turmeric, a spice that’s only mildly flavoured and is more used for colouring.

Unbaked pangiallo, with saffron glaze
15. Brush the glaze onto the loaves.
16. Bake for about 30 minutes, until coloured, but without burning too many raisins.

Pangiallo, baked
17. Allow to firm up on the trays for 20 minutes or so, then transfer to wire racks to cool completely.

Two pangialli

Comparisons
Considering pangiallo is defined by spices, raisins, figs and nuts, the two recipes I tried this week are remarkably different. De Vita sweetens hers only with the fruit and some sugar. Rachel’s uses honey.

I’m struggling a bit at the moment as I keep wondering about vegan stuff for my stall, and honey is a ahem sticking point. Many vegans are staunchly anti-honey. I love the stuff, and beekeeping friends have explained to me it’s a more symbiotic relationship with the bees, not the wholly exploitative one Donald Watson suggested in his 1944 edicts on the founding of the Vegan Society.

Anyway, Rachel’s (on the left in pic above), which uses mixed nuts and more candied peel alongside the honey, has a more pleasing texture. She describes it as like a “soft, chewy, heavily spiced nougat with a whisper of cake”. Which is spot on. De Vita’s, on the other hand, is surprisingly bready, considering the yeasted dough forms such a small proportion of the whole. It’s like a dense, more traditional, fruit cake, even one we’d recognise here in Britain. It’s good, but not as good. So I’m going with honey, more peel, more varied nuts. No yeast. And possibly even egg yolks in the glaze. Though whether it really needs to be quite so yellow is something I’m still undecided about. I need another research trip to Rome!

11 Comments

Filed under Baking, Breads, Cakes, Cakes (yeasted), Discussion, Feasts