Tag Archives: wholewheat

Digestive biscuits

Digestives, piles

Apparently this type of biscuit was first developed by two Scots doctors in the early 19th century who believed the bicarbonate of soda was the digestive aid. These days, however, we’re more likely to look to the bran, from wholemeal wheat flour, and the oatmeal, for the more healthful qualities of digestives.

This is another one of my recipes from my old notebooks from when I lived at Old Man Mountain, New Zealand, in 1994-95, from my friend Nadia. I’ve no idea where she got the recipe from. If memory serves, it was in one of her notepads. All I know is we were making a baked cheesecake, needed some digestives, and this was a better option than driving 15km to a shop.

This time round I’m making them because I want to try this amazing looking, amazingly indulgent recipe from Kate “The Little Loaf” Doran. Kate has her own, similar recipe, for digestives, but well, I wanted to use mine, another memory of Nadia.

Isometric digestives

A bit of chemistry
This is a slightly tweaked version of the one I’ve got in my notepad. That one used baking soda, aka bicarbonate of soda aka sodium hydrogen carbonate, for a little bit of raising agent. The thing about baking soda, though, is that it’s an alkali and it needs an acid to react with to create the carbon dioxide that gives lift. That’s why US muffin recipes, say, often include yogurt, for the lactic acid. Other recipes might use citrus juice, milk or even vinegar. But my old digestive recipe had nothing acid in it*. So I’ve replaced the baking soda with baking powder. And what is baking powder? It’s pre-mixed combo of baking soda and something acid for it to react with when you combine and bake. In this case, sodium phosphates: that is, sodium salts of phosphoric acid.

A word on the oatmeal: you can use whatever you fancy, though fine or medium are probably best. I didn’t have any, so I just used some porridge oats, which I whizzed in a food processor – to make a medium-coarse meal. Hence the results in this case are especially rustic.

Makes about 30 biscuits

150g unsalted butter
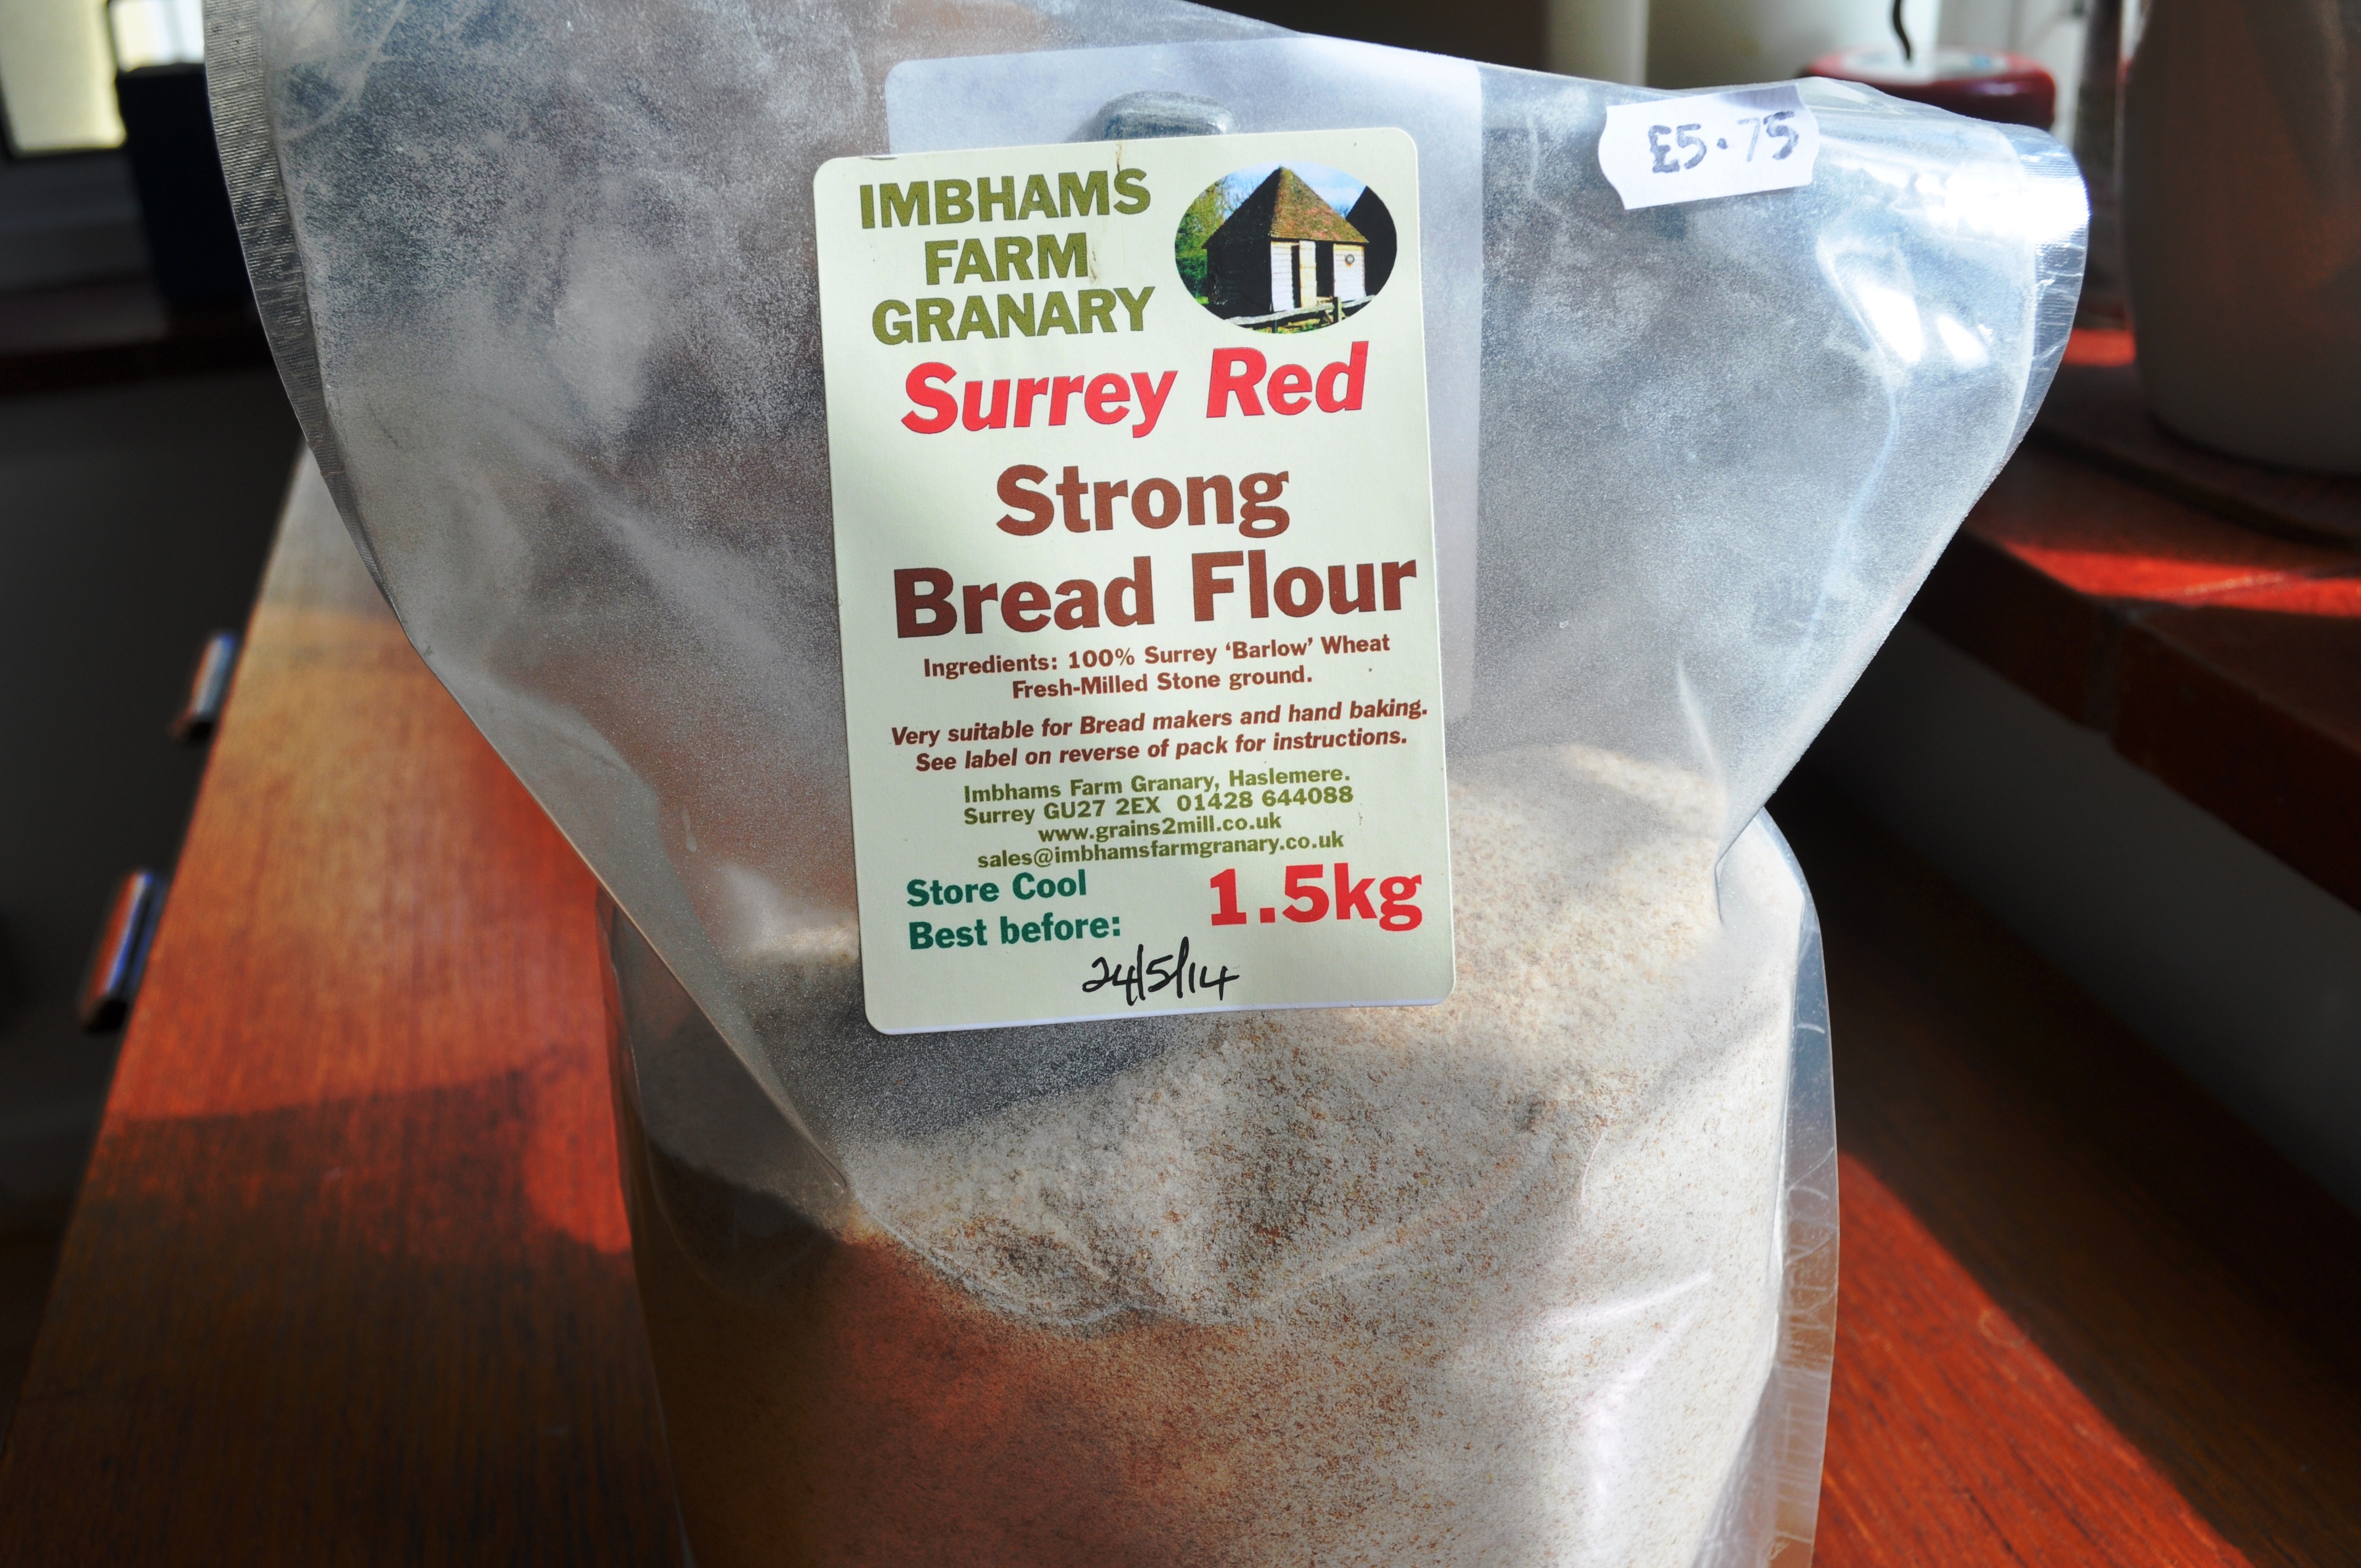
250g wholemeal flour (plain/low protein)
250g oatmeal (fine or medium)
80g light soft brown sugar
1/4 tsp salt
1/2 tsp BP
2 eggs, beaten (approx 120g beaten egg)

1. Preheat oven to 200C.
2. Combine the flour, oatmeal, salt and baking powder in a bowl.
3. Rub the butter into the flour mix until it resembles crumbs.
4. Stir in the sugar.
5. Bind with the beaten egg, to form a rough dough. Don’t overwork it, or you’ll toughen it up. You can wrap it in plastic and give it a rest in the fridge at this point, but I can’t say I noticed the difference.

Digestives, pinned outPinned out, cut out
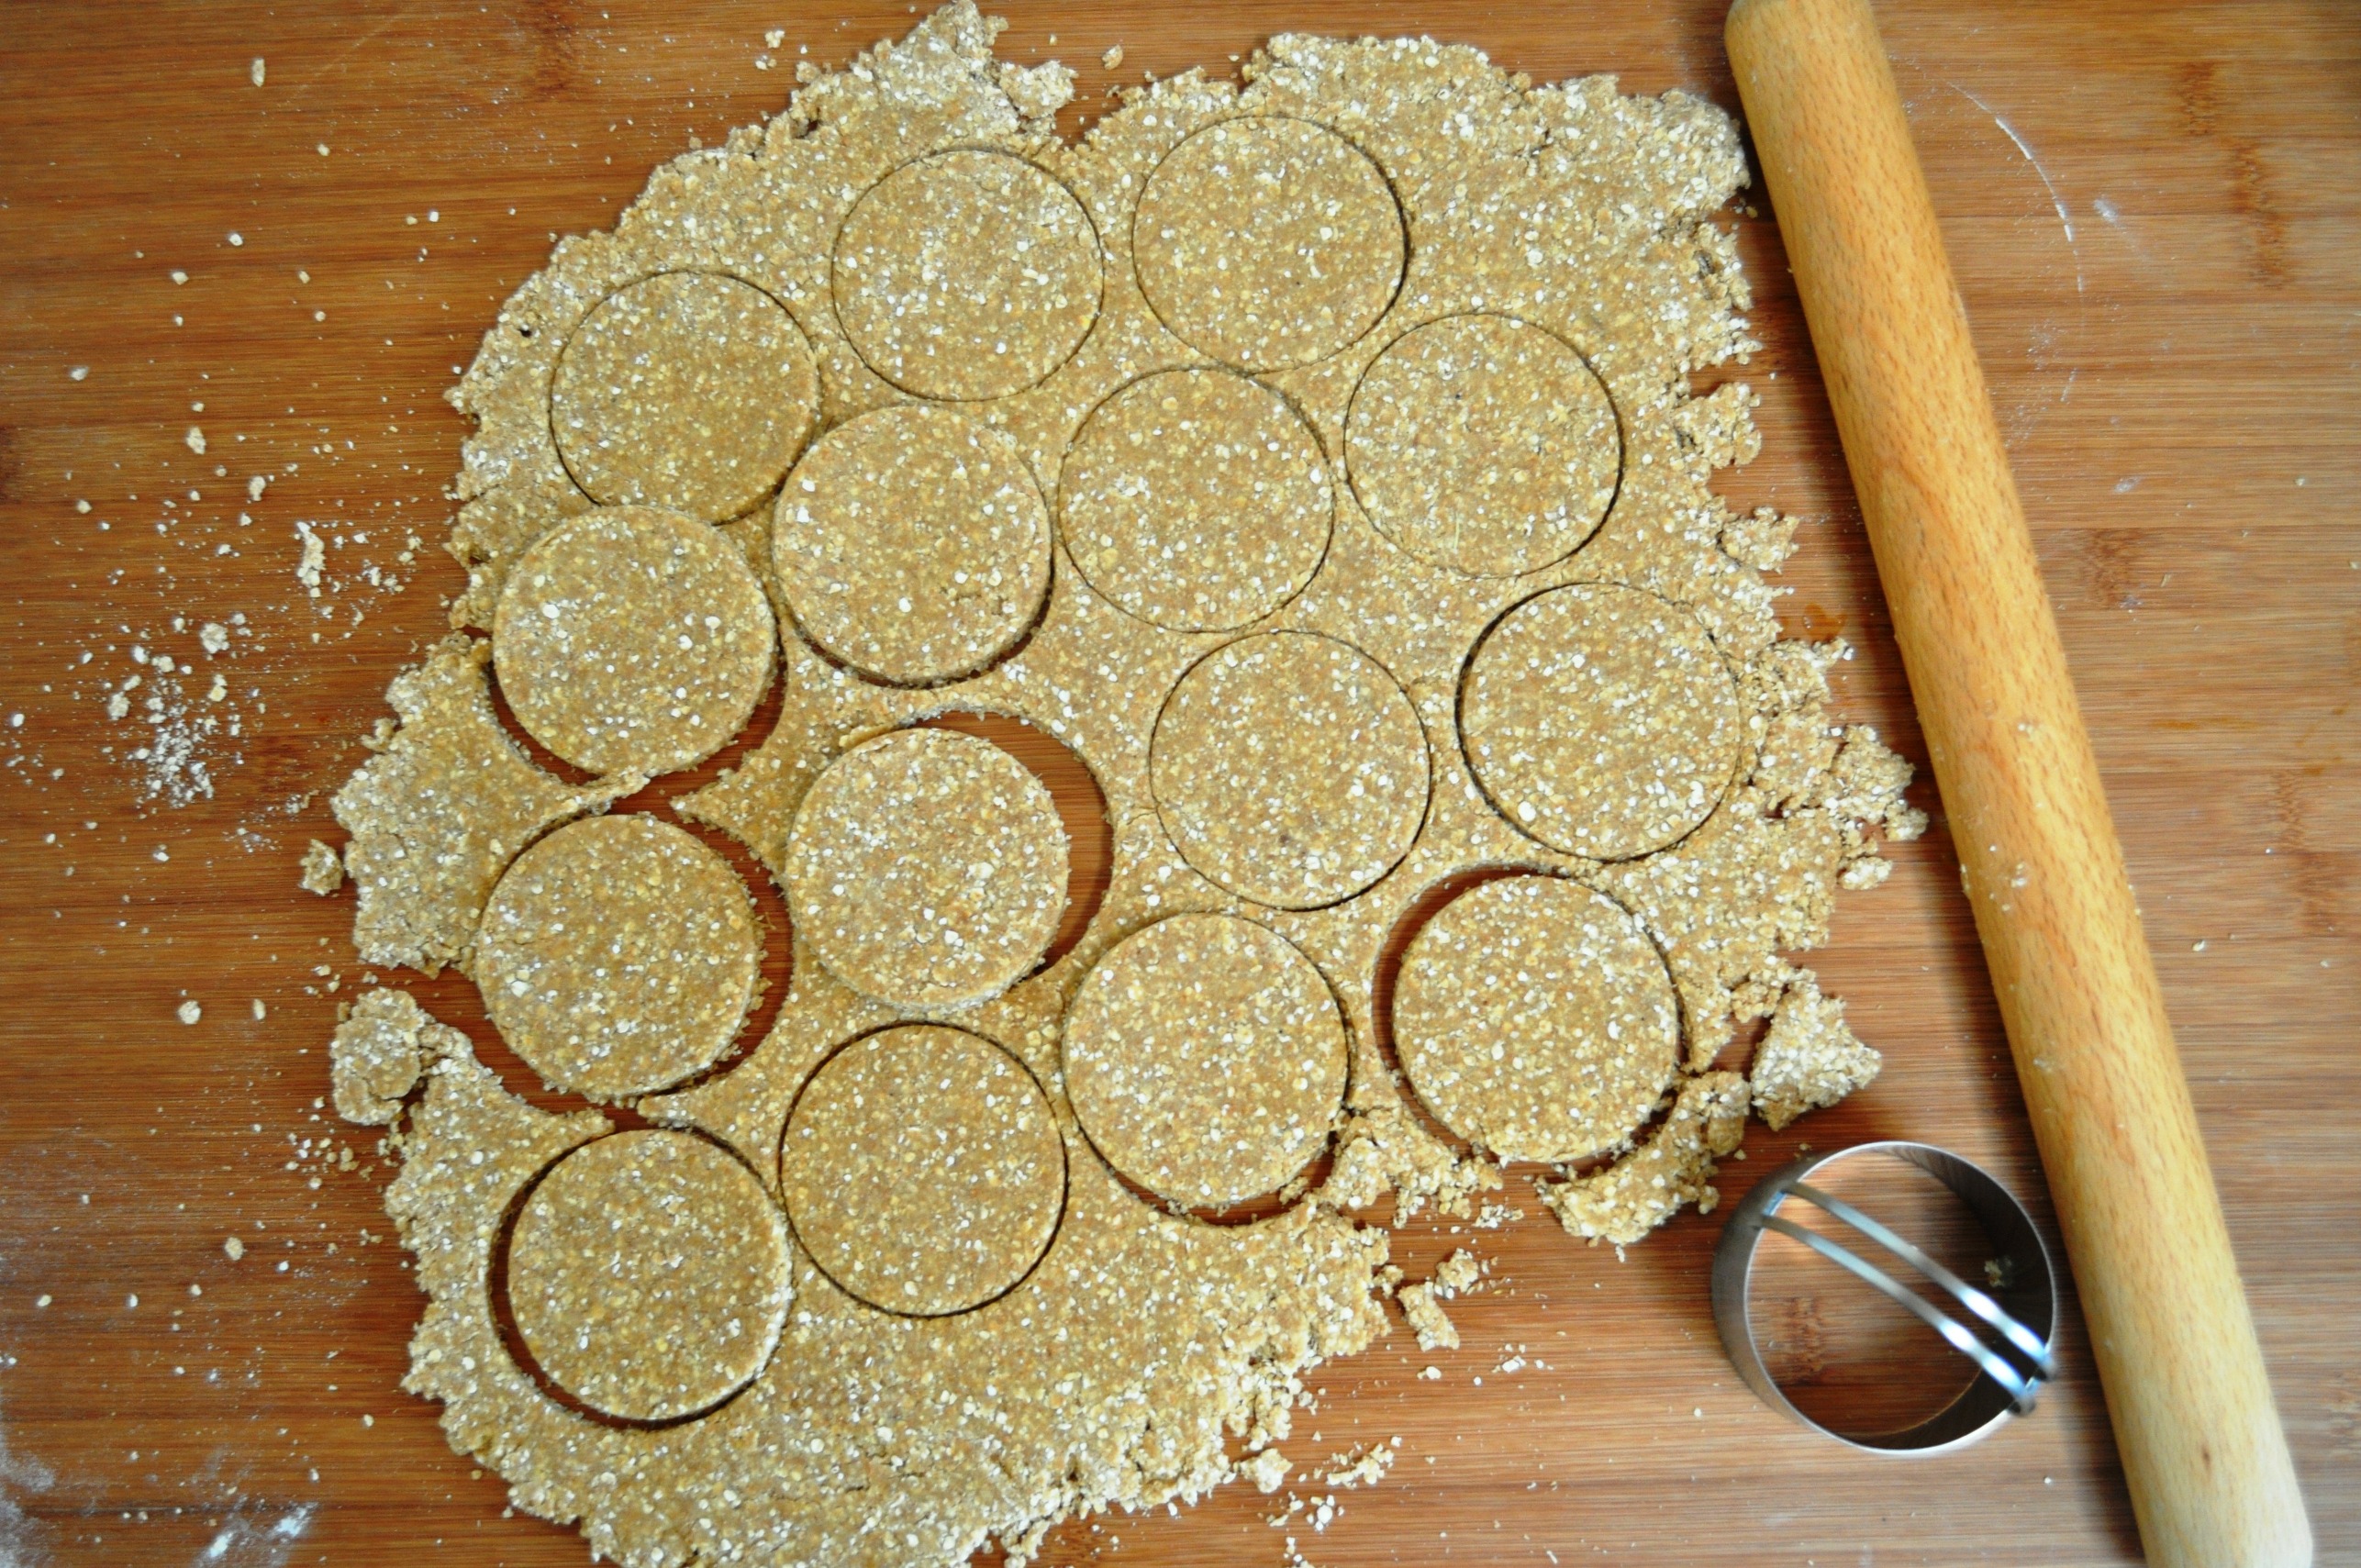
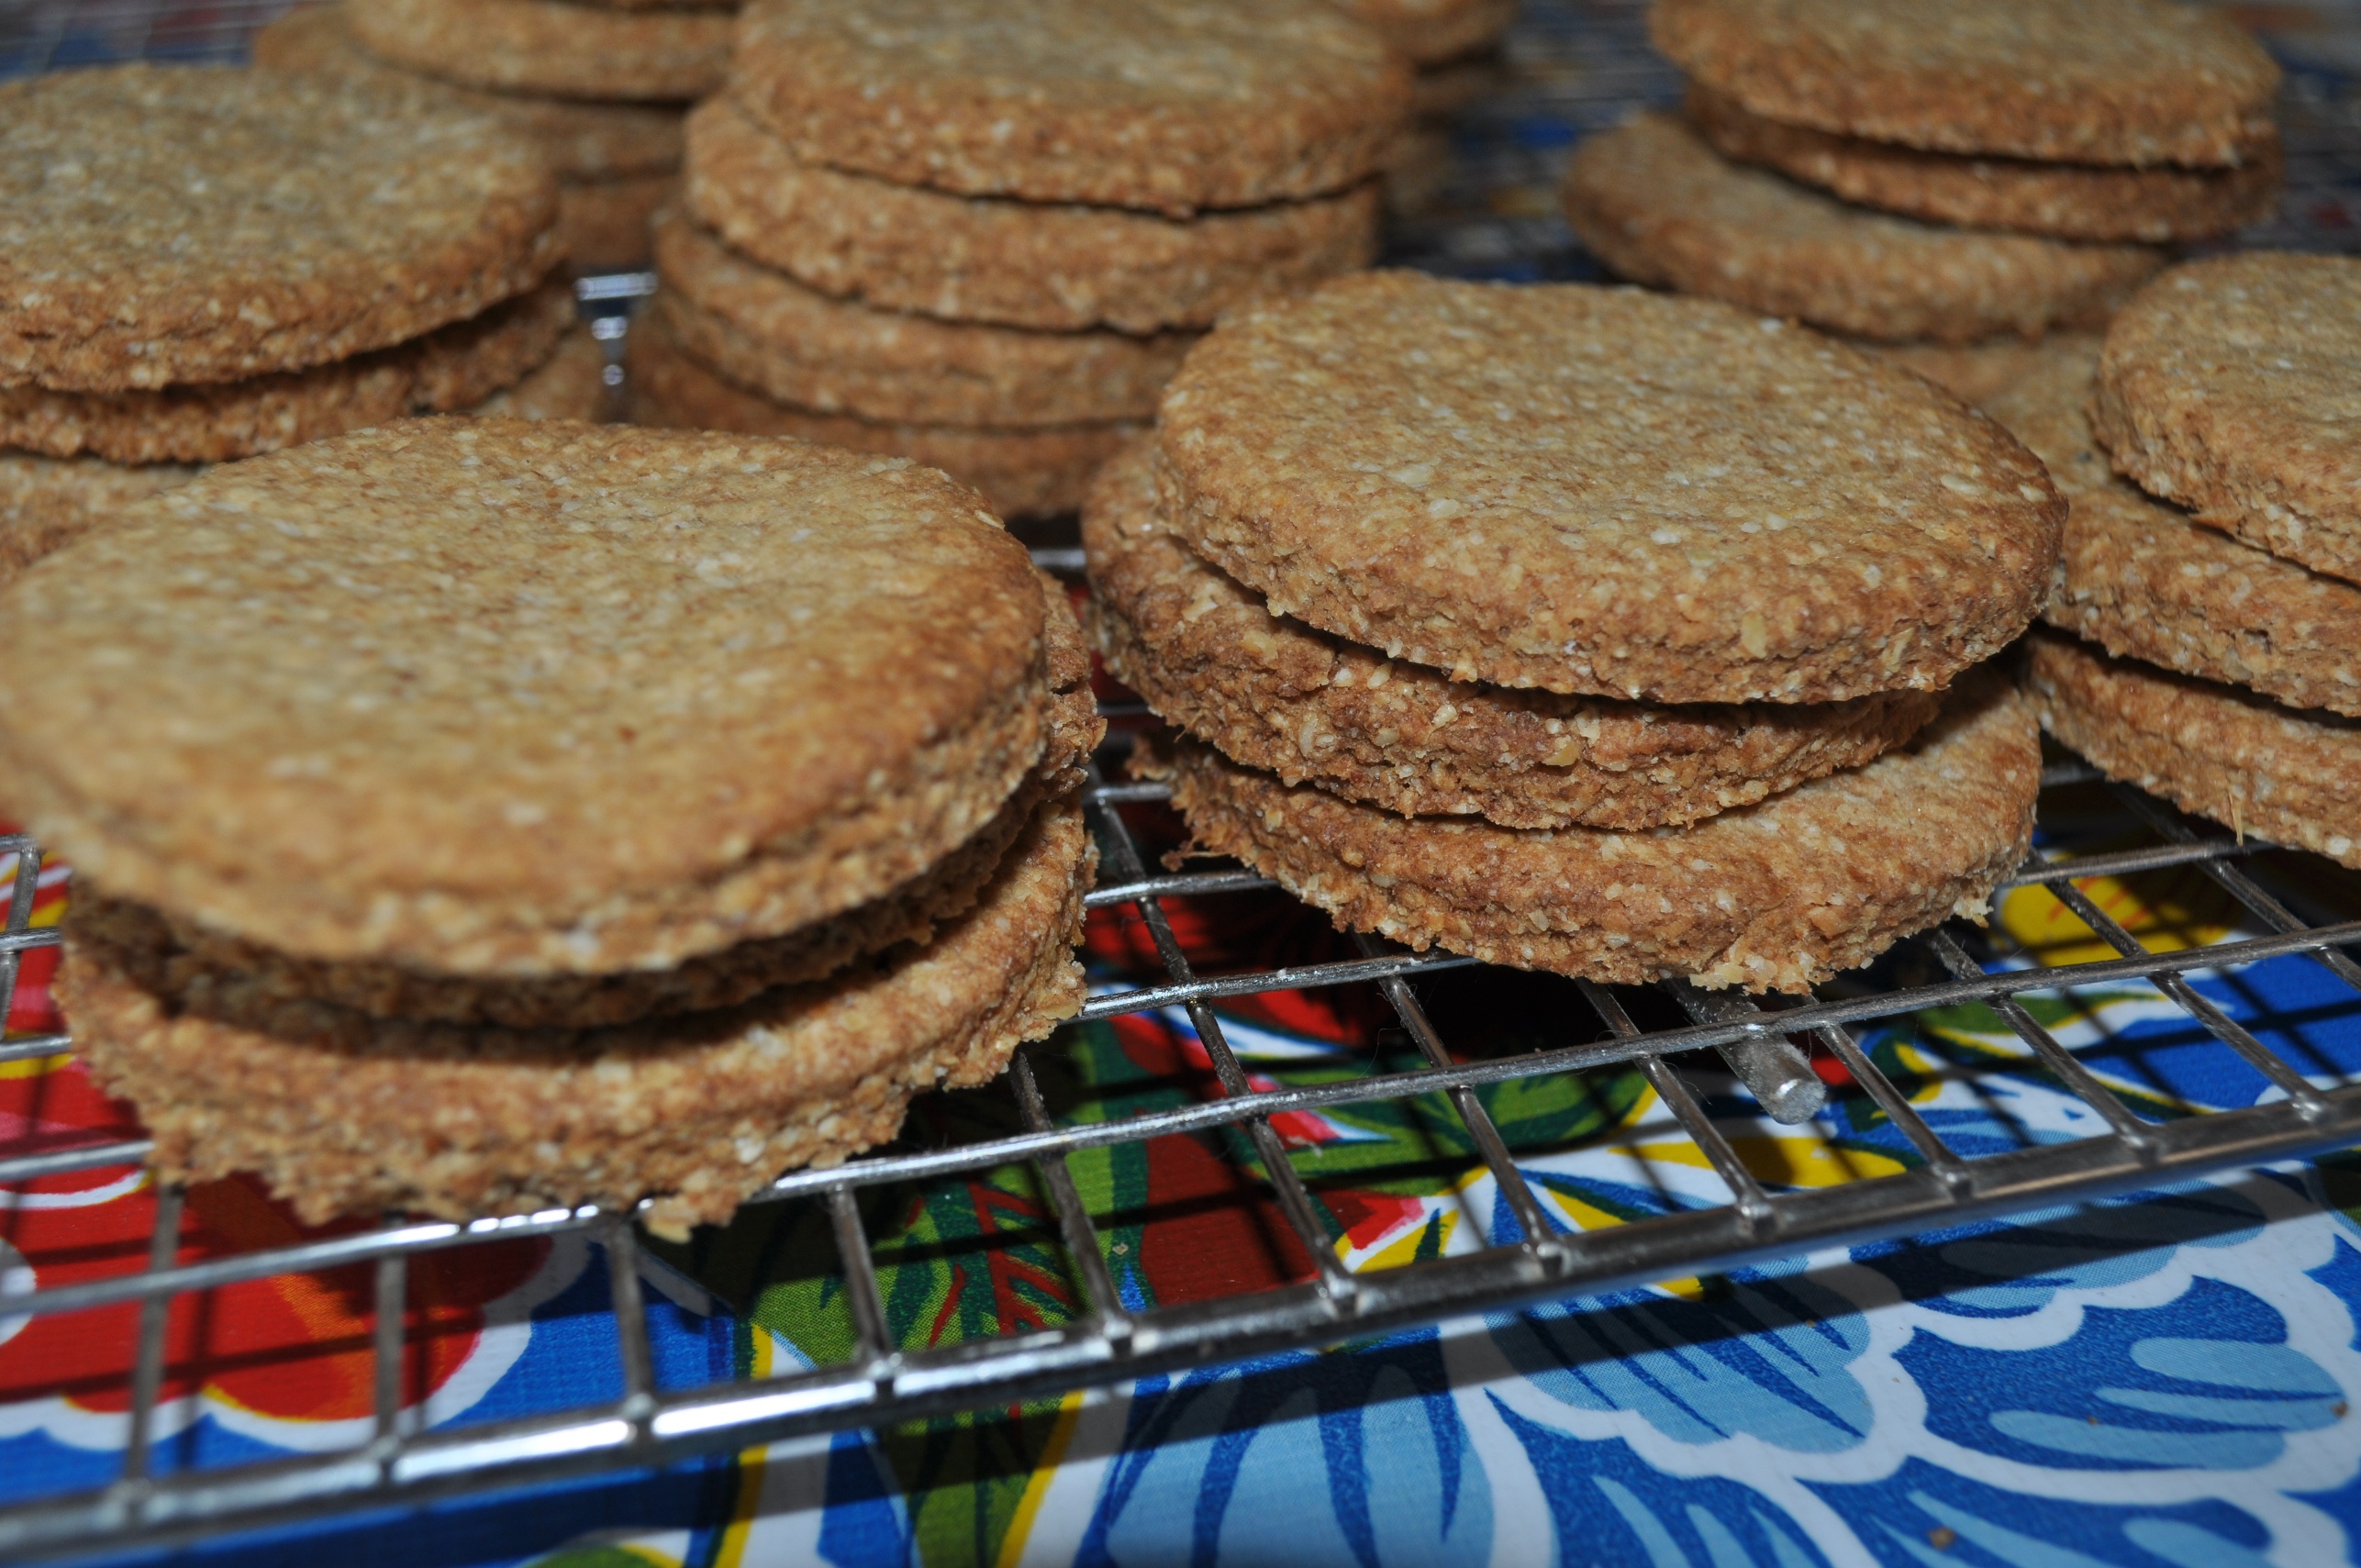
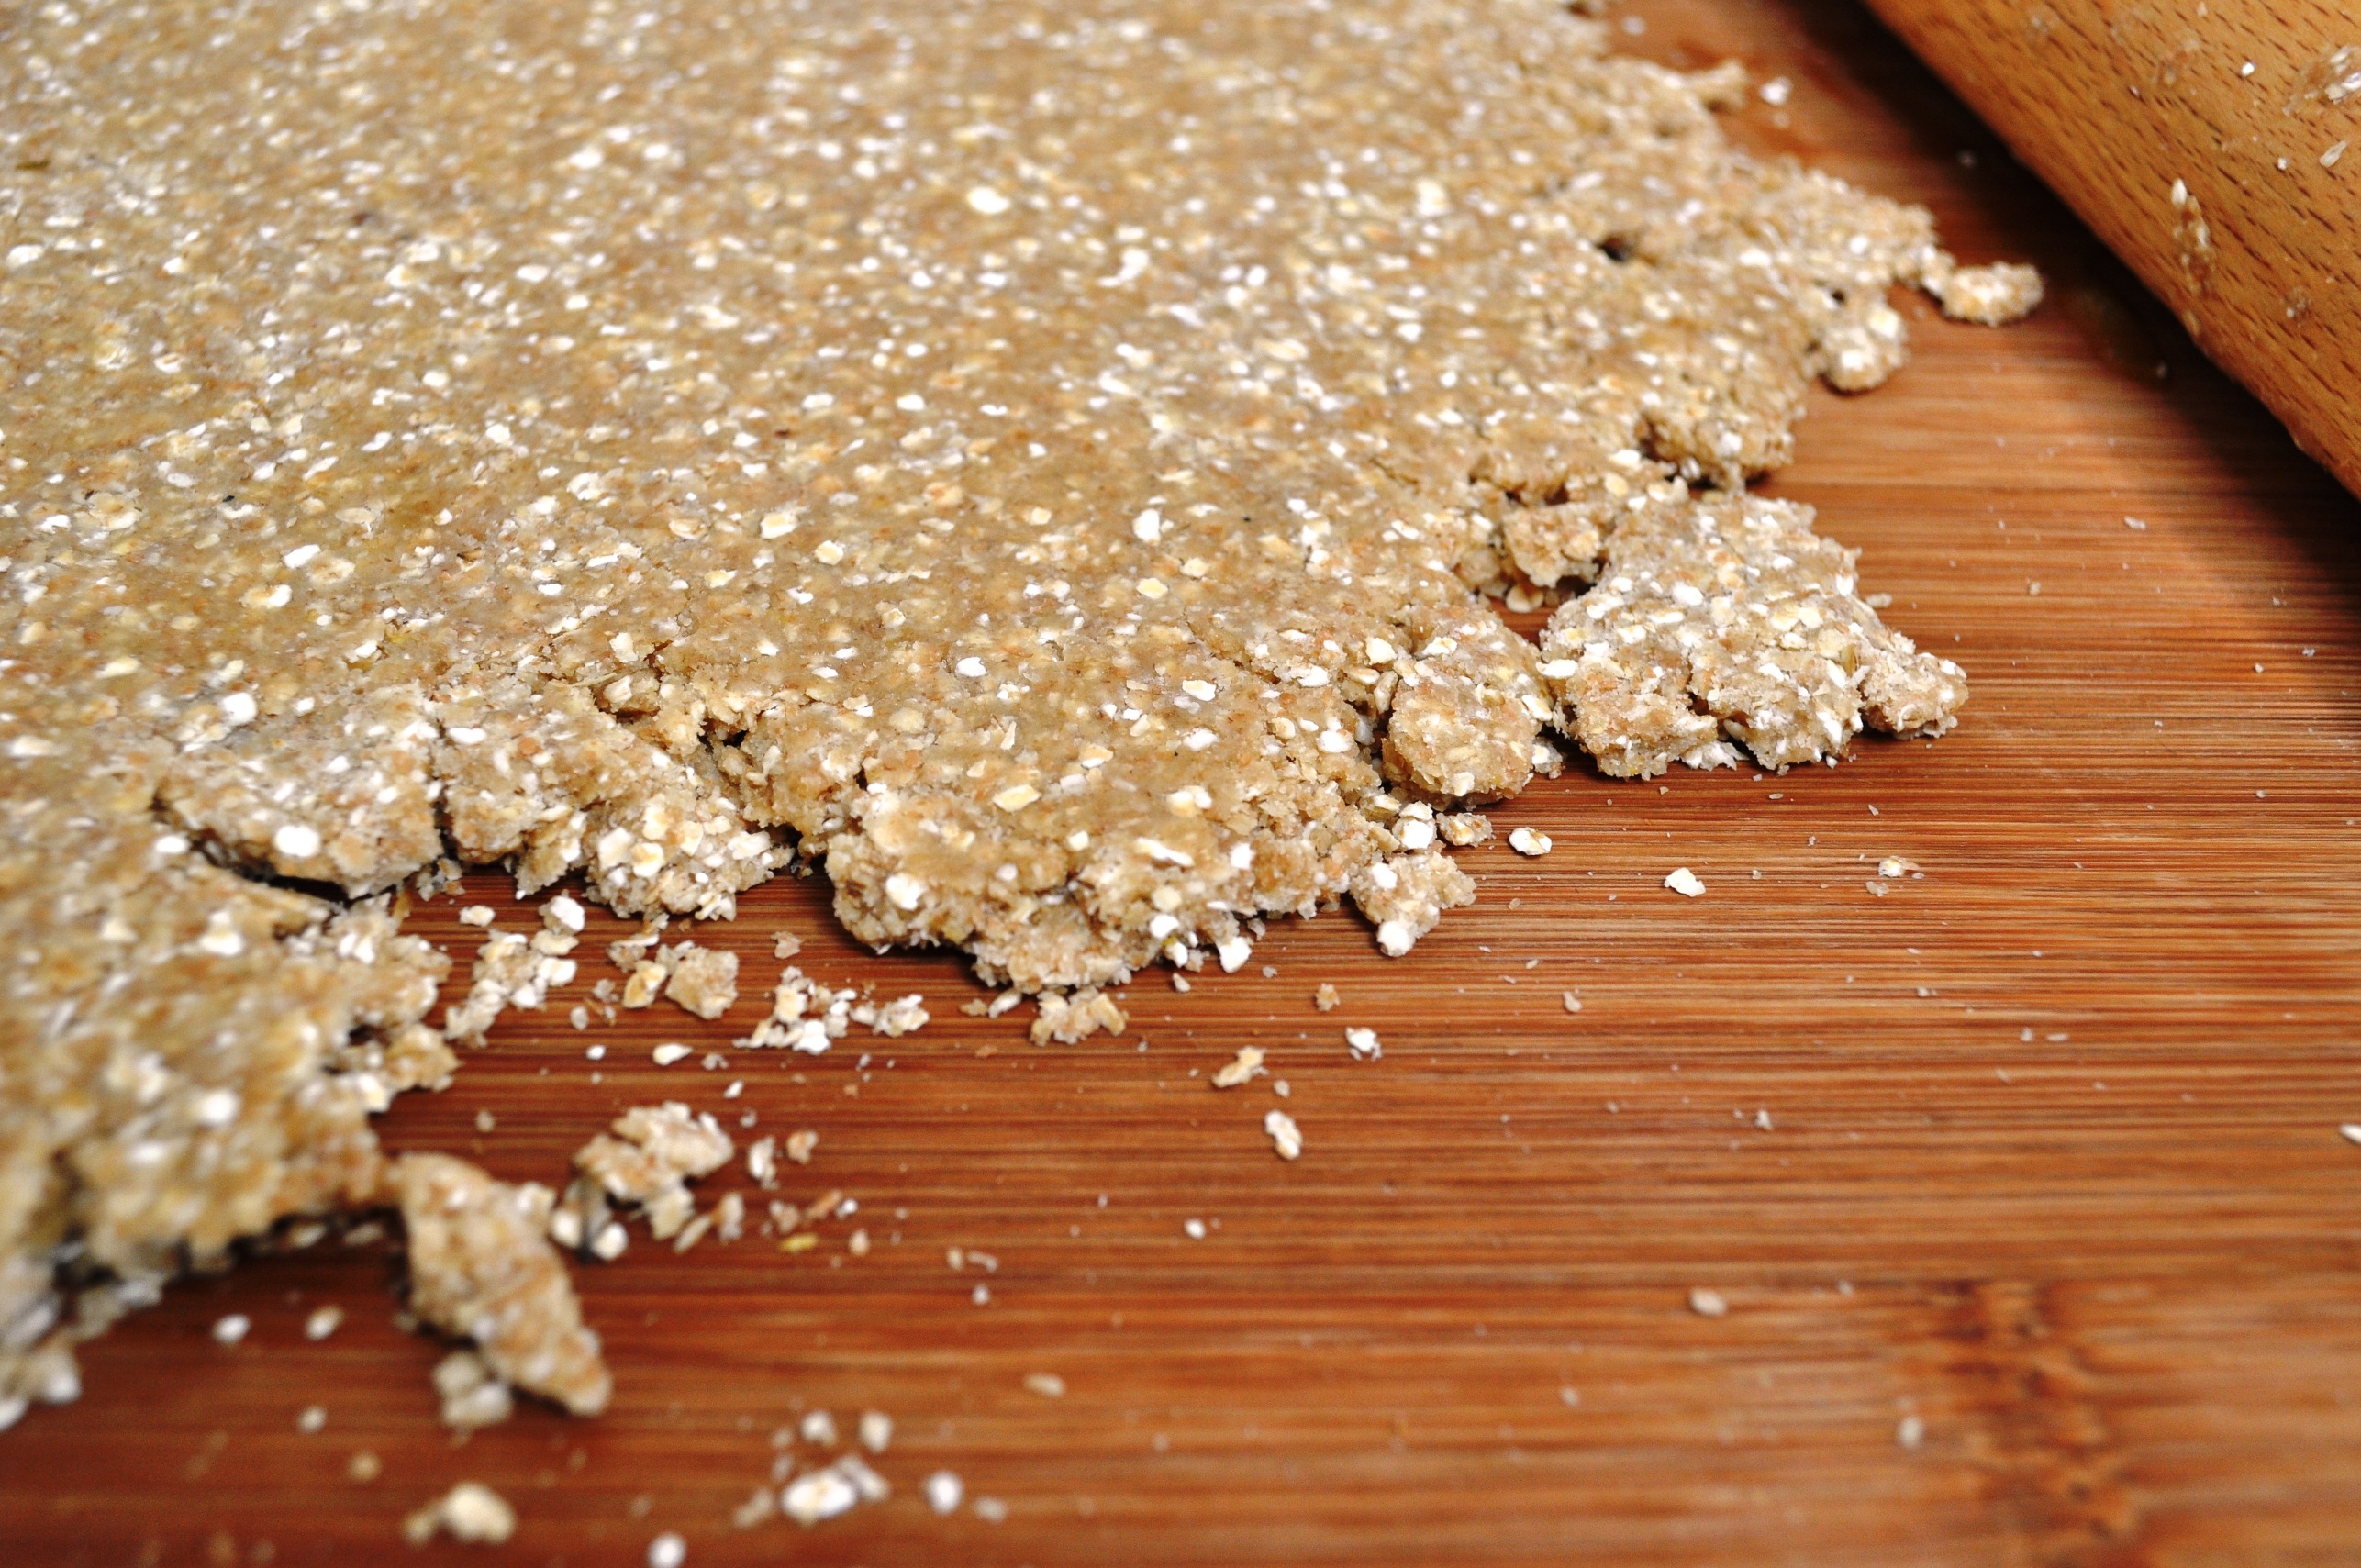
6. Roll out (or indeed “pin out”, in British baker parlance) to about 5mm thick. It’s quite crumbly.

Rolled out, CU
7. Cut circles of about 70mm diameter. It doesn’t matter too much if you don’t have this size cutter; you could even just use a glass. Bring together any scraps, roll and cut circles to use it all up.

Digestives, prickedDigestives, baked
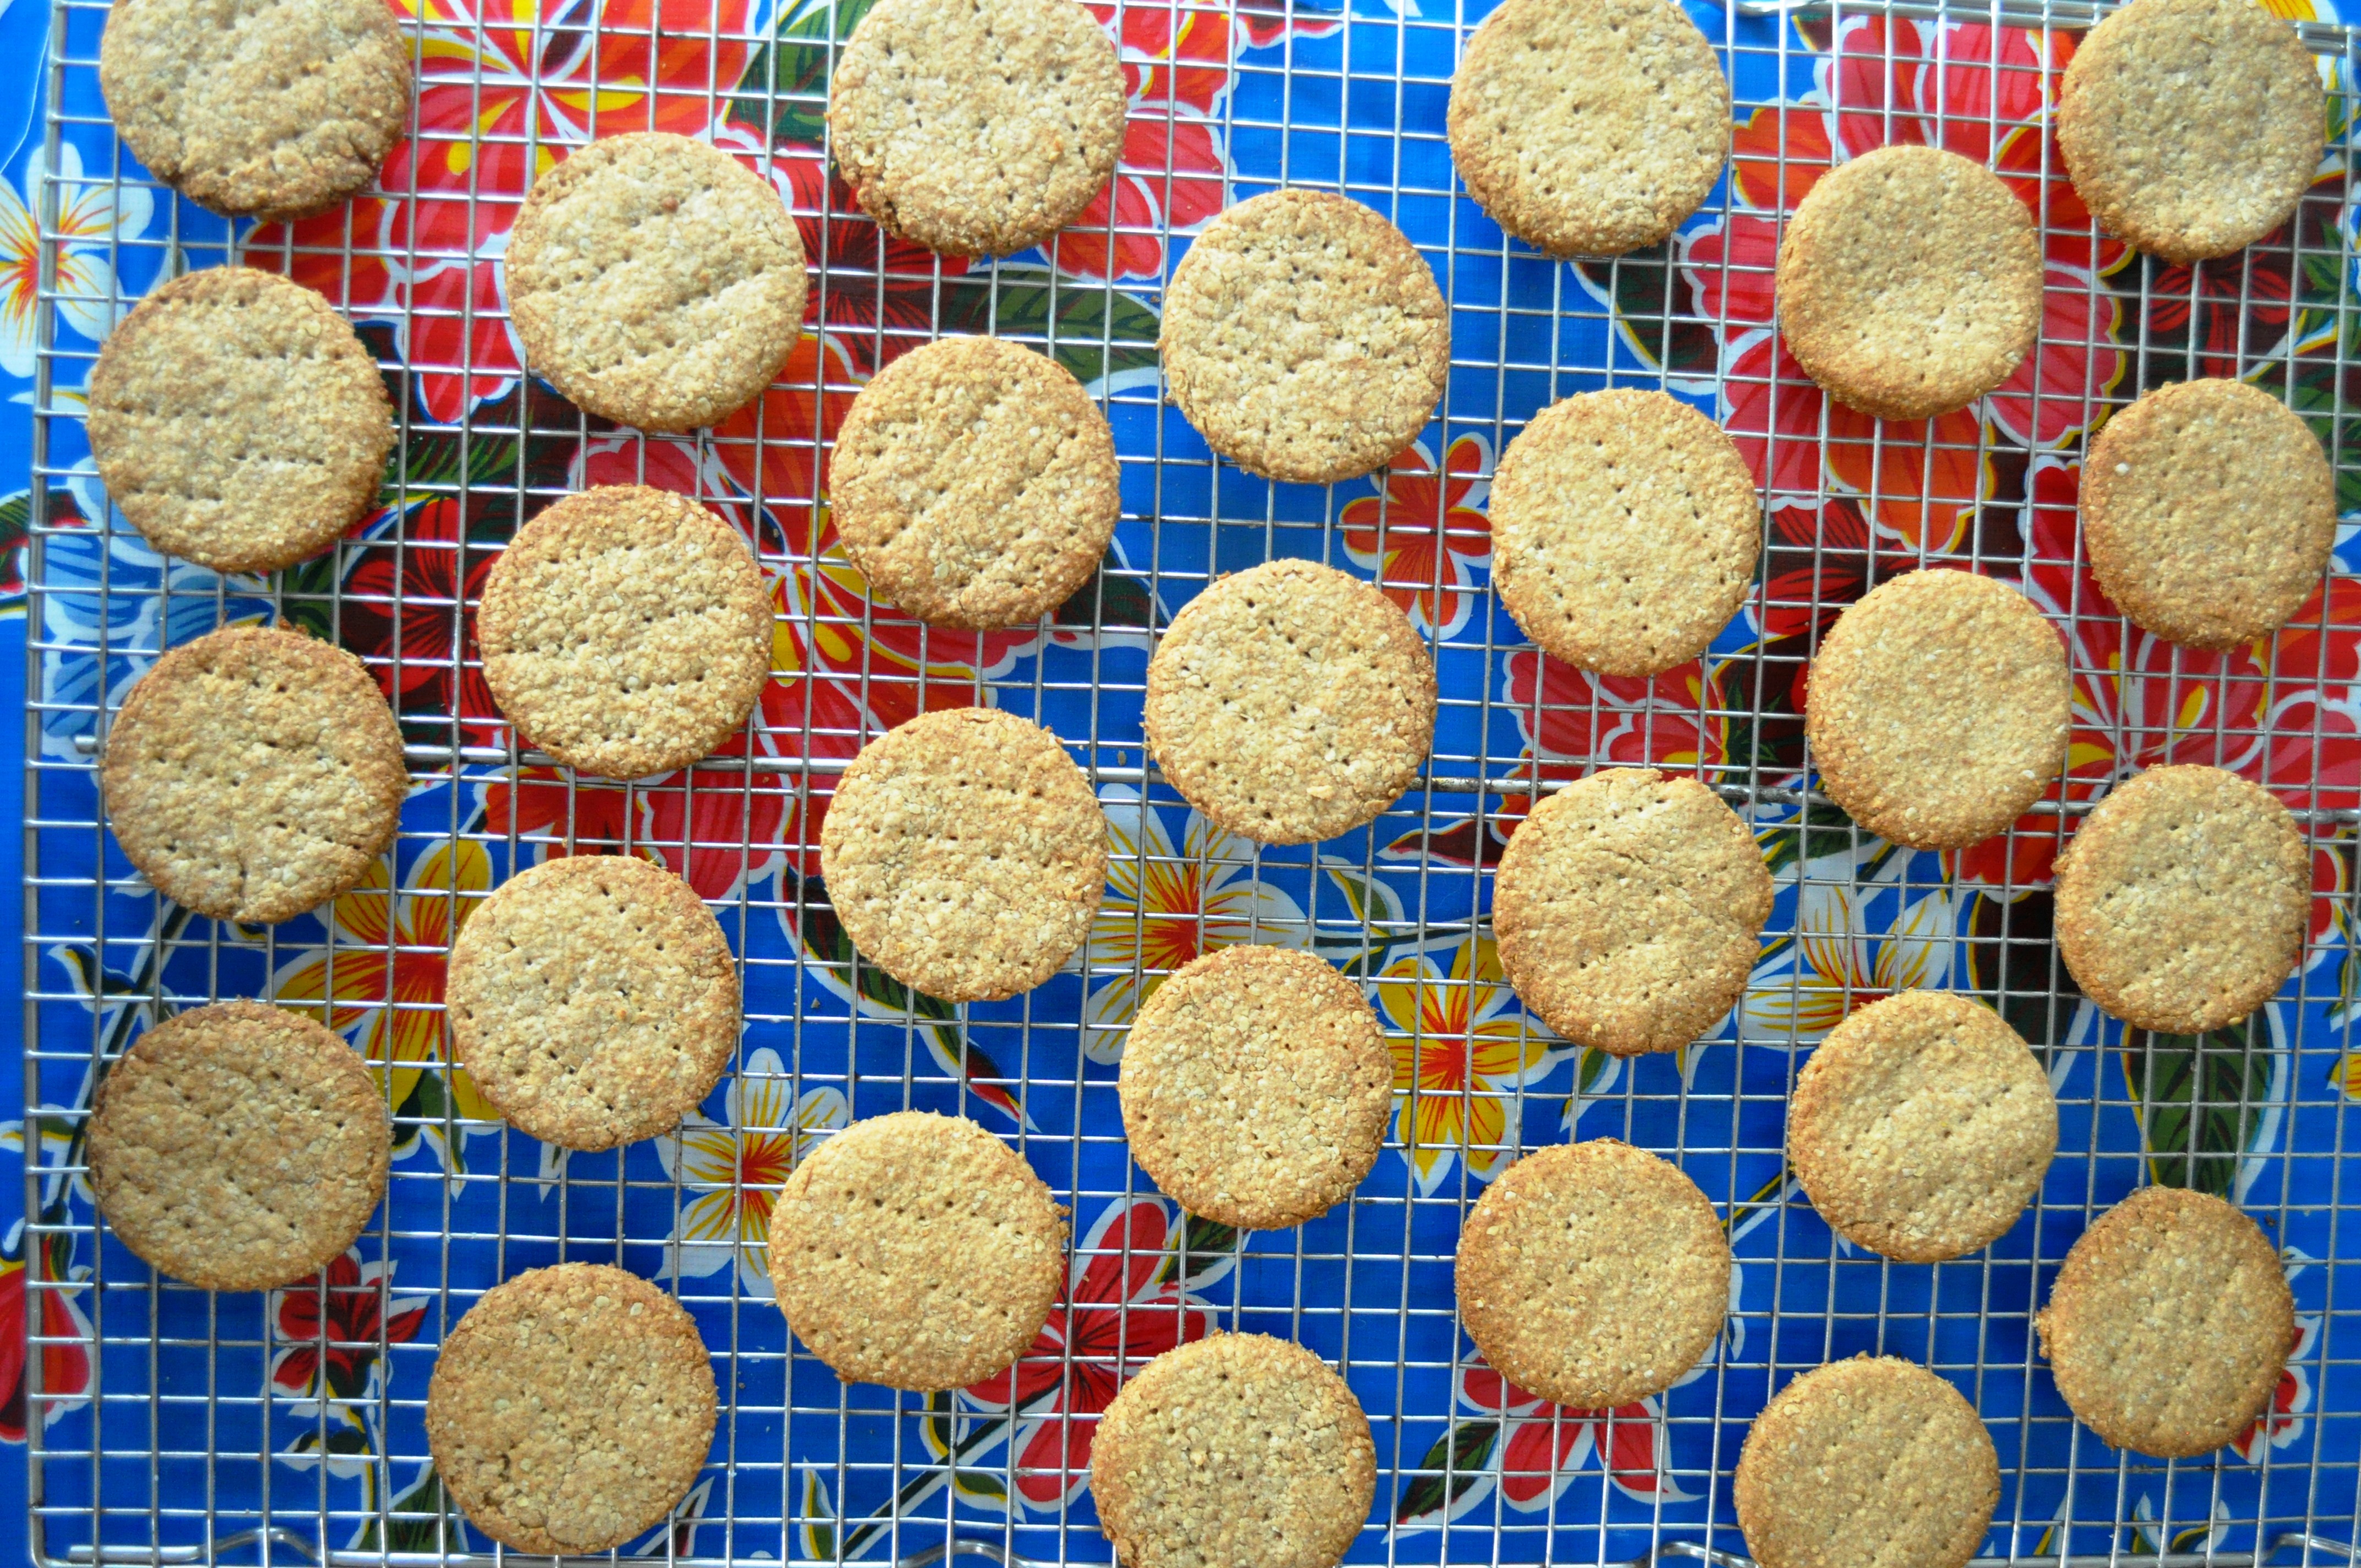
8. Put on lined baking sheet, dock or prick with a fork. Sprinkle with extra oatmeal if you like, but I find it mostly just falls off.
9. Bake until browned, around 15 mins.
10. Cool on a rack.

Digestives, cooling

They’re excellent with cheese, dunked in hot chocolate, or used for a cheesecake base.

* Food charts seem to vary in terms of whether whole chicken egg is acid or alkaline. Some list them as acidic, but egginfo.co.uk says, “The pH of the white and yolk are different and change differently during storage.  The initial pH of yolk is slightly acidic (reported values range from 5.9 to 6.2) and rises slightly during storage to about 6.8.  Egg white pH is initially in the region 7.6 and rises to 8.9 -9.4 after storage due to CO2 loss through the shell.  The natural ratio of egg white to egg yolk in an egg is 2:1 and therefore when mixed together liquid whole egg has a pH range of 7.2 to 7.9.” (If you can’t remember school science, low pH is more acidic, high pH is more alkaline. The mid-point, neutral, is 7pH, the pH of pure water.)

8 Comments

Filed under Baking, Biscuits, cookies, Recipes

Golspie loaf

Dan Lepard Golspie loaf

Over past several years, probably nearly a decade, my favourite bread book has been Dan Lepard’s ‘The Handmade Loaf’. A lot of the pics from this old Flickr set of mine are the results of recipes from the book. I had a lot of fun trying them, and the book was a real inspiration for me as I got more serious about baking. I thought I’d tried all the recipes, but looking through the book again the other day I found a few I’d missed. The Golspie loaf is one of them.

Dan explains it gets its name from a watermill in Suterhland, northern Scotland, which produces its own stoneground flours and meals. Before wheat became readily available, more common grains used for breadmaking in northern Britain were barley and oats. Traditionally, the round, flat bannock is made from oats or barley. The Golspie loaf is another disc-shaped loaf, with Dan’s recipe based on a barley or rye leaven (sourdough starter) and strong wholemeal flour. I’ve still got some of the Surrey wholewheat flour I used here, while my leaven has been mostly fed with rye lately. Dan’s recipe also used a little extra yeast, but mine’s wholly sourdough. I also added some oatmeal to the dough, as any addition of oats seems to result in a lovely most dough.

Dan Lepard Golspie loaf torn apart

350g leaven – mine was based on rye, but then fed on strong wholewheat flour and was 100% hydration (that is, made with equal proportions of water and flour)
210g water
6g salt
400g strong wholewheat flour
20g oatmeal (I used medium coarse)
Extra oatmeal to coat

1. Put the flour, 20g oatmeal and salt in a large bowl.
2. In a separate bowl, whisk together the leaven and water.
3. Pour the gloopy leaven and water mix into the flour and bring together a dough.
4. Cover and rest for 10 minutes, then give it a brief knead.
5. Cover and rest for 10 minutes, then give it another brief knead. Repeat this once or twice more.
6. Cover and leave the dough to prove. I did this in a cool cupboard over about 4 hours. You want it to prove up until it’s almost doubled in size. You can speed it up a bit in a warmer place, but a slower prove allows the flavour to develop more, and the yeast to work on the wheat proteins.
7. Lightly oil a 20cm springform cake tin and spinkle the inside with oatmeal.

Dough and tin
8. Form the dough into a ball, then flatten this into a disc.

In tin, before final prove
9. Put the disc of dough in the tin, and spread it to fill with your knuckles.
10. Sprinkle the top with further oatmeal.
11. Leave to prove up again. Again, how long this takes will depend on the warmth of the spot, and also the liveliness of your leaven.
12. Preheat oven to 220C (200C fan).

Before bake
13. When the dough is nicely risen, and reinflates slowly when prodded, cut two slices thrpough it in a cross shape, all the way to the bottom. (A metal scraper or cutter like this is very handy.)
14. Bake for 20 minutes, then turn the oven down by 20 degrees and bake for another 25 minutes. Baking times vary depending on your oven too but you want it nicely browned. If you have a fierce oven, check after about 30 minutes.
15. Turn out onto a wire rack and cool completely.

After bake

This is a real companionable bread – the cuts mean you can tear it easily into portions for sharing. Fran’s taken a quarter to work today with some of her salt beef, a project that’s been floating around in brine the past few weeks but was cooked up on Easter Sunday.

Salt beef sarnie

4 Comments

Filed under Baking, Breads, Recipes

Real bread, red bread

Sliced, morning sun

The expression “the best thing since sliced bread” is profoundly ironic. Grain is packed with nutrients, but plastic wrapped sliced “bread” is generally made with flour that’s been ground with hot steel rollers, which damage and degrade the nutrients, and then baked with the Chorleywood Bread Process (CBP), a heinously misguided mechanisation of the bread-making process developed in England in the 1950s.

All that sliced, plastic-wrapped pseudo-bread they sell in supermarkets and cornershops is CBP product. It’s not bread. It’s an insult to bakers, to our baking heritage, to the farmers who husbanded grain over the centuries. It’s an insult to our constitutions.

And yet the CBP “is responsible for over 80% of the bread [sic] produced in the UK and is used in every corner of the world.” (From Campden BRI.)

One of the reasons the CBP was developed and became so dominant was because the British population grew so fast in the industrial revolution we couldn’t grow all our own grain, and became reliant on shipments, especially from parts of the then British empire, notably Canada, as well as the US. Since the late 19th century, British bakers also began to prefer using the harder, higher protein wheats grown in such places. Or perhaps prefer isn’t quite the right work. As clearly it was economics that made British bakers shift from using British wheat to using North American wheat. Discussing the sheep and arable farming on the English South Downs, Fizz Carr says, “As the new rail-roads across America linked the grain belt of the Mid-West with the eastern seaboard ports, grain started to flood into Britain and the price of wheat tumbled. The cost of shipping wheat between New York and Liverpool fell by half between 1830 and 1880, and by half again from 1880 to 1914…” 1

A story, or myth
I’d always been lead to believe that the CBP was developed as two world wars, and a dependence on shipped grain, had seriously compromised British food security. The scientists at the British Baking Industries Research Association at Chorleywood wanted to both mechanise the bread-making process, making it faster (perhaps their greatest folly, see below) and wanted to be able to ease reliance on higher protein foreign wheats. They wanted to make bread again from the soft, lower protein wheats we could grow in Britain.

Flour

Or at least, that was the story. It’s one that’s regularly trotted out, such as here, on the site of one of Britain’s biggest organic flour brands. But last weekend I bought a bag of flour from the market stall of Imbhams Farm Granary. It was their latest batch of wheat flour, called Surrey Red Strong Bread Flour. (It’s called red because of pigments in the bran.) It was grown in Surrey, about 50 miles from Lewes, stone-ground to retain the nutrients at a mill a mile from the fields and, notably, very high in protein.

Surrey strong info

The info sheet said 17%, James Halfhide of Imbhams quoted a figure slightly higher, and said it would be even higher if they sifted more of the bran out to make a lighter coloured, less wholegrain flour. For comparison, low protein plain or all-purpose flour might be 10-12%, strong bread flour about 13% plus.

It’s Barlow wheat, a hard spring wheat developed recently2 in North Dakota in the US, but James said it grew very well here, especially in the excellent 2013 season. Which quite shocked me, after years of hearing the story – nay myth – that British wheat means low protein.

Wholesomely wholegrain
Although I like and make all sorts of bread, as the Imbhams farm flour is so wholesomely branny – and wheat bran is a great source of fibre, fatty acids, iron and other minerals and vitamins – I wanted to make a 100% wholegrain bread. I also wanted to reduce the amount of yeast I usually use (10g to 500g of flour, or 2%, to about 6g to 500g of flour, or 1.2%) and do a longer fermentation – that all-important factor of bread production that the CBP neglects. Wheat needs long fermentation to be fully digestible – this whole rushed factor with CBP is the main reason so many people say they have dietary problems with wheat-based products these days.

Bread and butter

Wholegrain red wheat bread
500g Surrey Red strong bread flour or similar strong wholegrain wheat flour
350g tepid water
6g fresh yeast (so use about 3g instant/easyblend, 4g granular/ADY)
10g fine salt

This is all you need to make real bread – these four ingredients. Indeed, arguably, you don’t even need commercial yeast, you could just cultivate your own leaven with flour and water and wild yeasts.

1. Dissolve the yeast in the water.
2. Put the flour and salt in a large bowl.
3. Add the yeasty water.
4. Bring together a dough.
5. Knead briefly then form a ball and leave to rest in the bowl, covered with a shower cap or cloth.
6. After 10 minutes, knead briefly again.
7. Rest, covered for another 10 minutes then knead briefly again.
8. Repeat this once or twice more.
9. Put the ball of dough back in the bowl, cover and leave to prove in a cool place. I gave mine a turn (that is, stretched and folded it) after an hour or so, then put it in the fridge for about 10 hours.
10. Remove from the fridge, form a ball, then rest for another 10 minutes.
11. Form a baton shape and put in a tin.
12. Give it a final prove, until about doubled in size and ready to bake. This is where mine went a big wrong (see below).
13. Bake at 220C for about 15 minutes then turn down to 200C and bake for another 25 minutes.
14. Remove the loaf from the tin. Tap the bottom – you want it to sound hollow. If you get a bit of a dull thud, put it back in the oven for another 10 minutes without the tin.
15. Remove and leave to cool – to allow the interior to finish its baking process – on a wire racking.

So yes, I goofed slightly with the final prove, step 12. I left it a little long in the airing cupboard at about 24C, overproving it so that it deflated when I slashed the top and I didn’t get a nice oven-spring (that is, the final burst of yeast activity and dough growth when you put it in the oven).

Proved. Over proved

Deciding when the dough has proved enough and is ready to bake can be tricky. Many people say the to test is gently prod the dough and see if the indentation remains, but I’m not convinced by this, as it might indicate the dough is over-proved and the gluten structure is collapsing slightly. I think it’s better if your prod marks slow re-inflate. It’s not an exact science though and every dough is different, especially with different flours. There’s a good discussion here.

I might have been disappointed with the over-proving and lack of oven spring, but it’s still good stuff. Hearty and slightly nutty. It went very well with a tasty a soup (gurnard, smoked paprika – yum) I made for dinner last night and with Marmite for breakfast. And, compared to how sick, how utterly sullied, you might feel after eating a CBP product, I felt thoroughly brimming with nutrients after eating this.3


Footnotes
1. ‘Good Food and Drink in Sussex’, Fizz Carr, Snake River Press, 2008. It’s a nifty little book for those of us living in Sussex and interested in its food heritage. I wish she’d quoted her sources though, as I’m intrigued about these figures and this whole transformation of British agriculture in the late 19th and early 20th centuries.
2. So yes, it’s hardly a heritage variety of Triticum aestivum, bread wheat. But it’s locally grown, locally stoneground.
3. Yes, of course I’m imagining I can feel the nutrients going into my body, but it did just feel good and wholesome. I haven’t eaten CBP products of years, but remember feeling bloated and sluggish and sick and gastrically stuffed up when I did.

4 Comments

Filed under Baking, Breads, Recipes

Wholewheat farro bread


Invented this one as I had some farro grain, which I’d bought when I was trying to make the Tuscan zuppa di fagioli e farro, aka bean and farro soup. Farro itself is a type of wheat grain, though the word can also be used to refer to barley and other grains, depending on where you are in Italy or who you’re talking to. Wikipedia has a good page, which doesn’t really clarify!

I played it by ear (well, by fingers) with some of the quantities, and I wanted to keep the dough very soft and wet – hence it flattened slightly when I moved it from the proving basket to bake. But flavour-wise, it’s great.

I’ve been struggling to get used to Italian flours. Many of them are low protein, unlike your standard British bread flour, which is ground from harder wheat. Harder wheat produces stronger flour, with more protein, say 13% or higher – giving the requisite gluten proteins to create certain bread structures, for the types of bread we’re more used to making in the UK.

Anyway, the recipe:

Cook about 50g of farro in water, simmering for about 45 minutes, until the grain is soft.
(You could use the cooking water for the sponge, though I didn’t in this case. You can also soak the grain overnight in ale, wine or friuit juice, if you’re interested in experimenting! Also, if you can’t get farro, wheat grains, aka wheat berries, would be fine.)

Make a sponge with:
360g water
250g wholewheat flour (I used an Italian integrale)
10g fresh yeast (or say 5g ADY if you can’t find fresh)

Leave the sponge to ferment for 8-12 hours. I did it overnight, in a fairly cold kitchen. (We’re in Rome, but it is January – nights getting down to around 0C.)

Make up the dough with:
The sponge
10g salt
150g wholewheat flour
100g white bread flour (I used an Italian bread which, despite being called “Farina di grano duro” – flour from hard wheat – and professing to be “per pane, focacce e dolci” – for bread, foccacia and sweets – is only 10% protein. See my perplexity? It worked ok though, so you could use a British plain flour.)

Bring the dough together and add the farro grains.
Knead. It’s sticky, that’s good, don’t worry!
Clean off your hands with some extra flour and bring the dough to a ball.
Ferment, covered, for about 4 hours, or until doubled in size.
I gave mine a few turns.
Turn out, form a ball, and rest for 10 minutes.
I formed a baton and proved it in a 36cm (14″) long basket.
Final prove until doubled in volume.
I turned it onto a baking sheet and made one long dorsal cut.

Bake in a preheated oven at 220C for 20 minutes, then turn down to 200C and bake for another 20 minutes. Or thereabouts.

2 Comments

Filed under Baking, Main thread