Category Archives: Recipes

Challah

Challah torn 2

Not being Jewish, I don’t have an iota of authority making challah, aka chollah, challa. But it’s a bread I love, and I’ve made a few times before, so I wanted to revisit it.

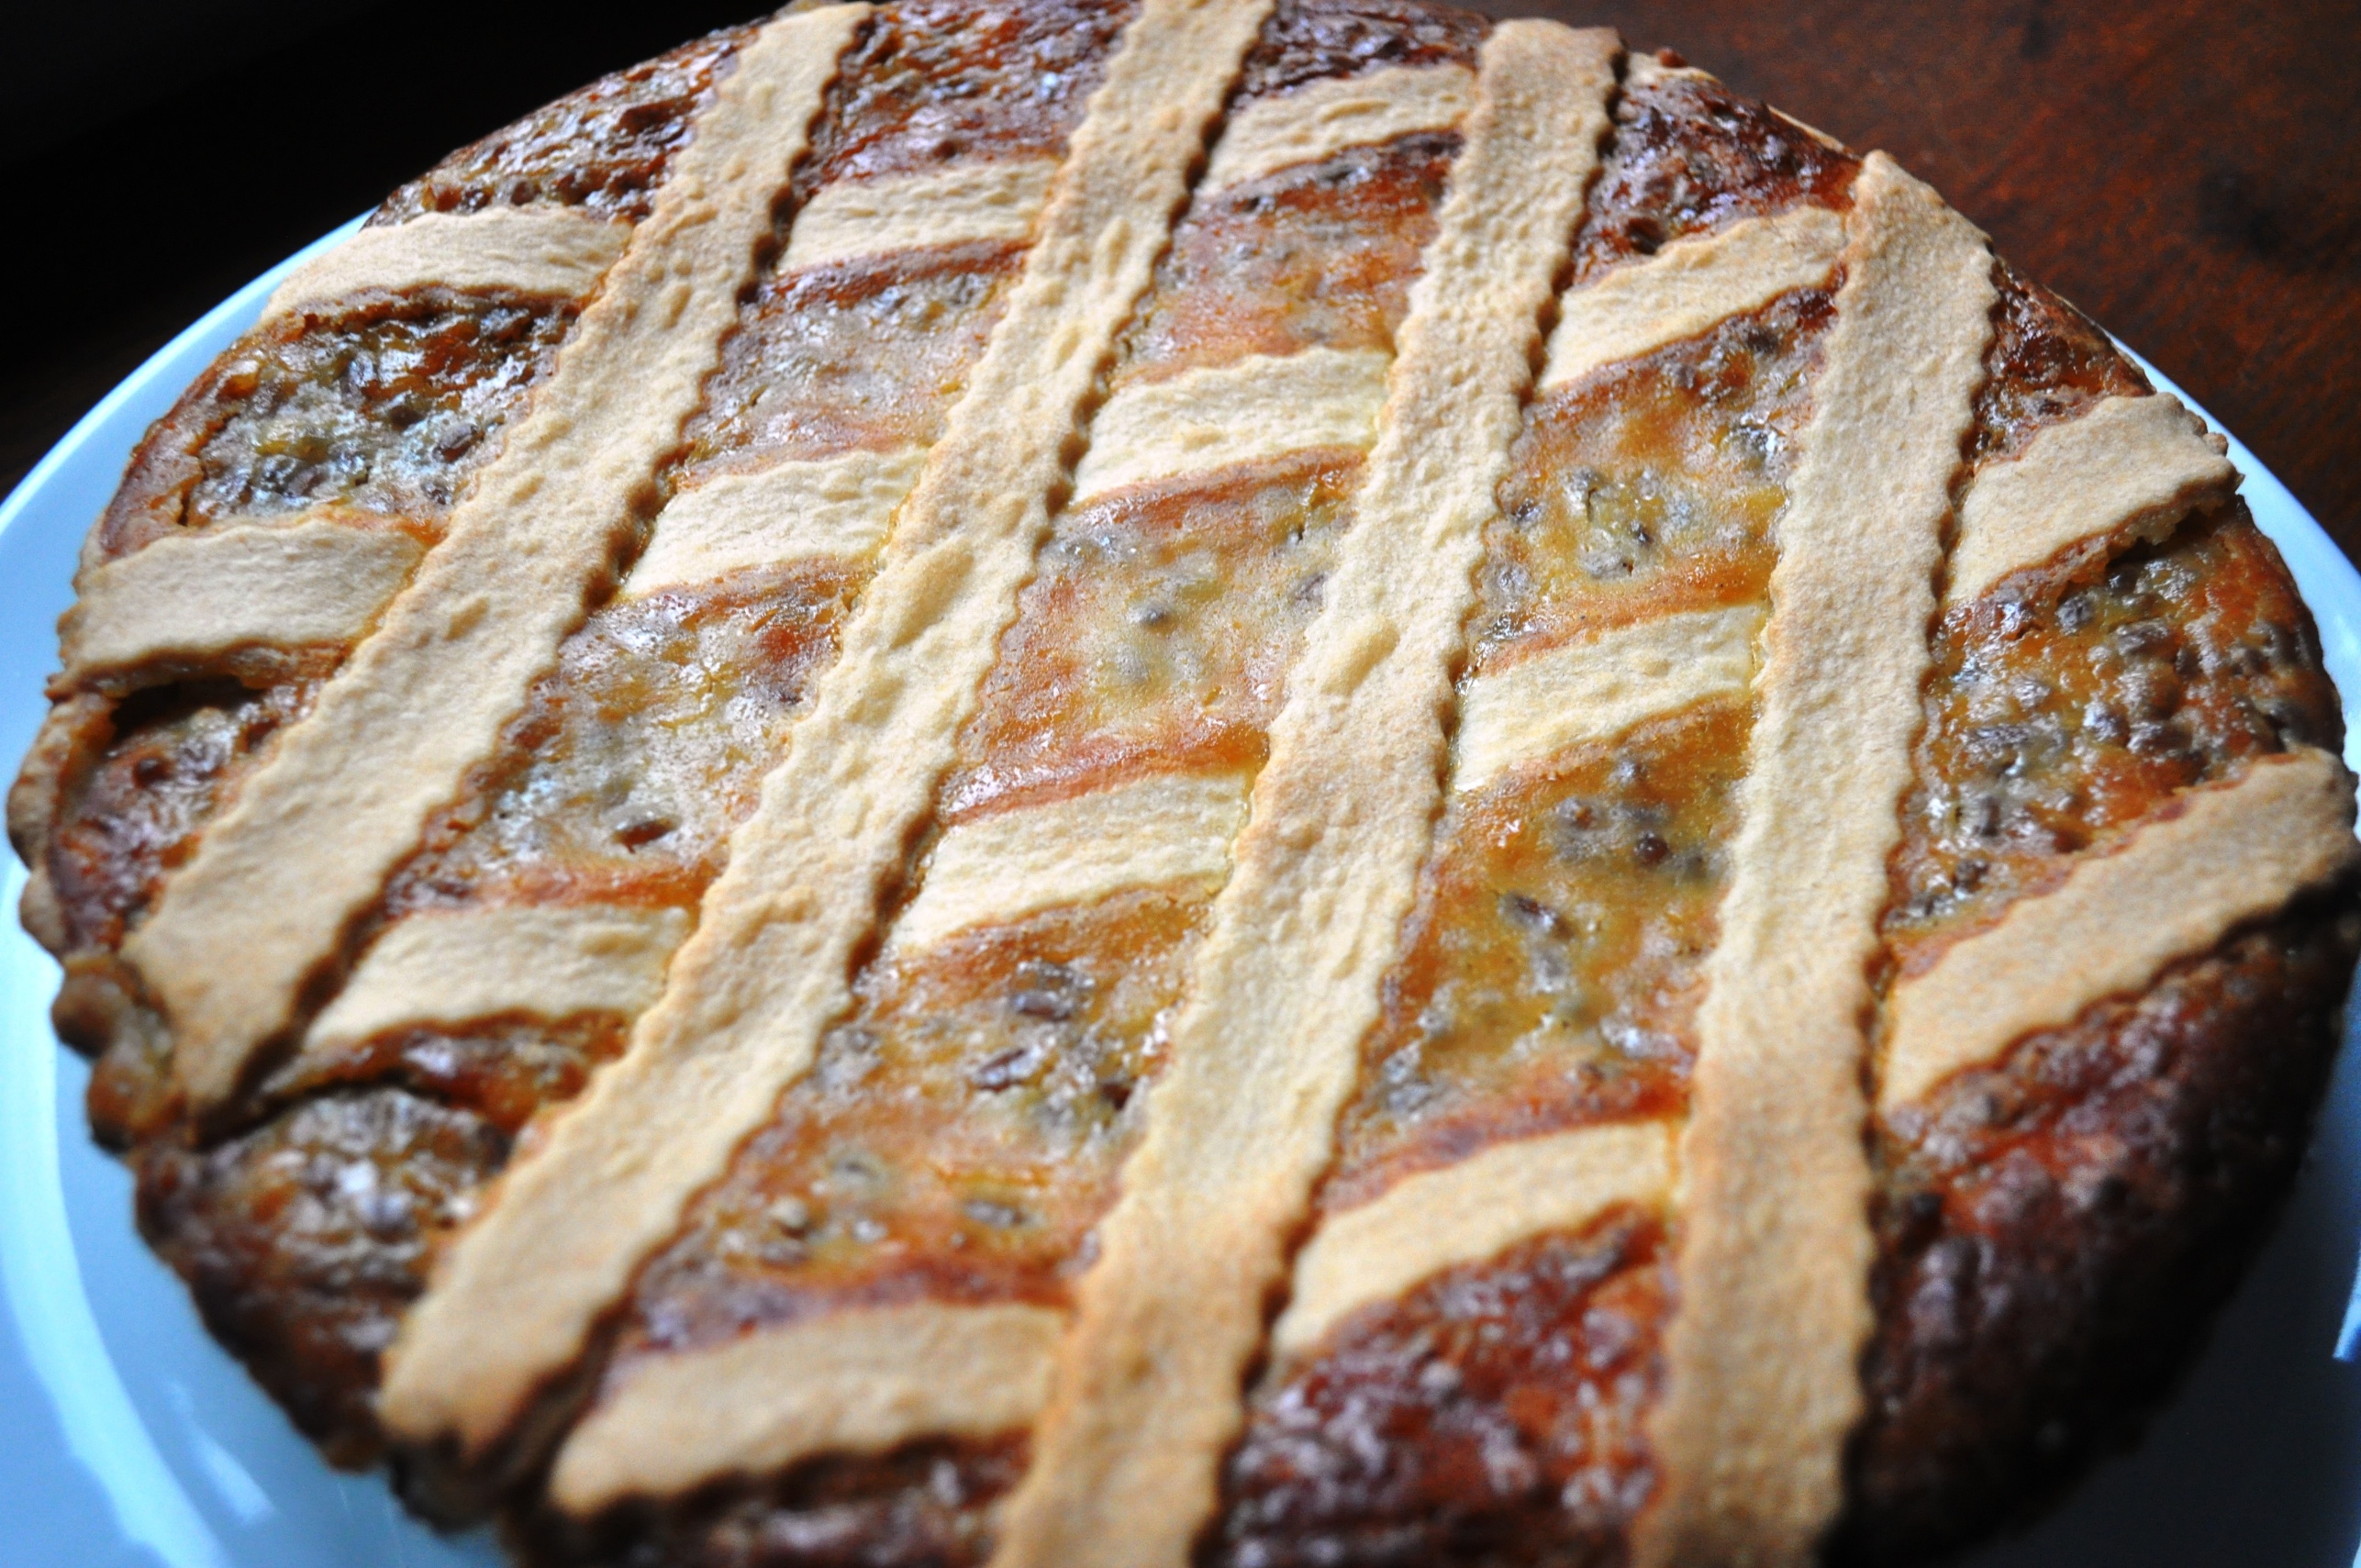
Quintessential for Sabbath and Jewish holidays, challah is not only a delicious enriched bread, a religious cousin to the secular brioche, it’s a great shape. I love the braid format, it’s handsome, fun to make and satisfying to tear.

I believe one of the reasons it’s a braid is that it’s easier to tear and as such doesn’t require cutting, thus avoiding introducing a knife – a weapon – to Sabbath and holiday proceedings.

Challah torn 3

I also believe the strands of the braid are symbolic of the Twelve Tribes of Israel. Being a pretty amateur braider, I’m not ready for a 12-strand version yet, so I am sticking with the more commonplace four-strand form. It’s not something I’ve done for a few years, so excuse any clunkiness in execution. Heck, I can’t even practice plaiting my wife’s hair, as she’s wearing it short at the moment.

Symbols and meanings
Talking of the symbolism and heritage of challah, I do get the impression that there are different interpretations. So while Alan Davidson in the Oxford Companion to Food writes, “… the meaning of the word challah in biblical Hebrew is this bit of dough, ‘the priest’s share’.” Claudia Roden writes, “The name challah was given to a bread in South Germany in the Middle Ages, when it was adopted by Jews for the Sabbath… John Cooper (Eat and Be Satisfied) notes that the first mention of the bread was in the fifteenth century and that the term was coined in Austria. Before that the bread was called berches, a name that is still used by Jews in some parts today.”

Other sources suggest berches – at least today – is a water-based challah, with potato in the dough. Fascinating. I love these baked-goods family trees.

Anyway, my challah is a dairy version. I’ve read about enough American-Jewish versions to know they exist, with butter instead of oil and milk instead of water, but not enough to understand the kosher restrictions. Indeed, none of my friends with Jewish heritage seem to understand these things either, so I shouldn’t kick myself too much for being an ignorant gentile in this case. Adapt as fits your requirements, eg replace the sugar with honey.

Recipe

As with all my recipes, it helps if you have electronic scales. And I use grams. They’re simply easier and more accurate. Plus, it’s the second decade of the 21st century, folks!

I’ve included baker’s precentages too, as they’re handy for conversions, scaling, comparisons etc.

This recipe uses a pre-ferment, a sponge. It’s a very pleasing technique, as you feed the yeast on some of the flour and some, or all of the liquid, and create what becomes a lively bubbling mass. Andrew Whitney also says it’s an important and useful technique for enriched doughs as “Yeast cannot feed on ingredients like fat, egg and spice, so it is a good idea to get it working vigorously before mixing it with these things.”

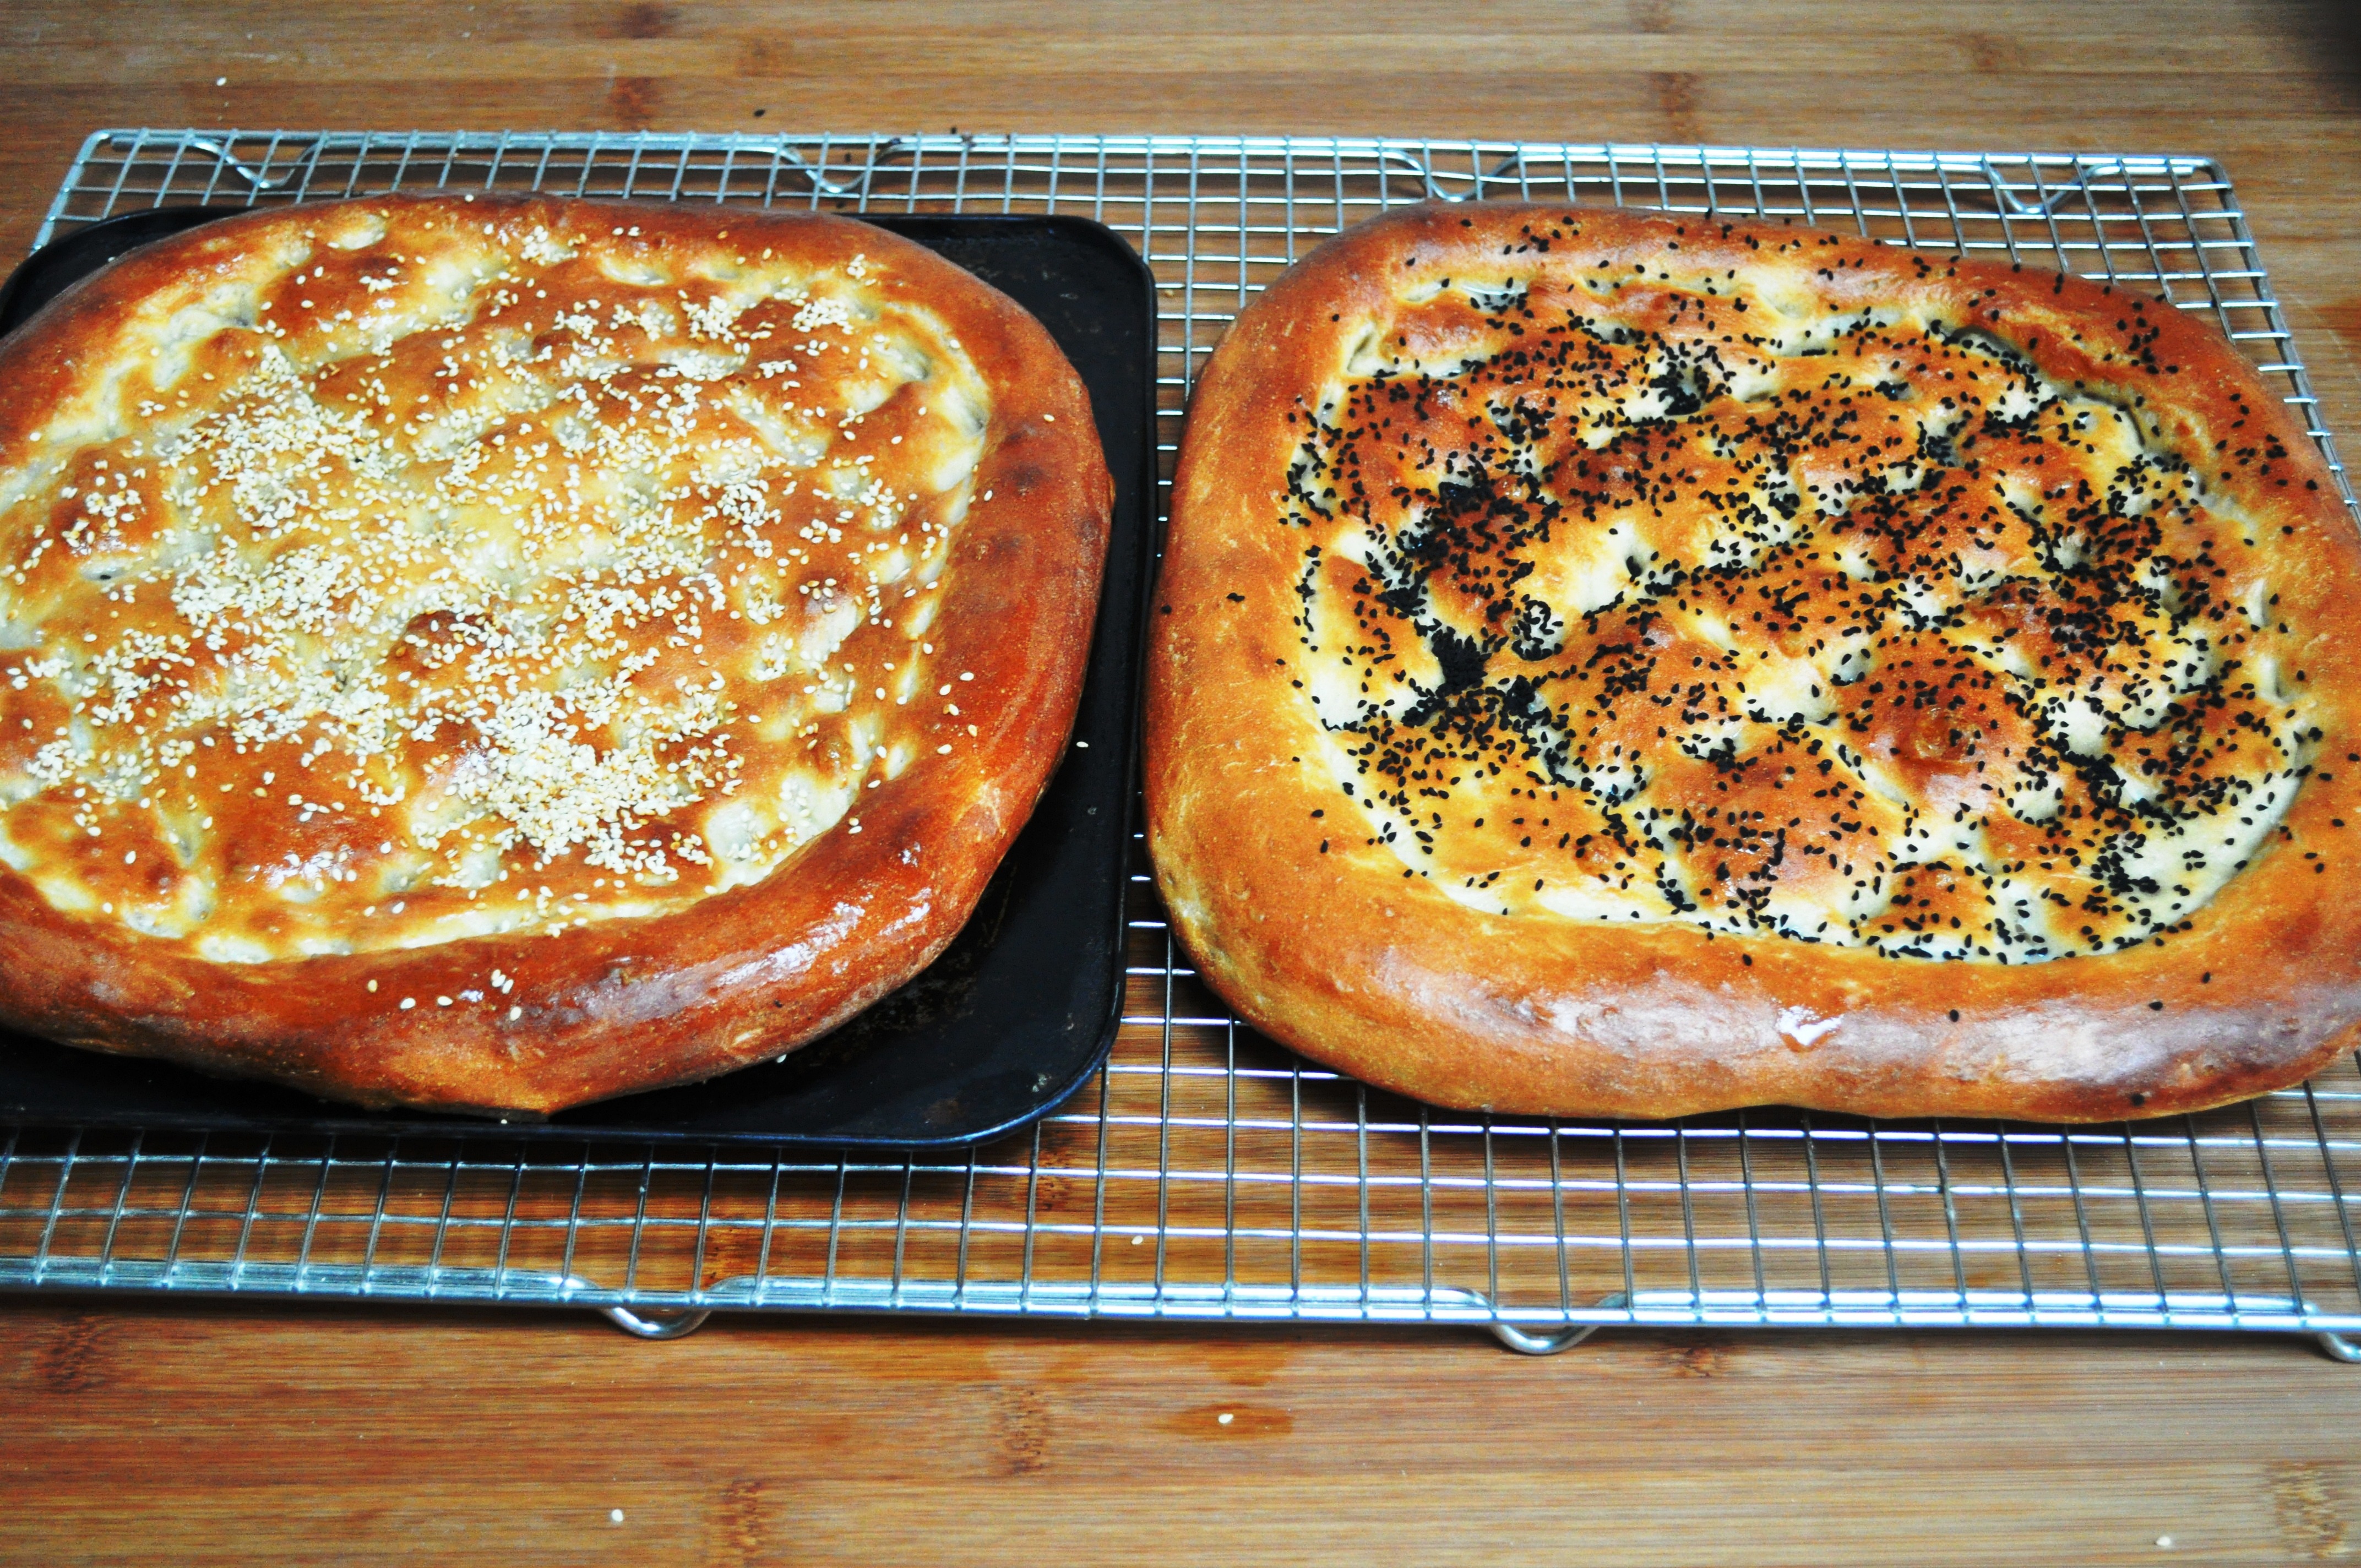
Make 2 medium sized, 4-braid loaves

Ingredients

Ingredient Percentage Quantity (g)
White bread flour 60 340
Plain white flour 40 225
Milk 42 240
Yeast (fresh) 2 12
Egg 20 110
Salt 1 6
Butter 12 70
Caster sugar 4 25
Total 181 1028

Notes
White bread flour – that is, higher protein.
Plain or all-purpose flour – that is, lower protein.
Use 6g of active dried yeast or 5g of instant yeast instead.
110g of beaten egg was exactly two medium eggs for me, though sizes vary. I wouldn’t agonise too much, bit more would be fine as it’s quite a dry dough.

Method

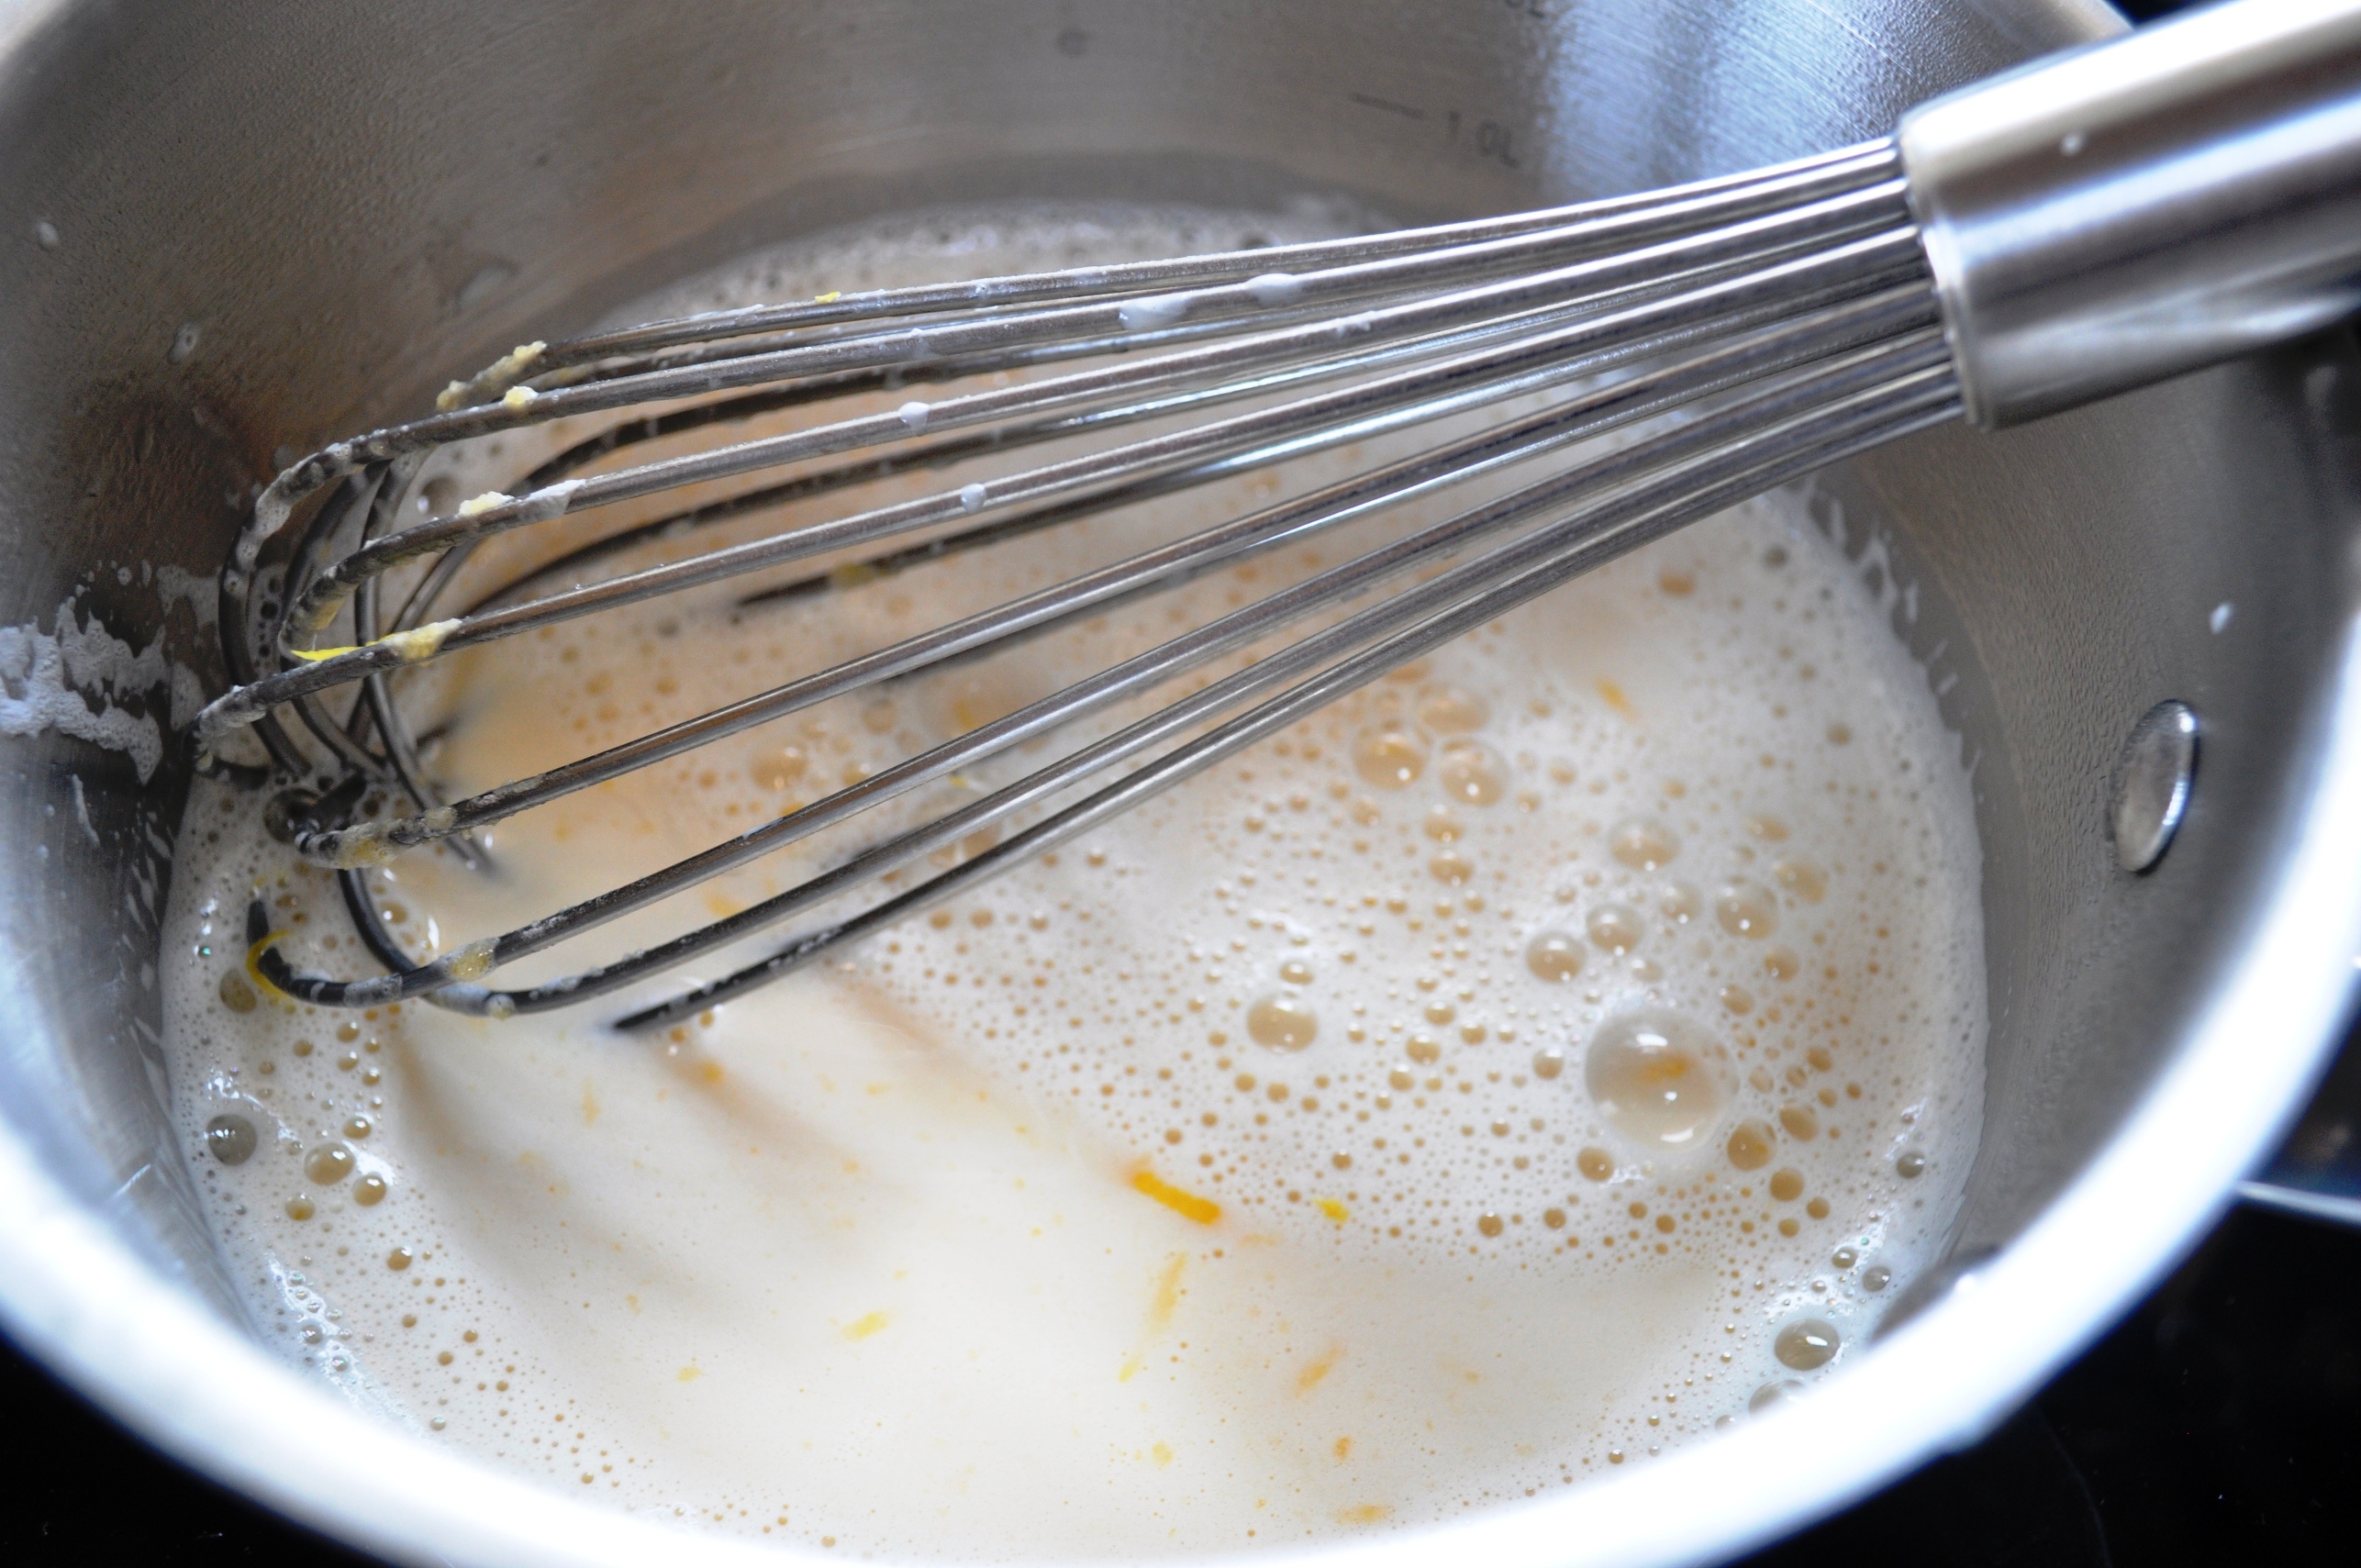
1. Warm up the milk and crumble in the yeast. In a medium bowl, mix the yeasty milk, the sugar and 200g of the white bread flour and beat together to make a slurryish mixture.
2. Cover and leave to get bubbly. This will take about an hour, depending on temperature. You could leave it in the fridge overnight.
3. In a large bowl, combine the plain flour, the remaining bread flour and the salt
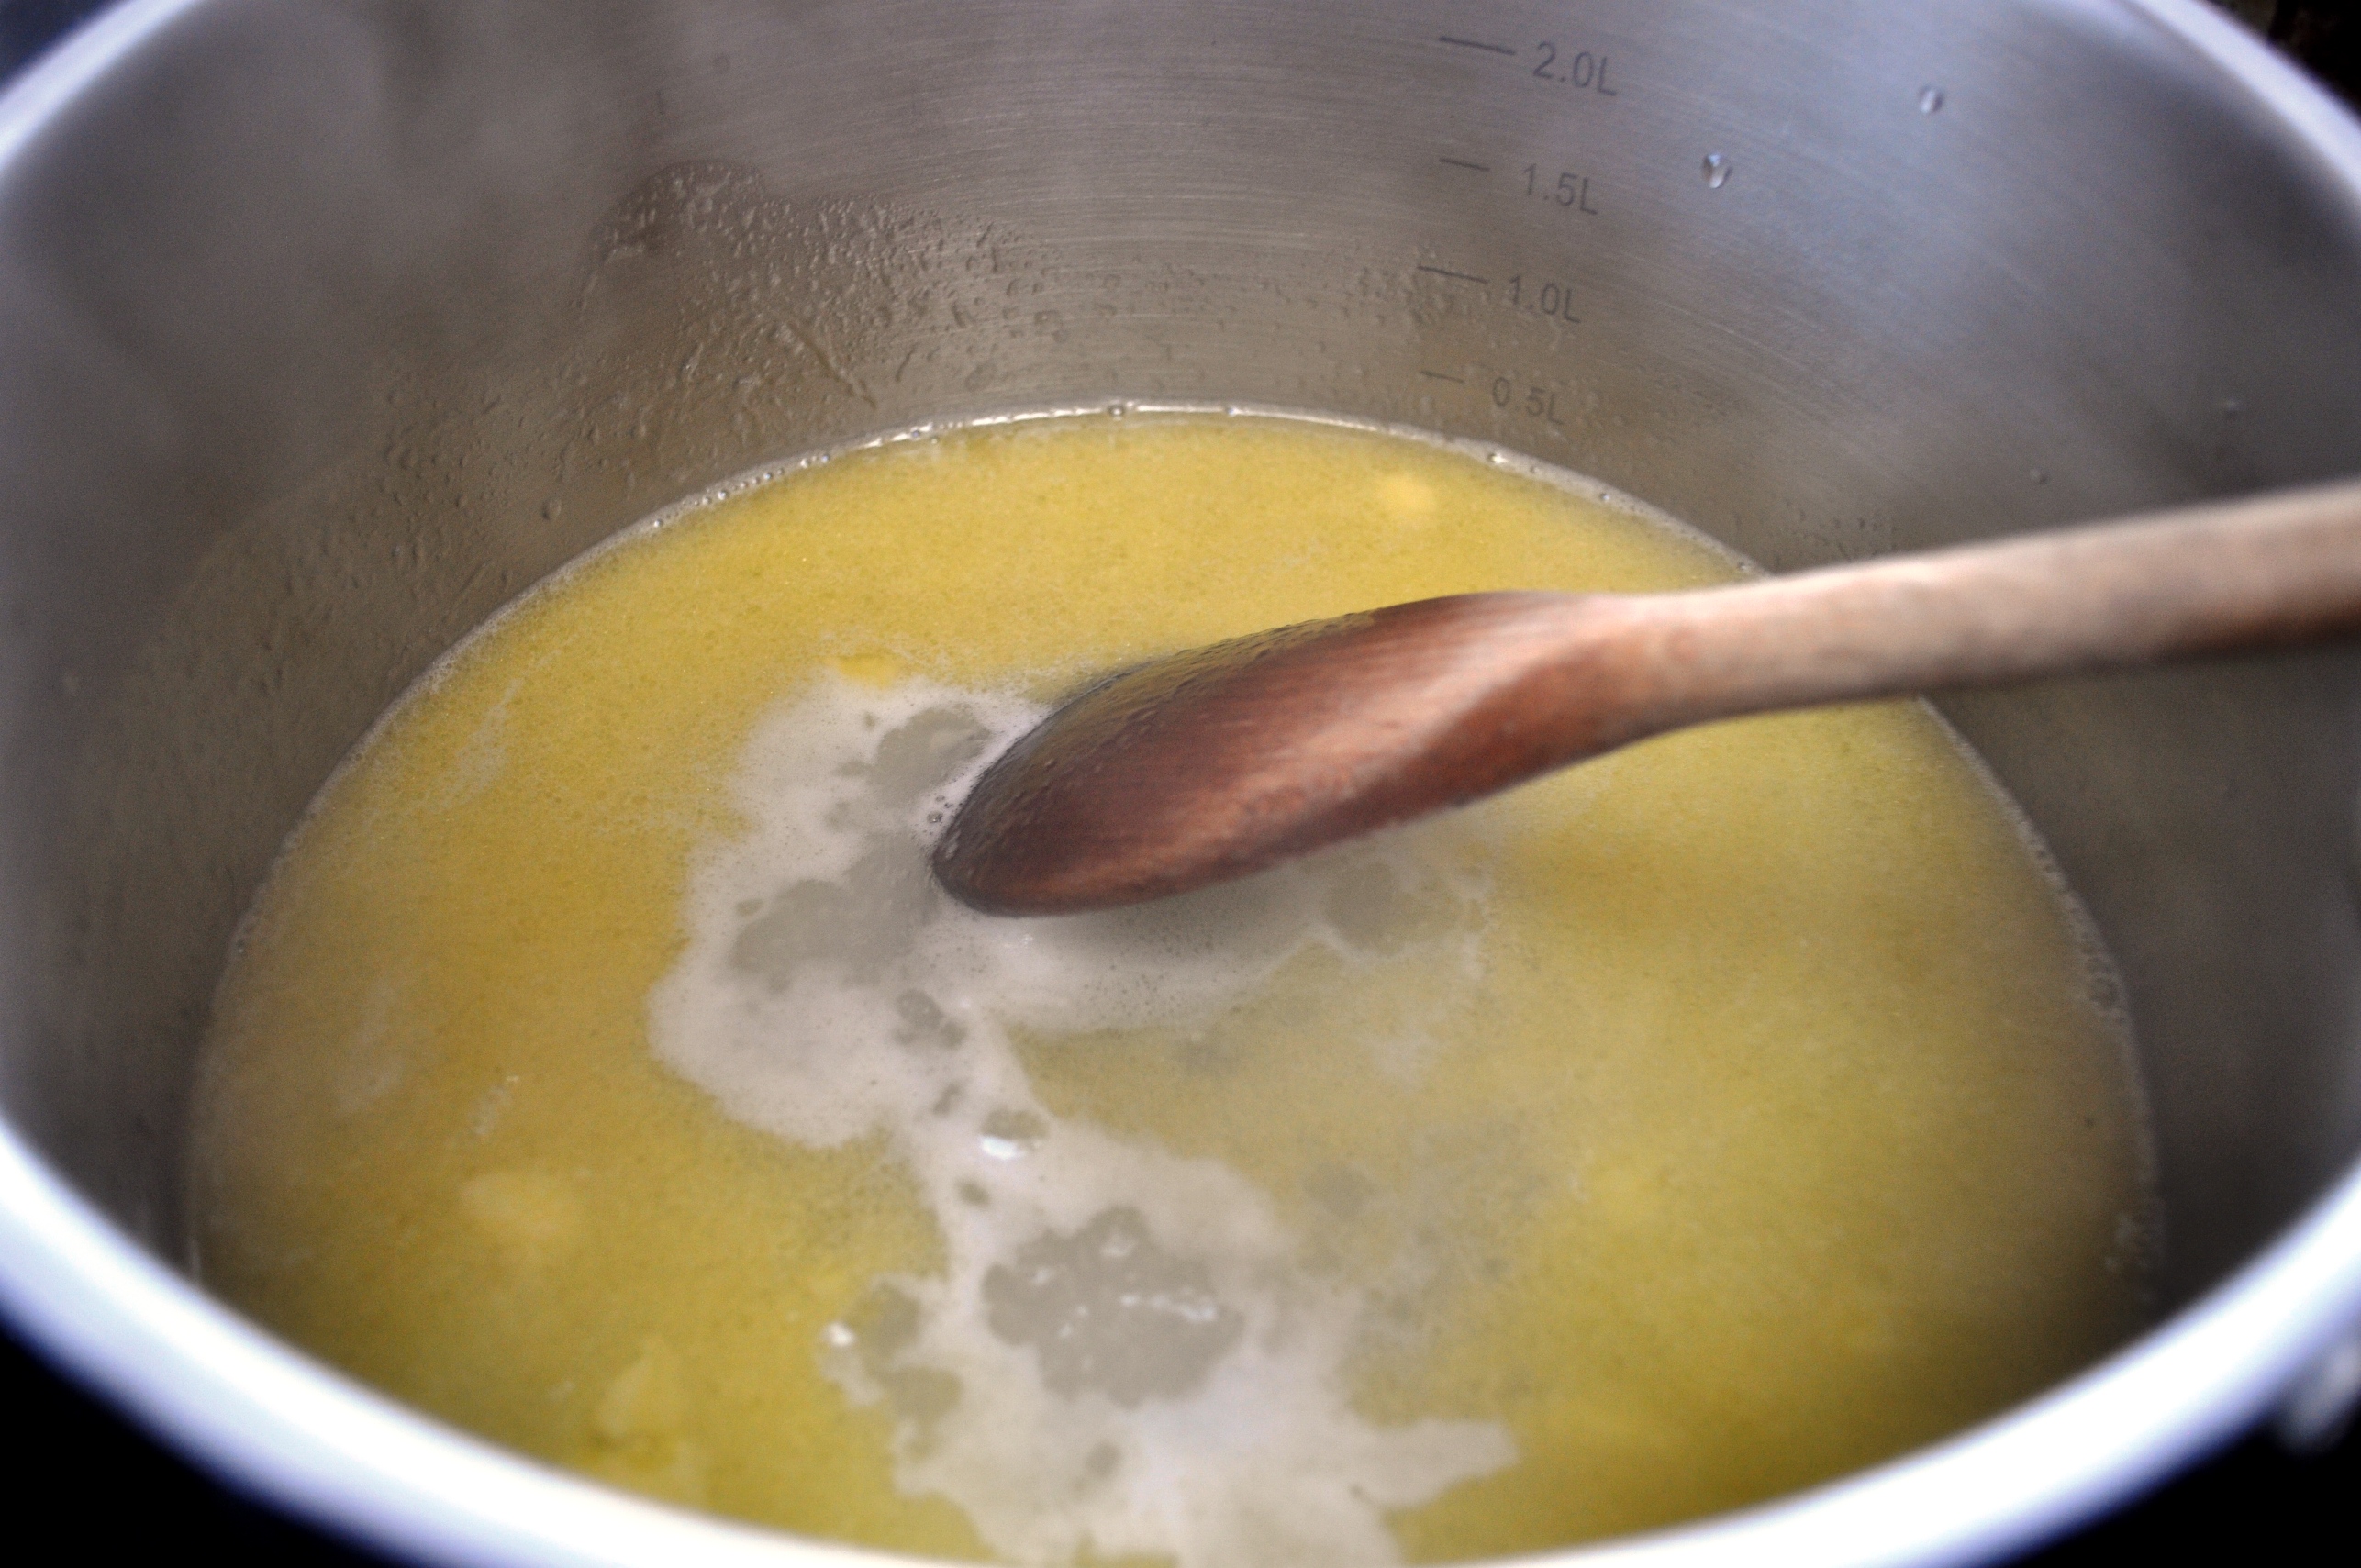
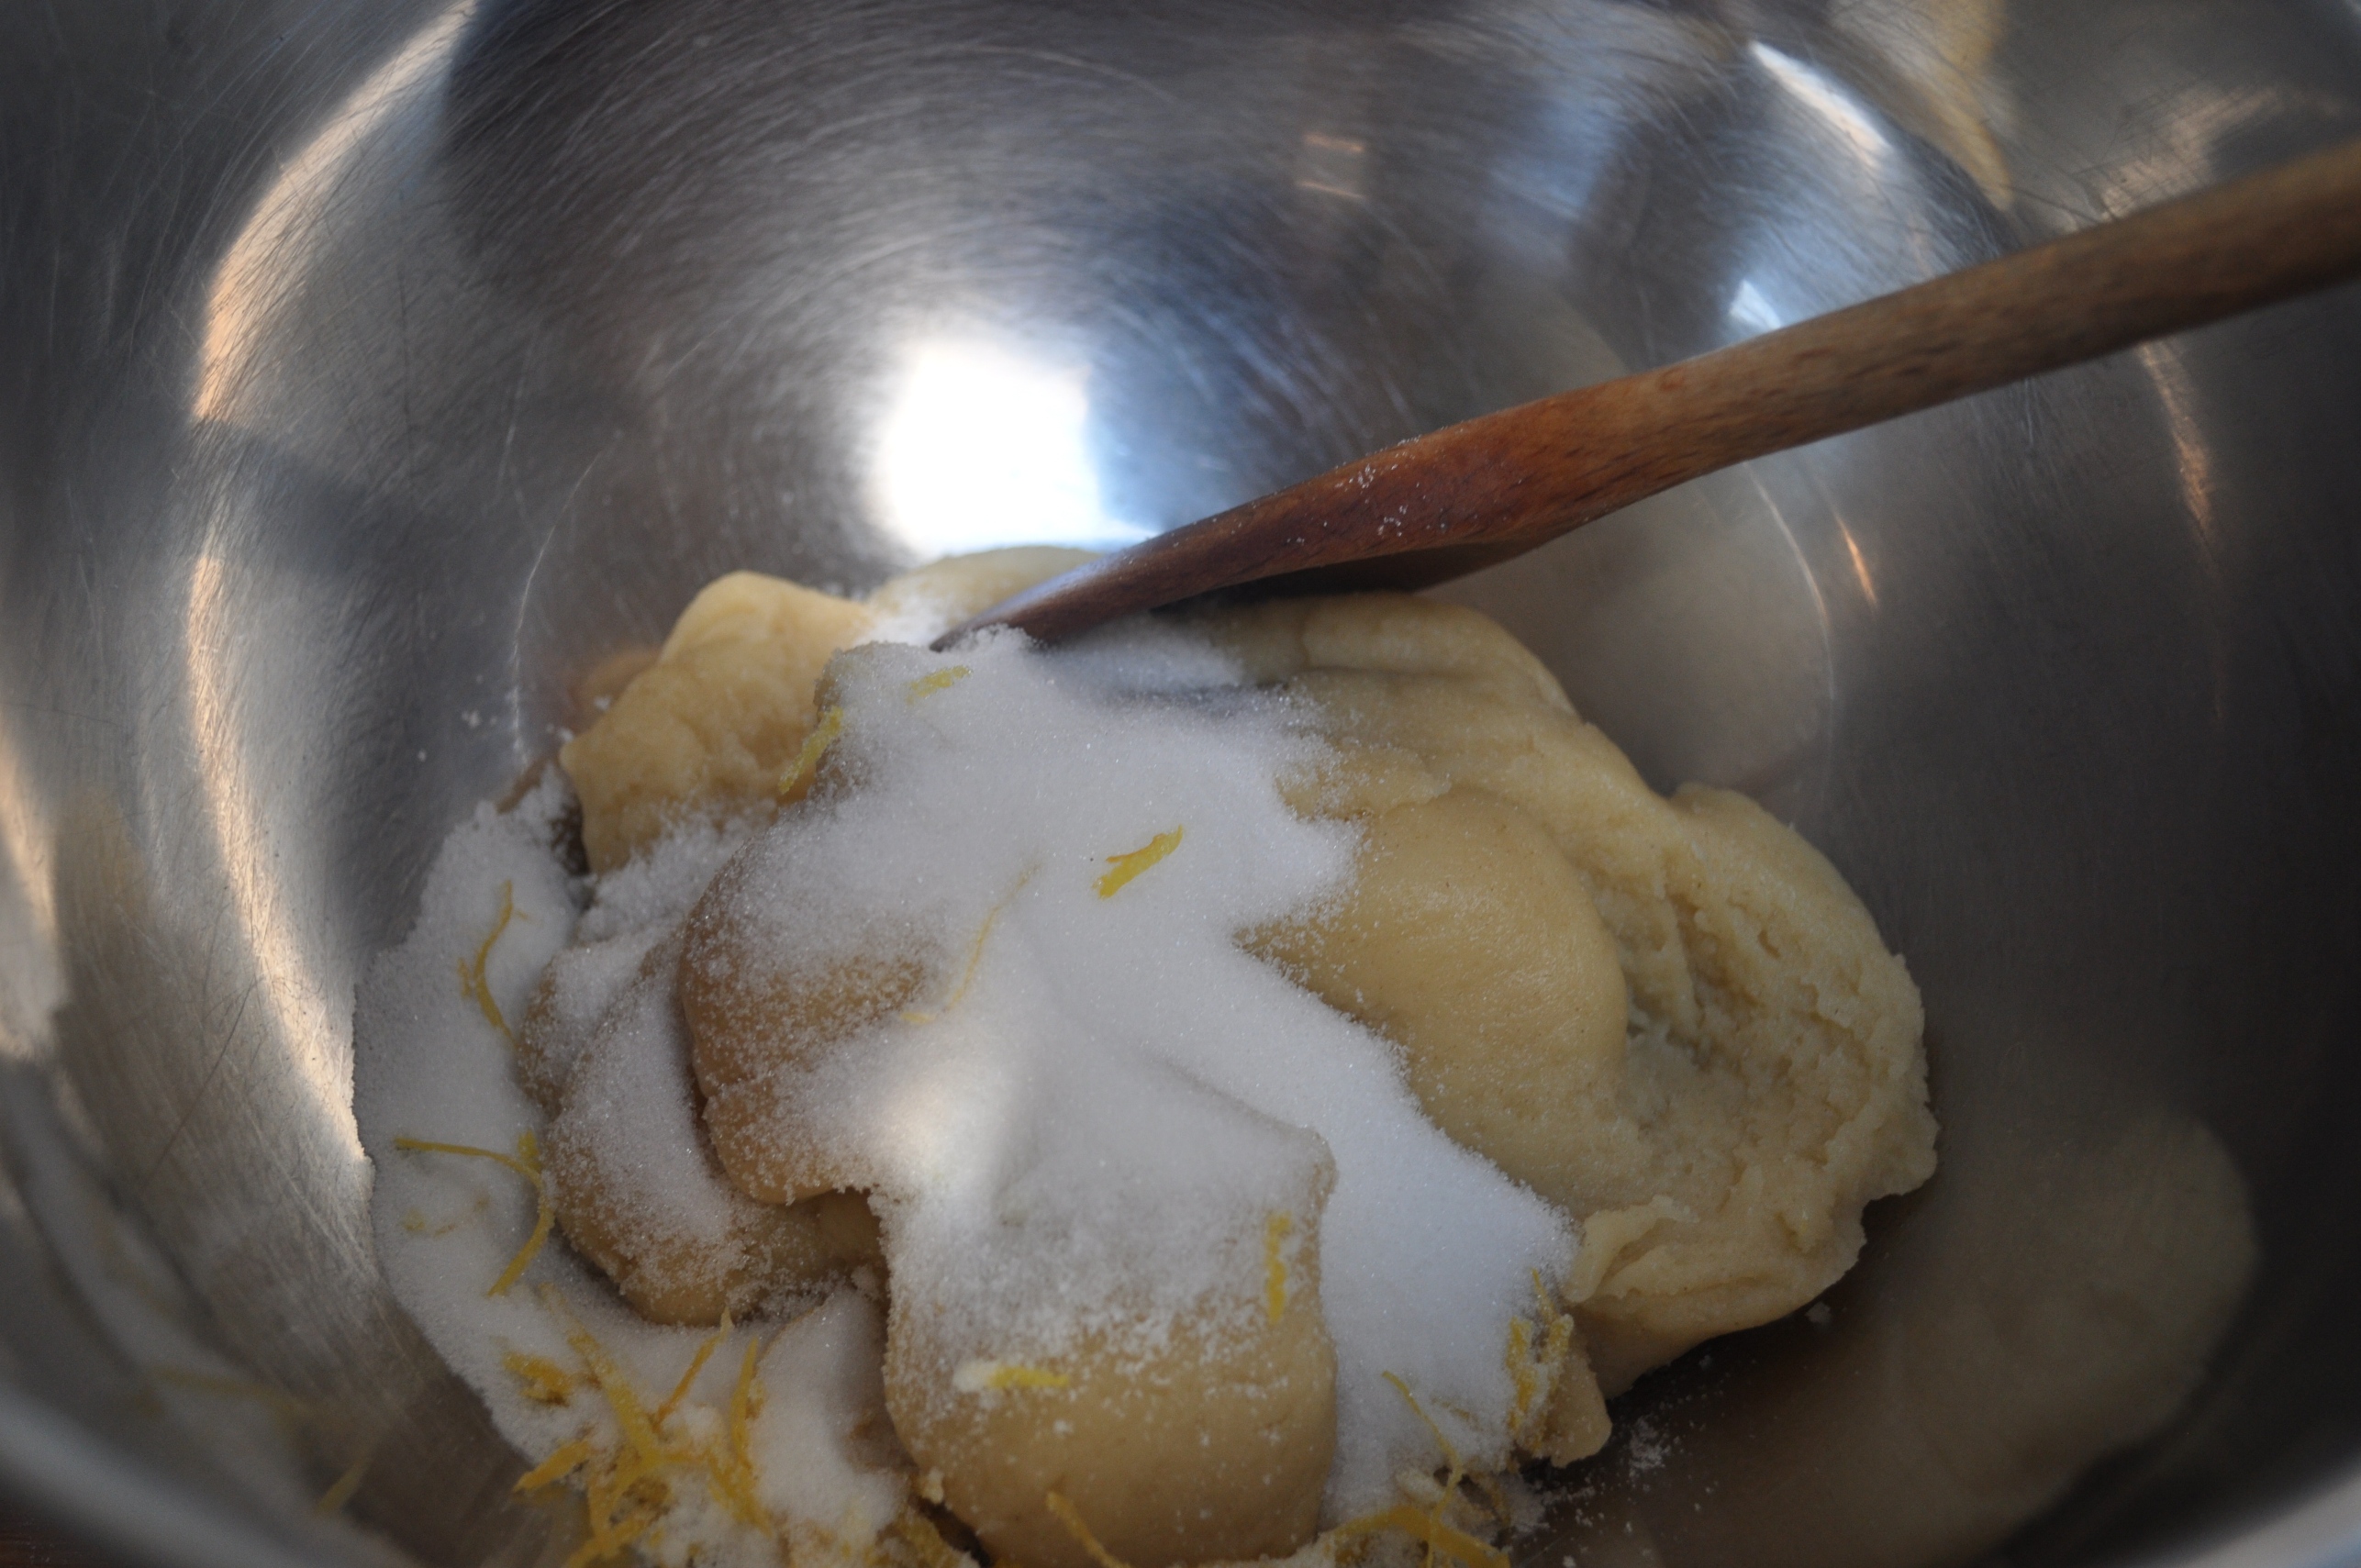
4. The butter should be soft – at least at room temperature. If it’s not, warm it up a bit. I tend to nuke it for a few seconds in the microwave.
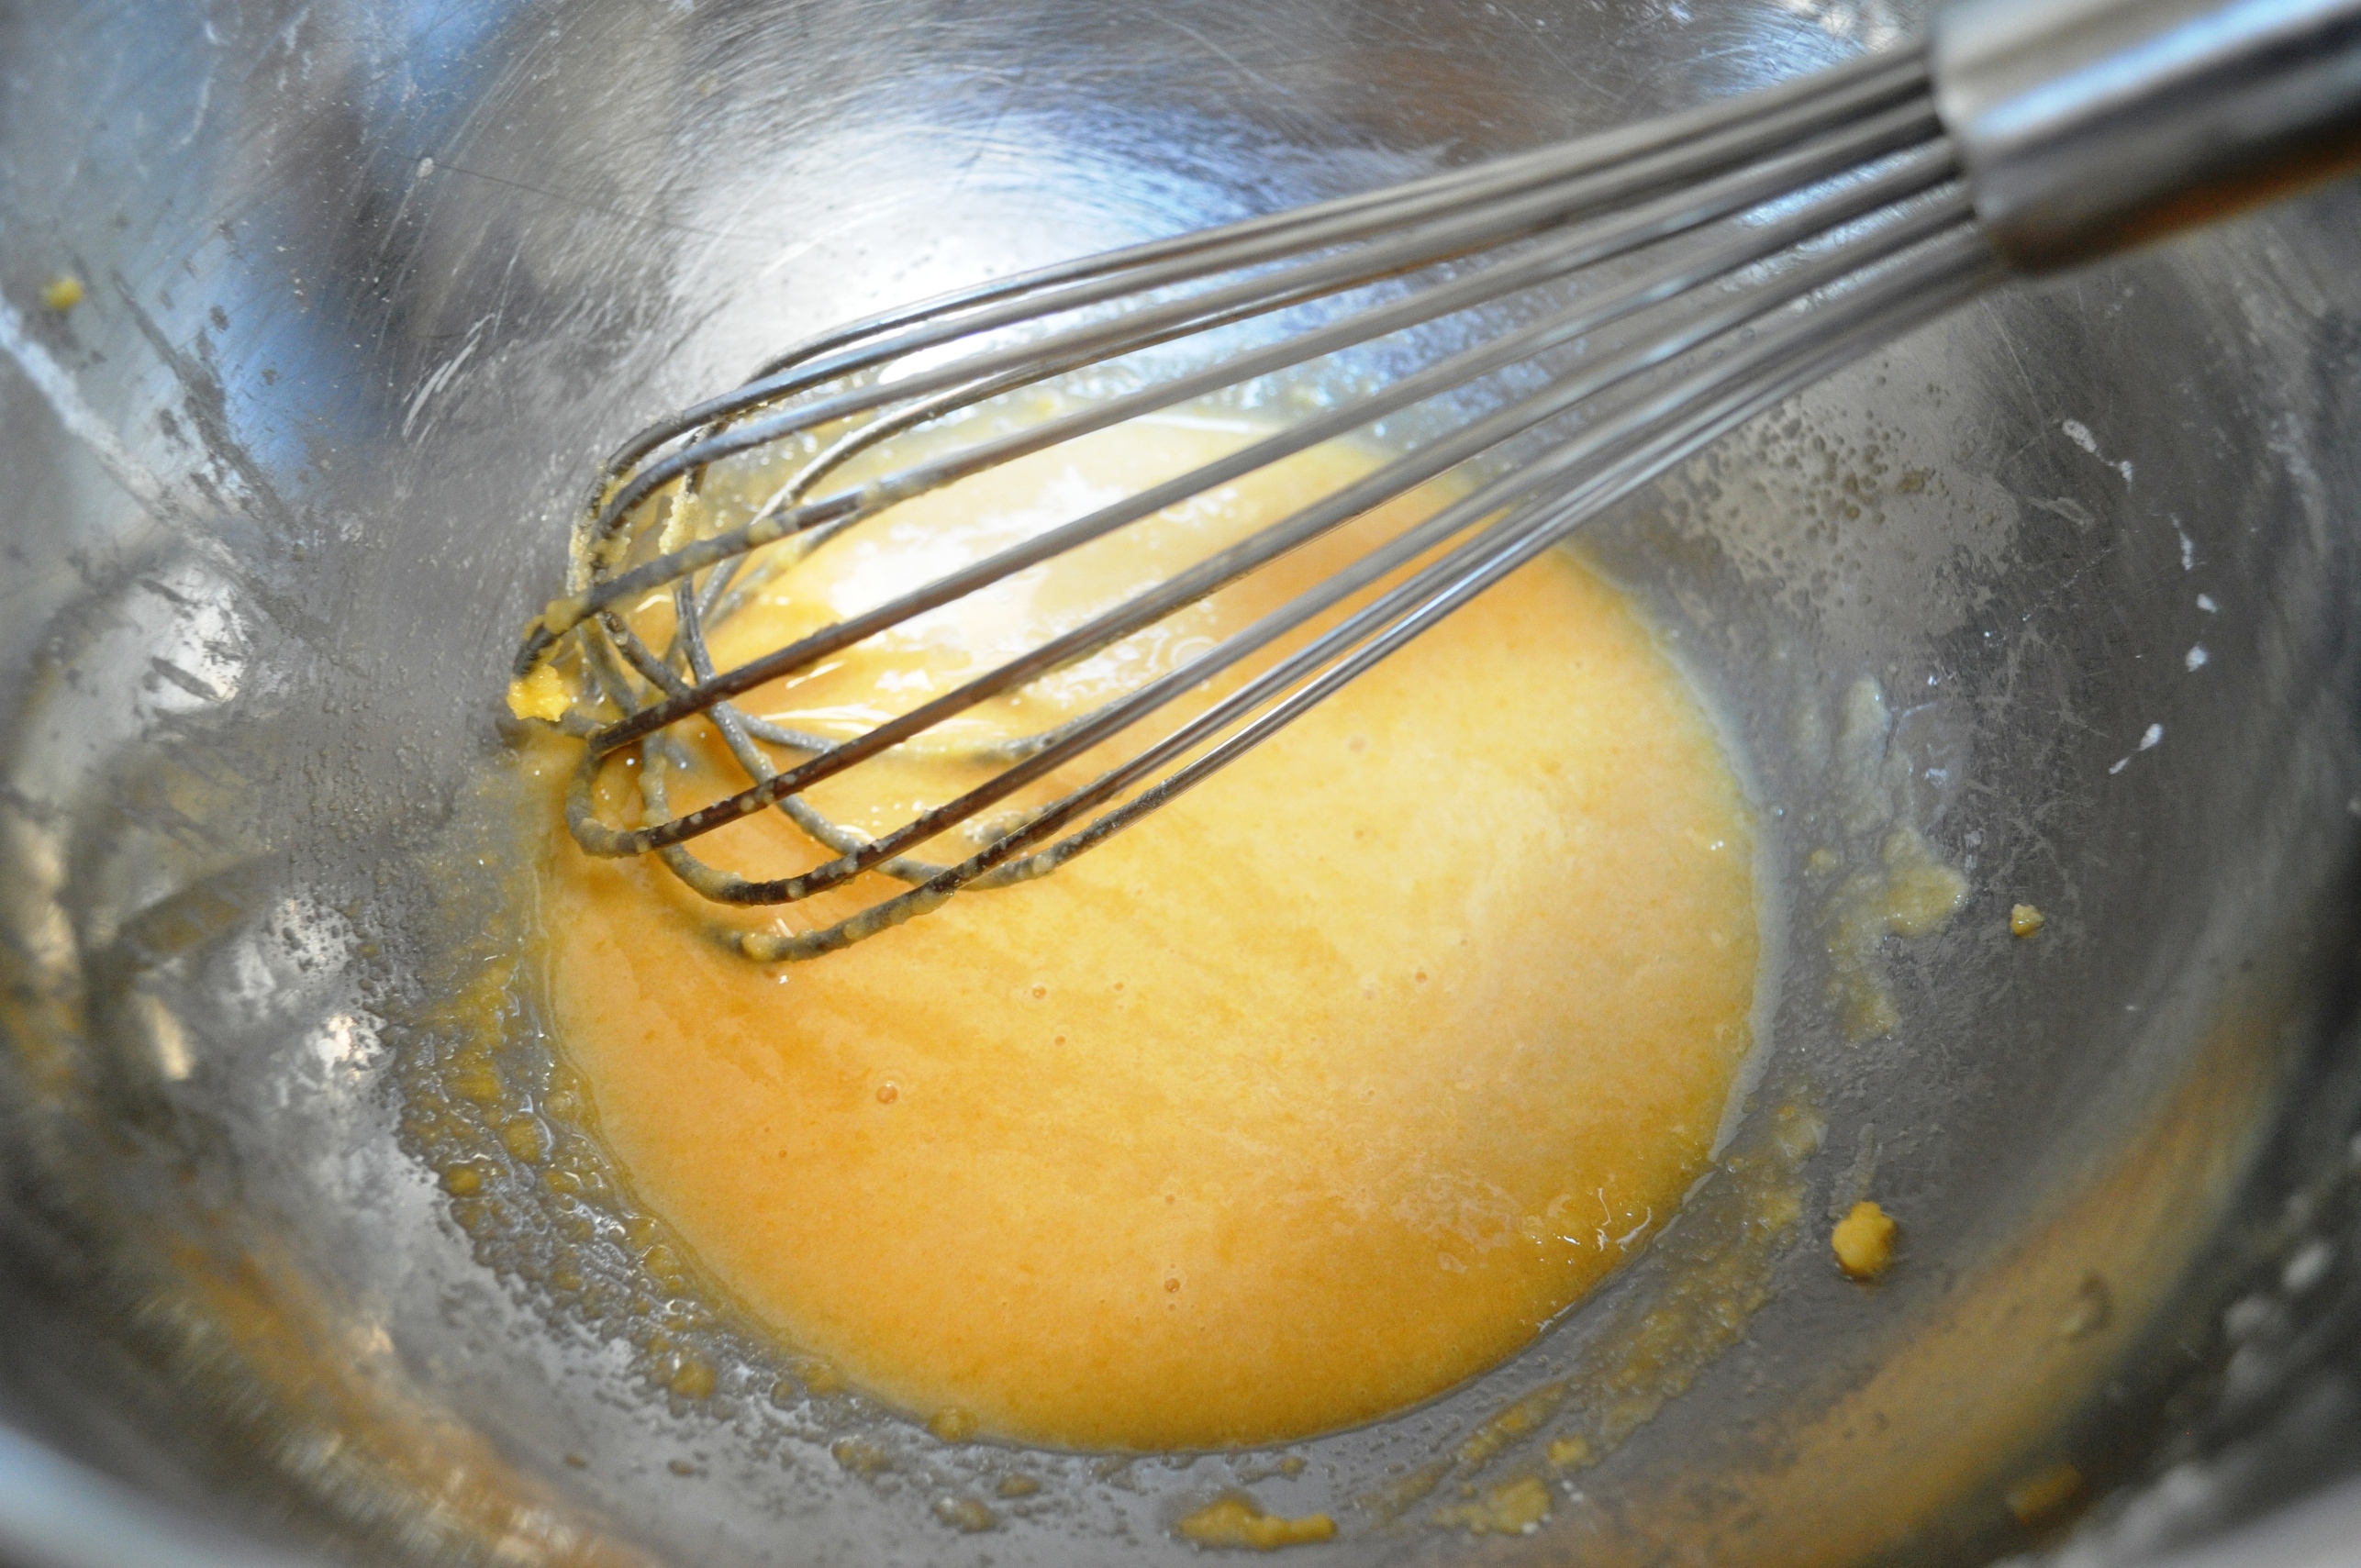
5. Crack a couple of eggs into a bowl, whisk briefly, then weigh out the necessary amount.

Combine egg, butter, sponge and flourBring together
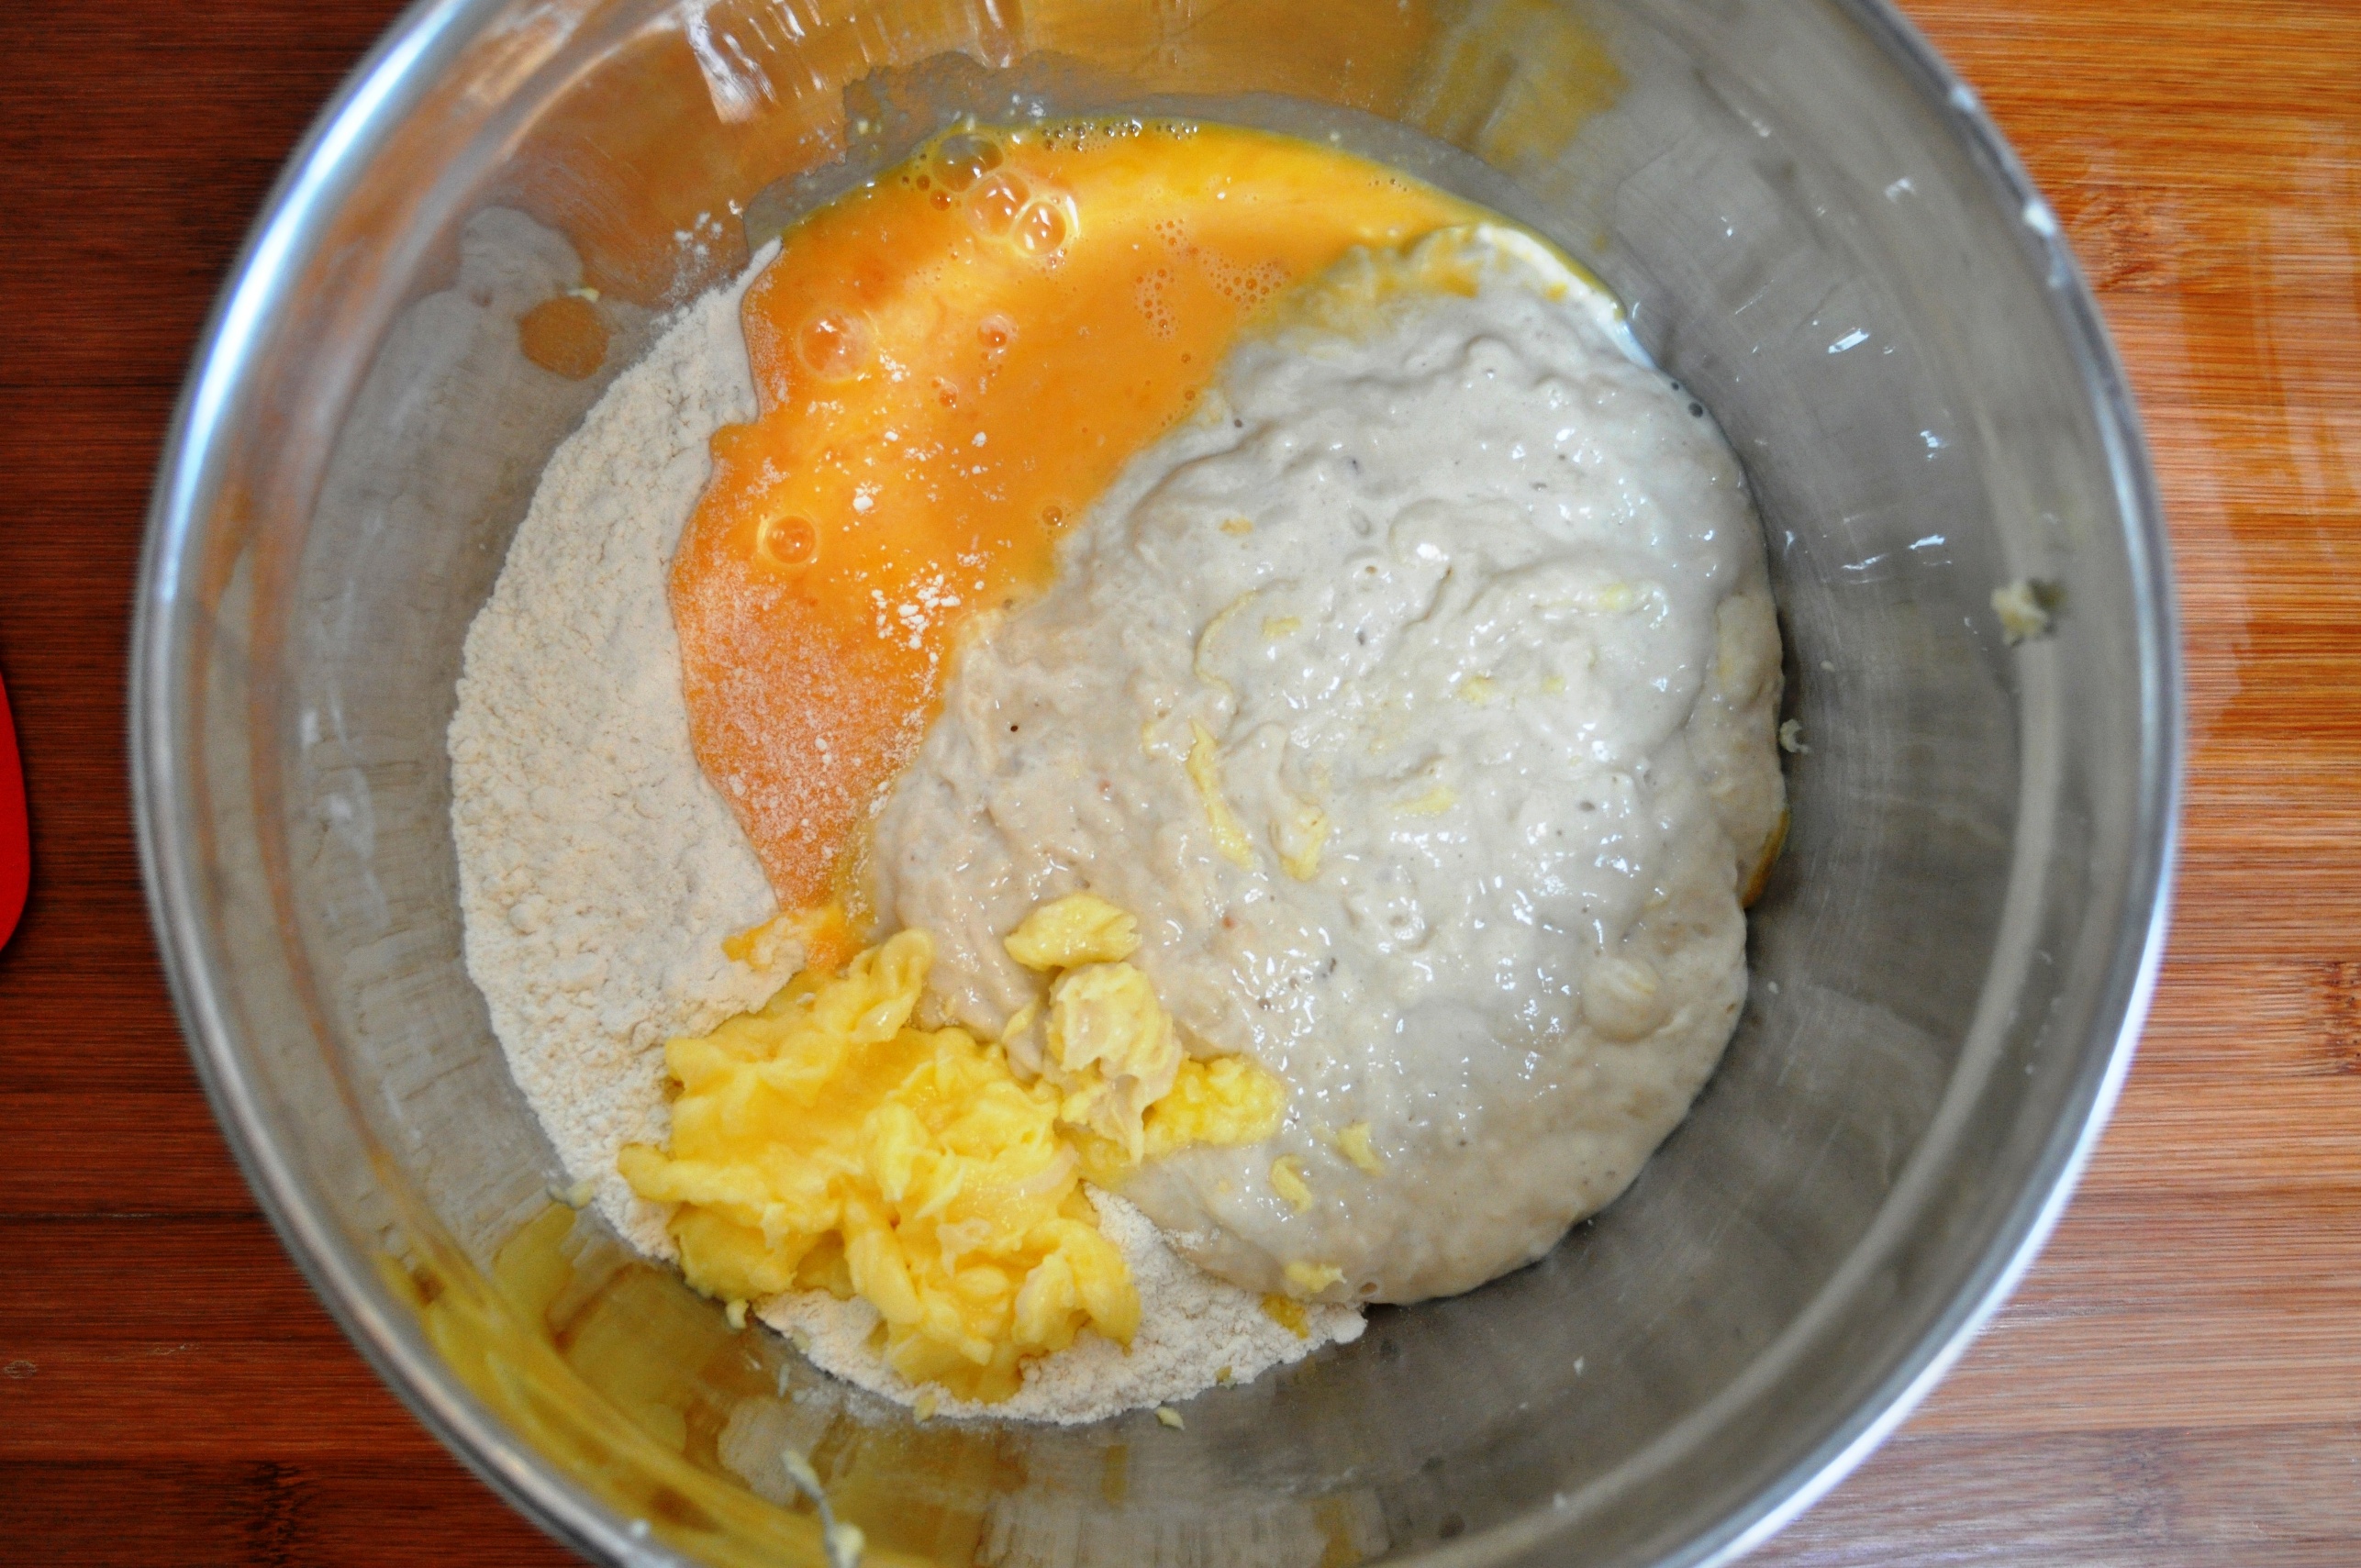
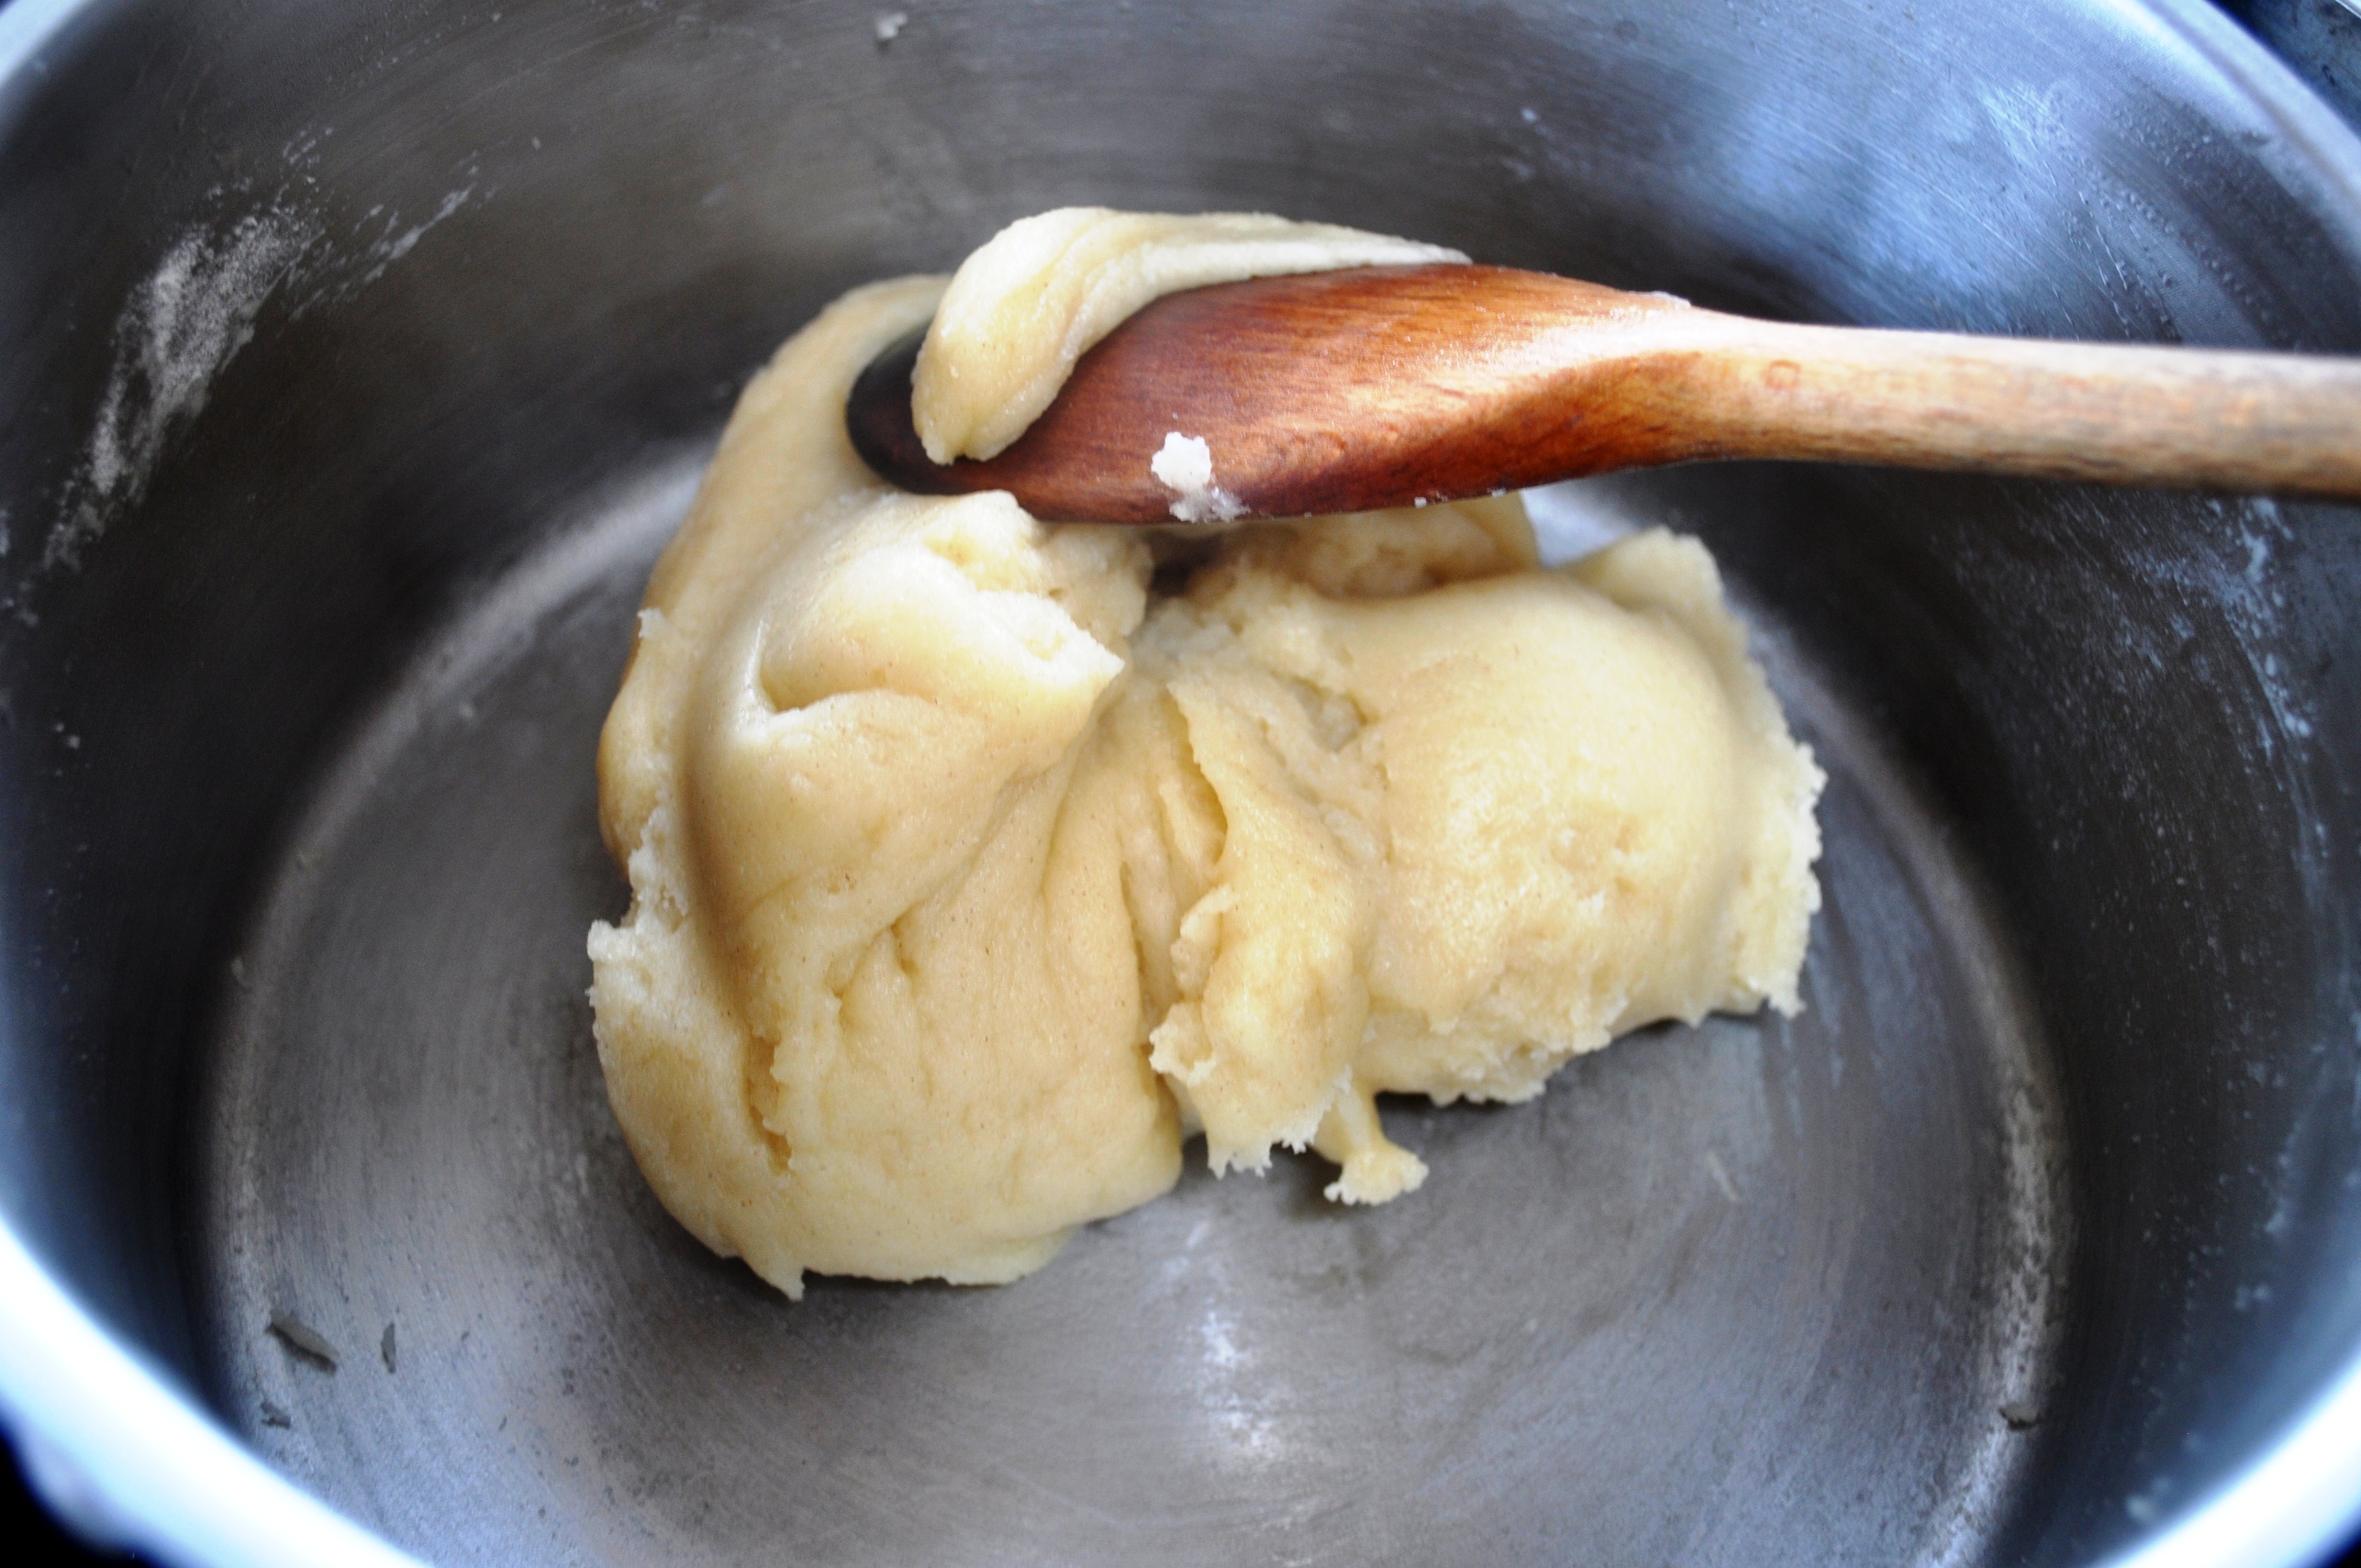
6. Put the butter, egg and sponge in the large bowl with the other flour and bring to a dough. Alternatively, just combine in a mixer with a dough hook, and form the dough.

Turn outKnead till smooth
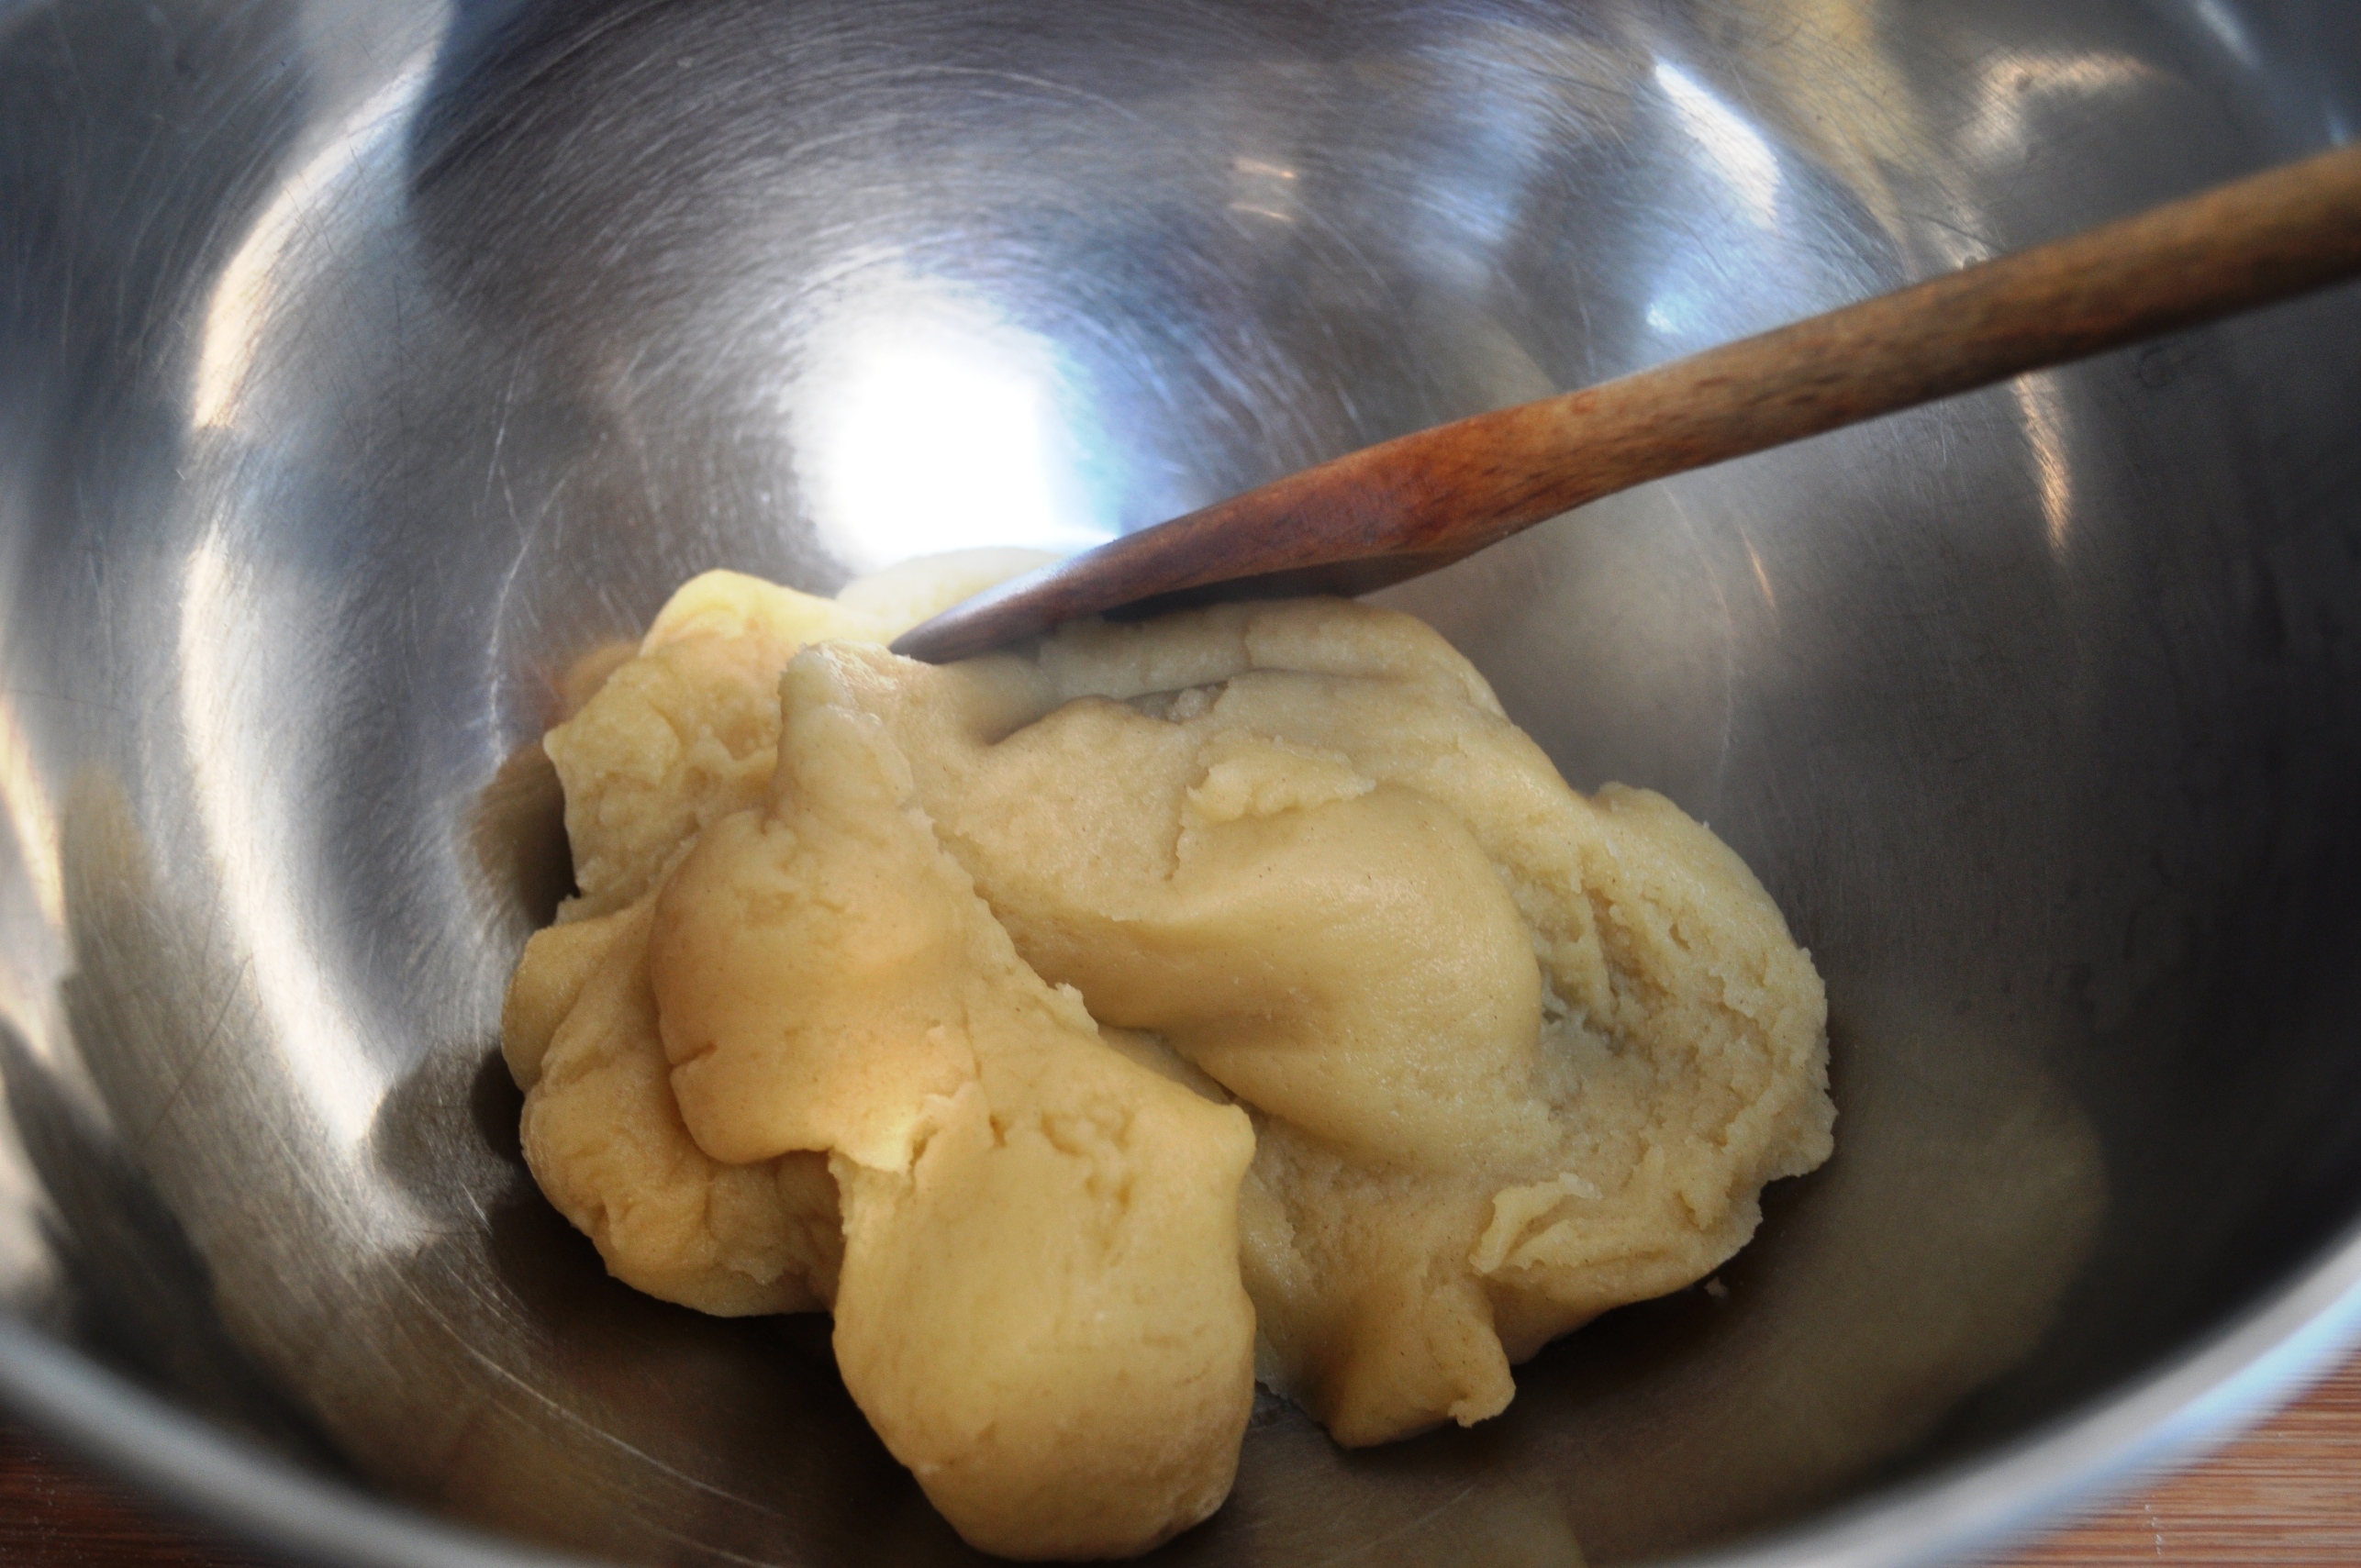
7. If working by hand, turn out the mixture and knead until you have a smooth dough.

Prove till doubled
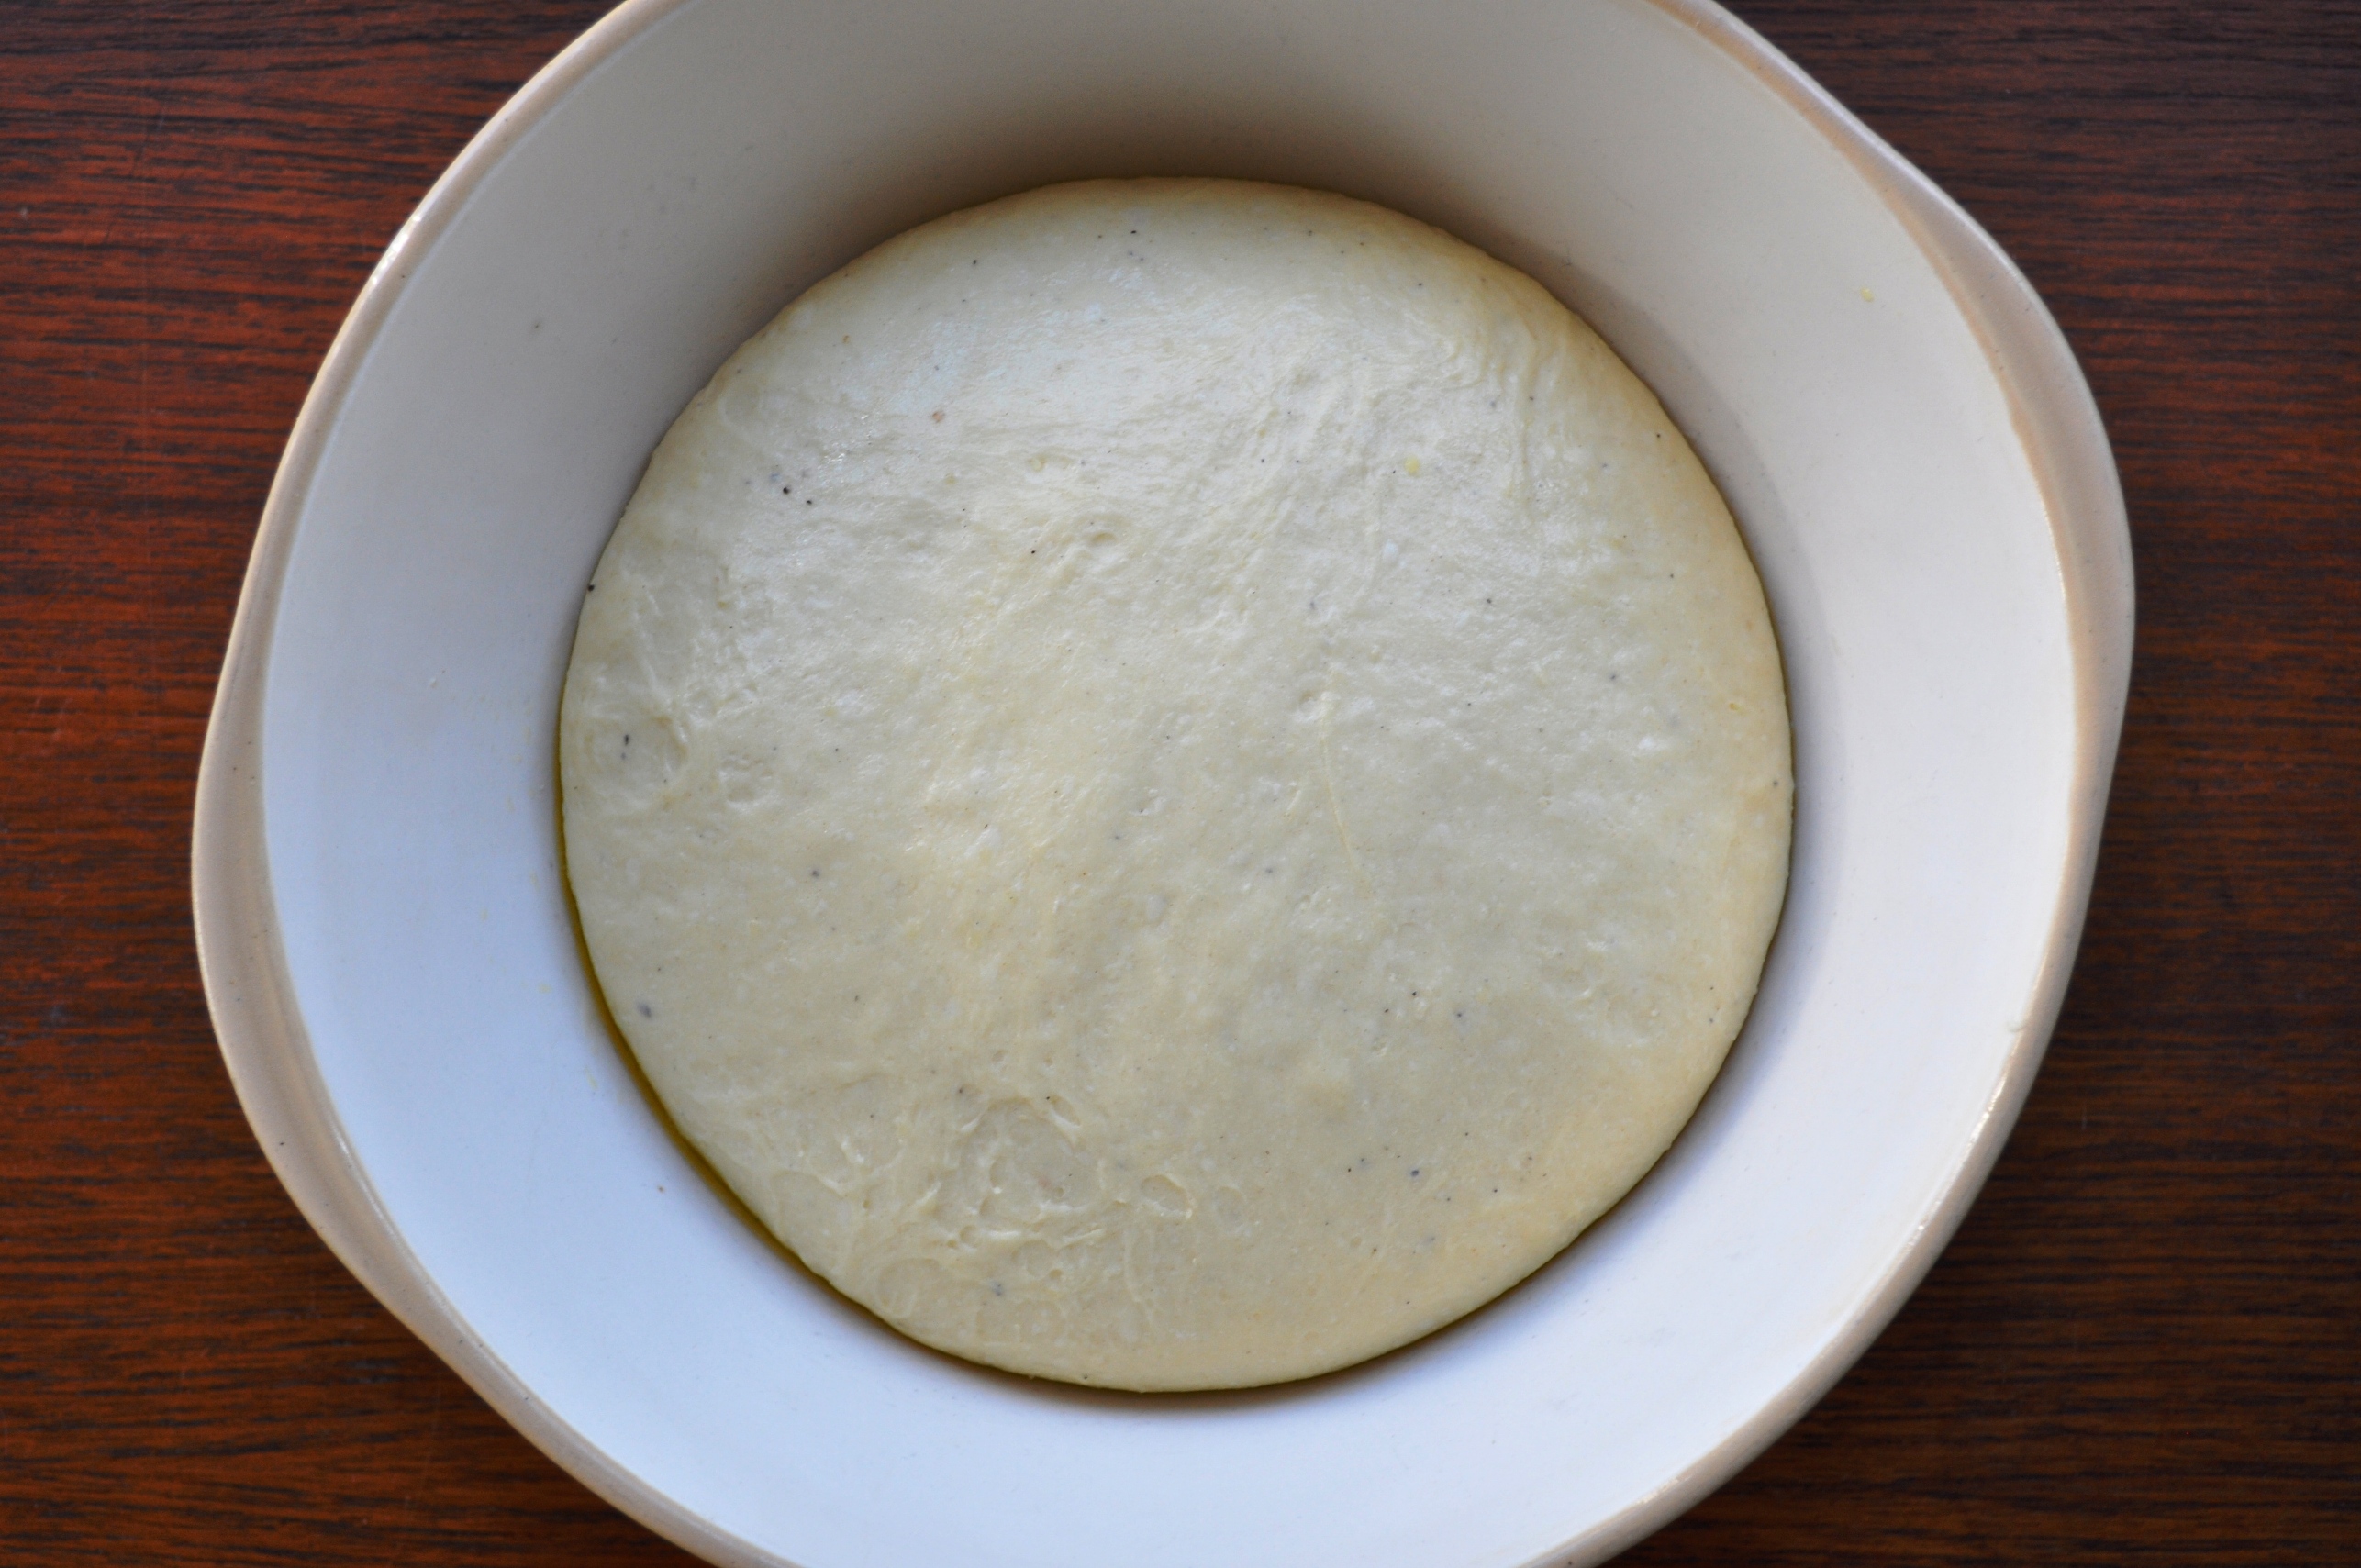
8. Form the dough into a ball, then put it in a large, clean bowl, cover and leave to prove until doubled in size. Time will vary depending on the air temperature but mine took about two hours.
9. Turn out the dough, then form it into a ball again. Leave to rest, covered, for five minutes.

Divide into pieces
10. Weigh the dough. It should weigh around 1000g. To make two medium loaves, divide it into eight pieces, each weighing about 125g. Alternatively, you can make one large loaf – just divide into four pieces, each weighing about 250g.
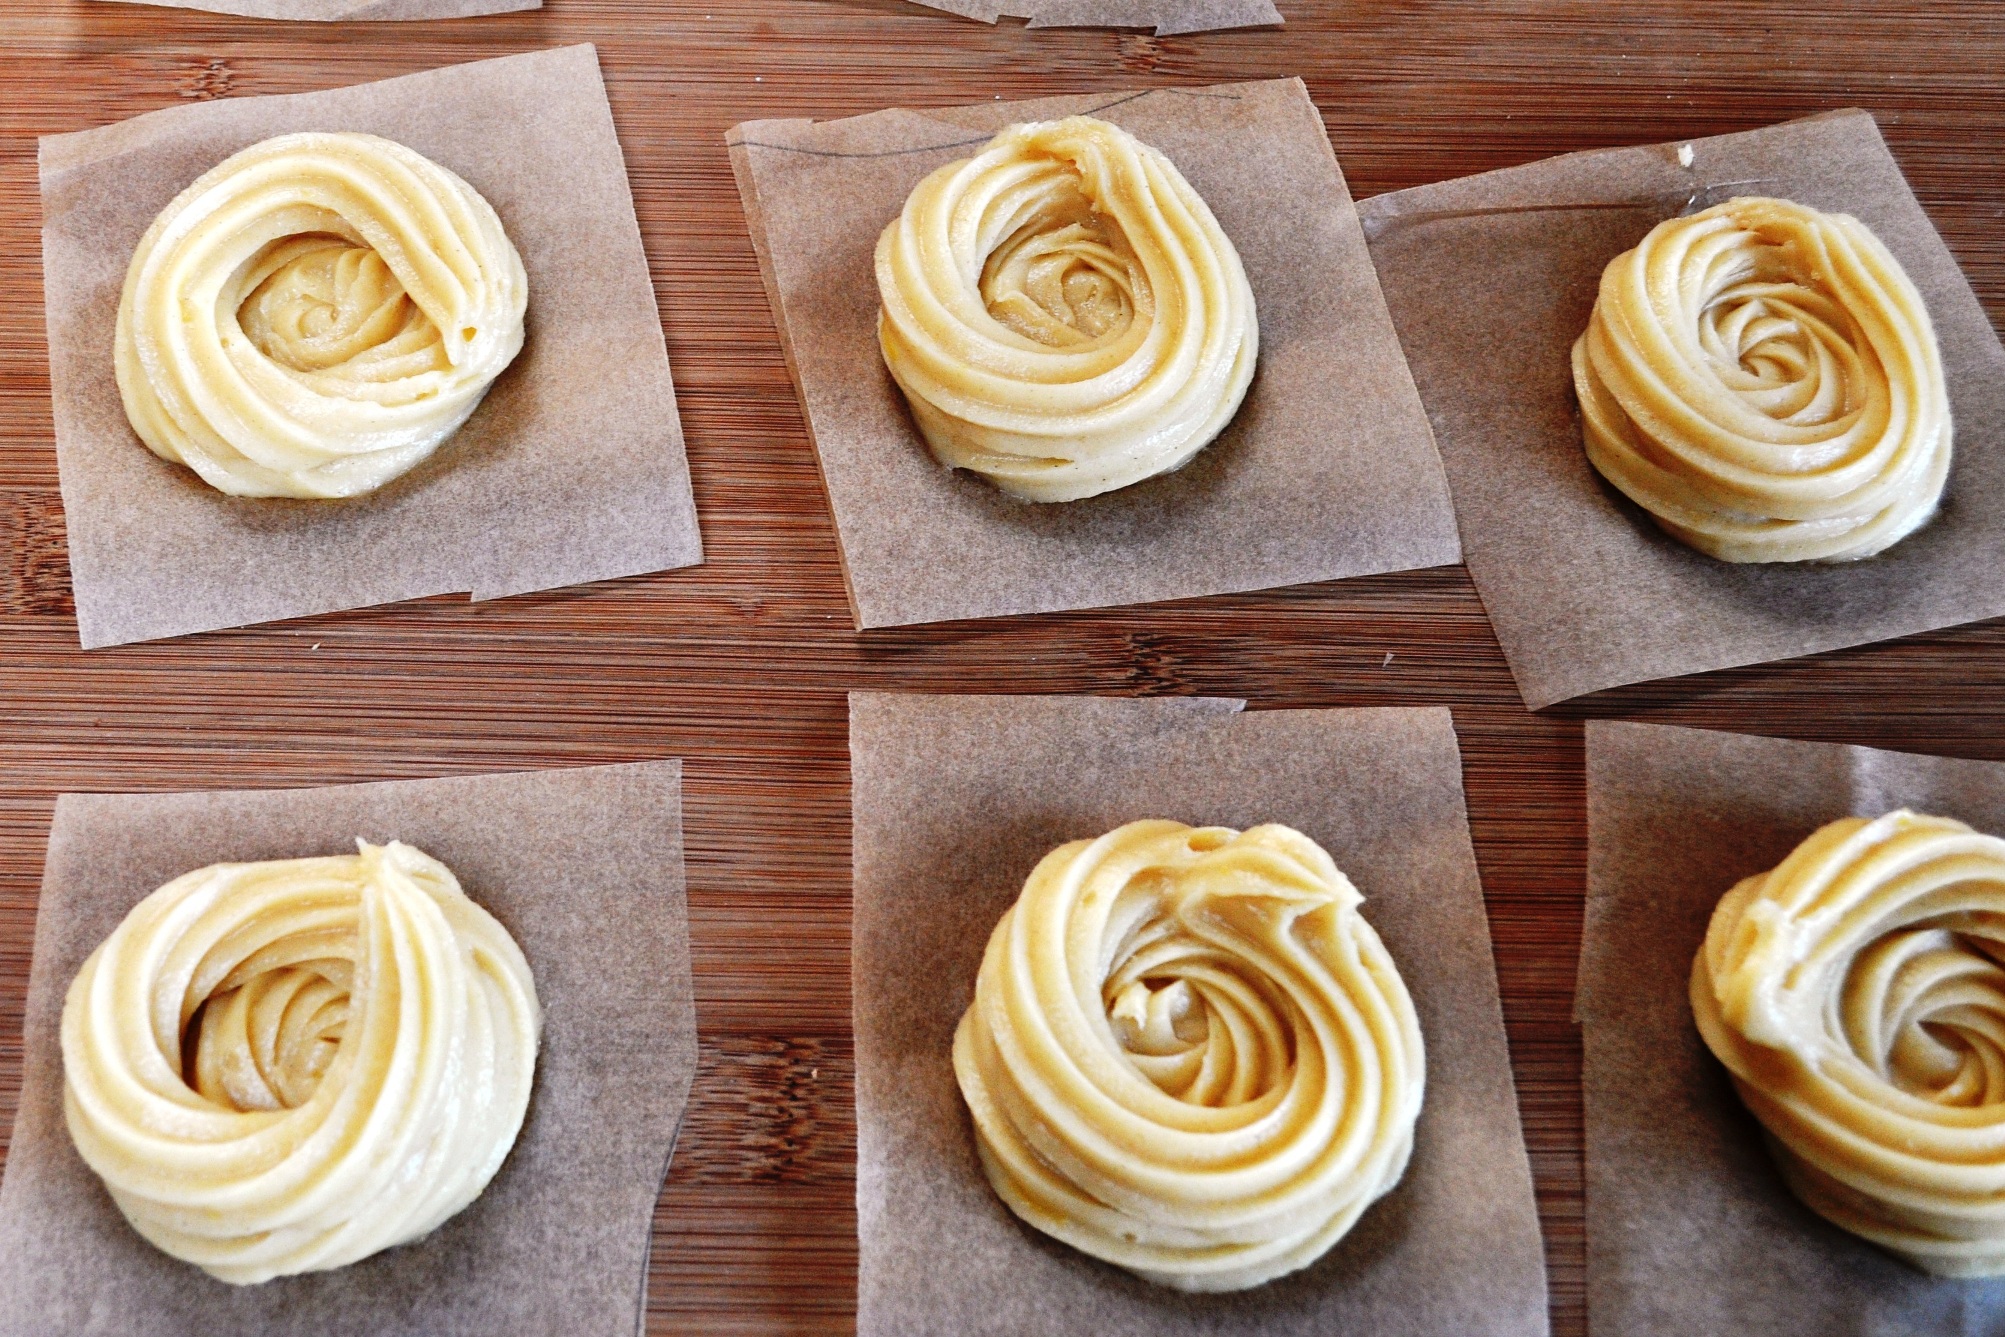
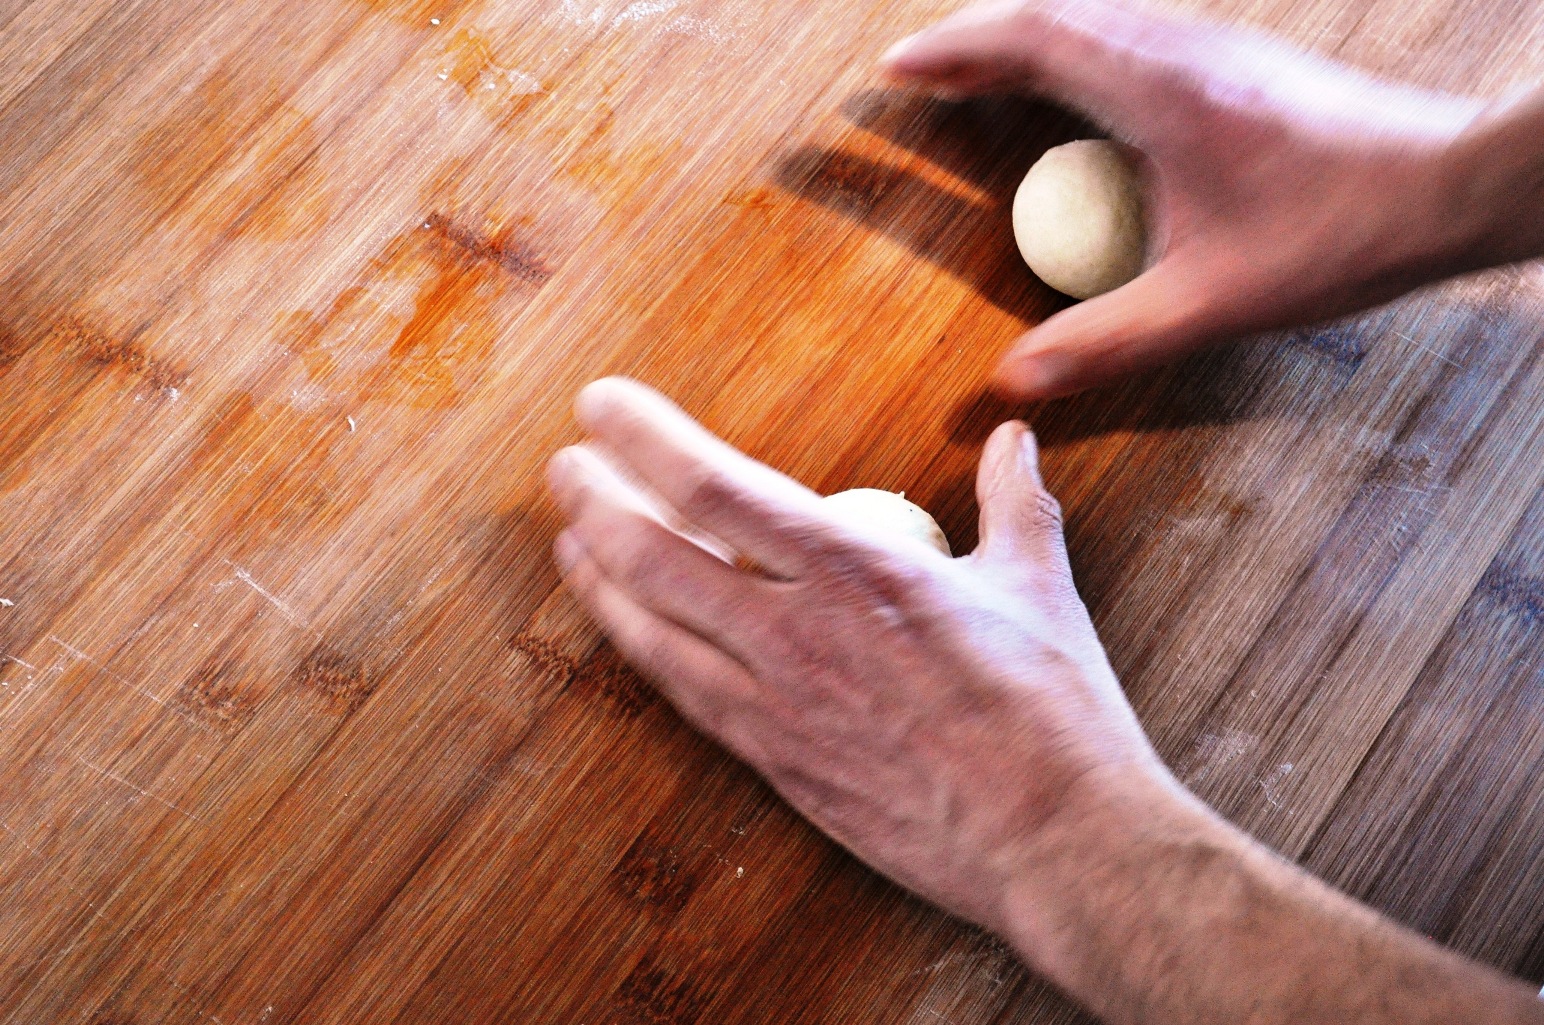
11. Form the pieces into balls, cover and rest for five minutes.

Form balls, form strands
12. Form each ball into a snake or sausage or rope. You get the gist. Each needs to be the same length. Mine were 50cm, but I’m actually thinking it looks better if they’re shorter. Your choice.
13. Take four snakes and pinch one end of each together firmly, tucking the end under and laying the strands out in front of you like half a tired octopus.

Lay out strands

14. There are plenty of videos online for braiding four strands. I remember it like this: 2/3, 4/2, 1/3 and repeat.

2 over 34 over 2

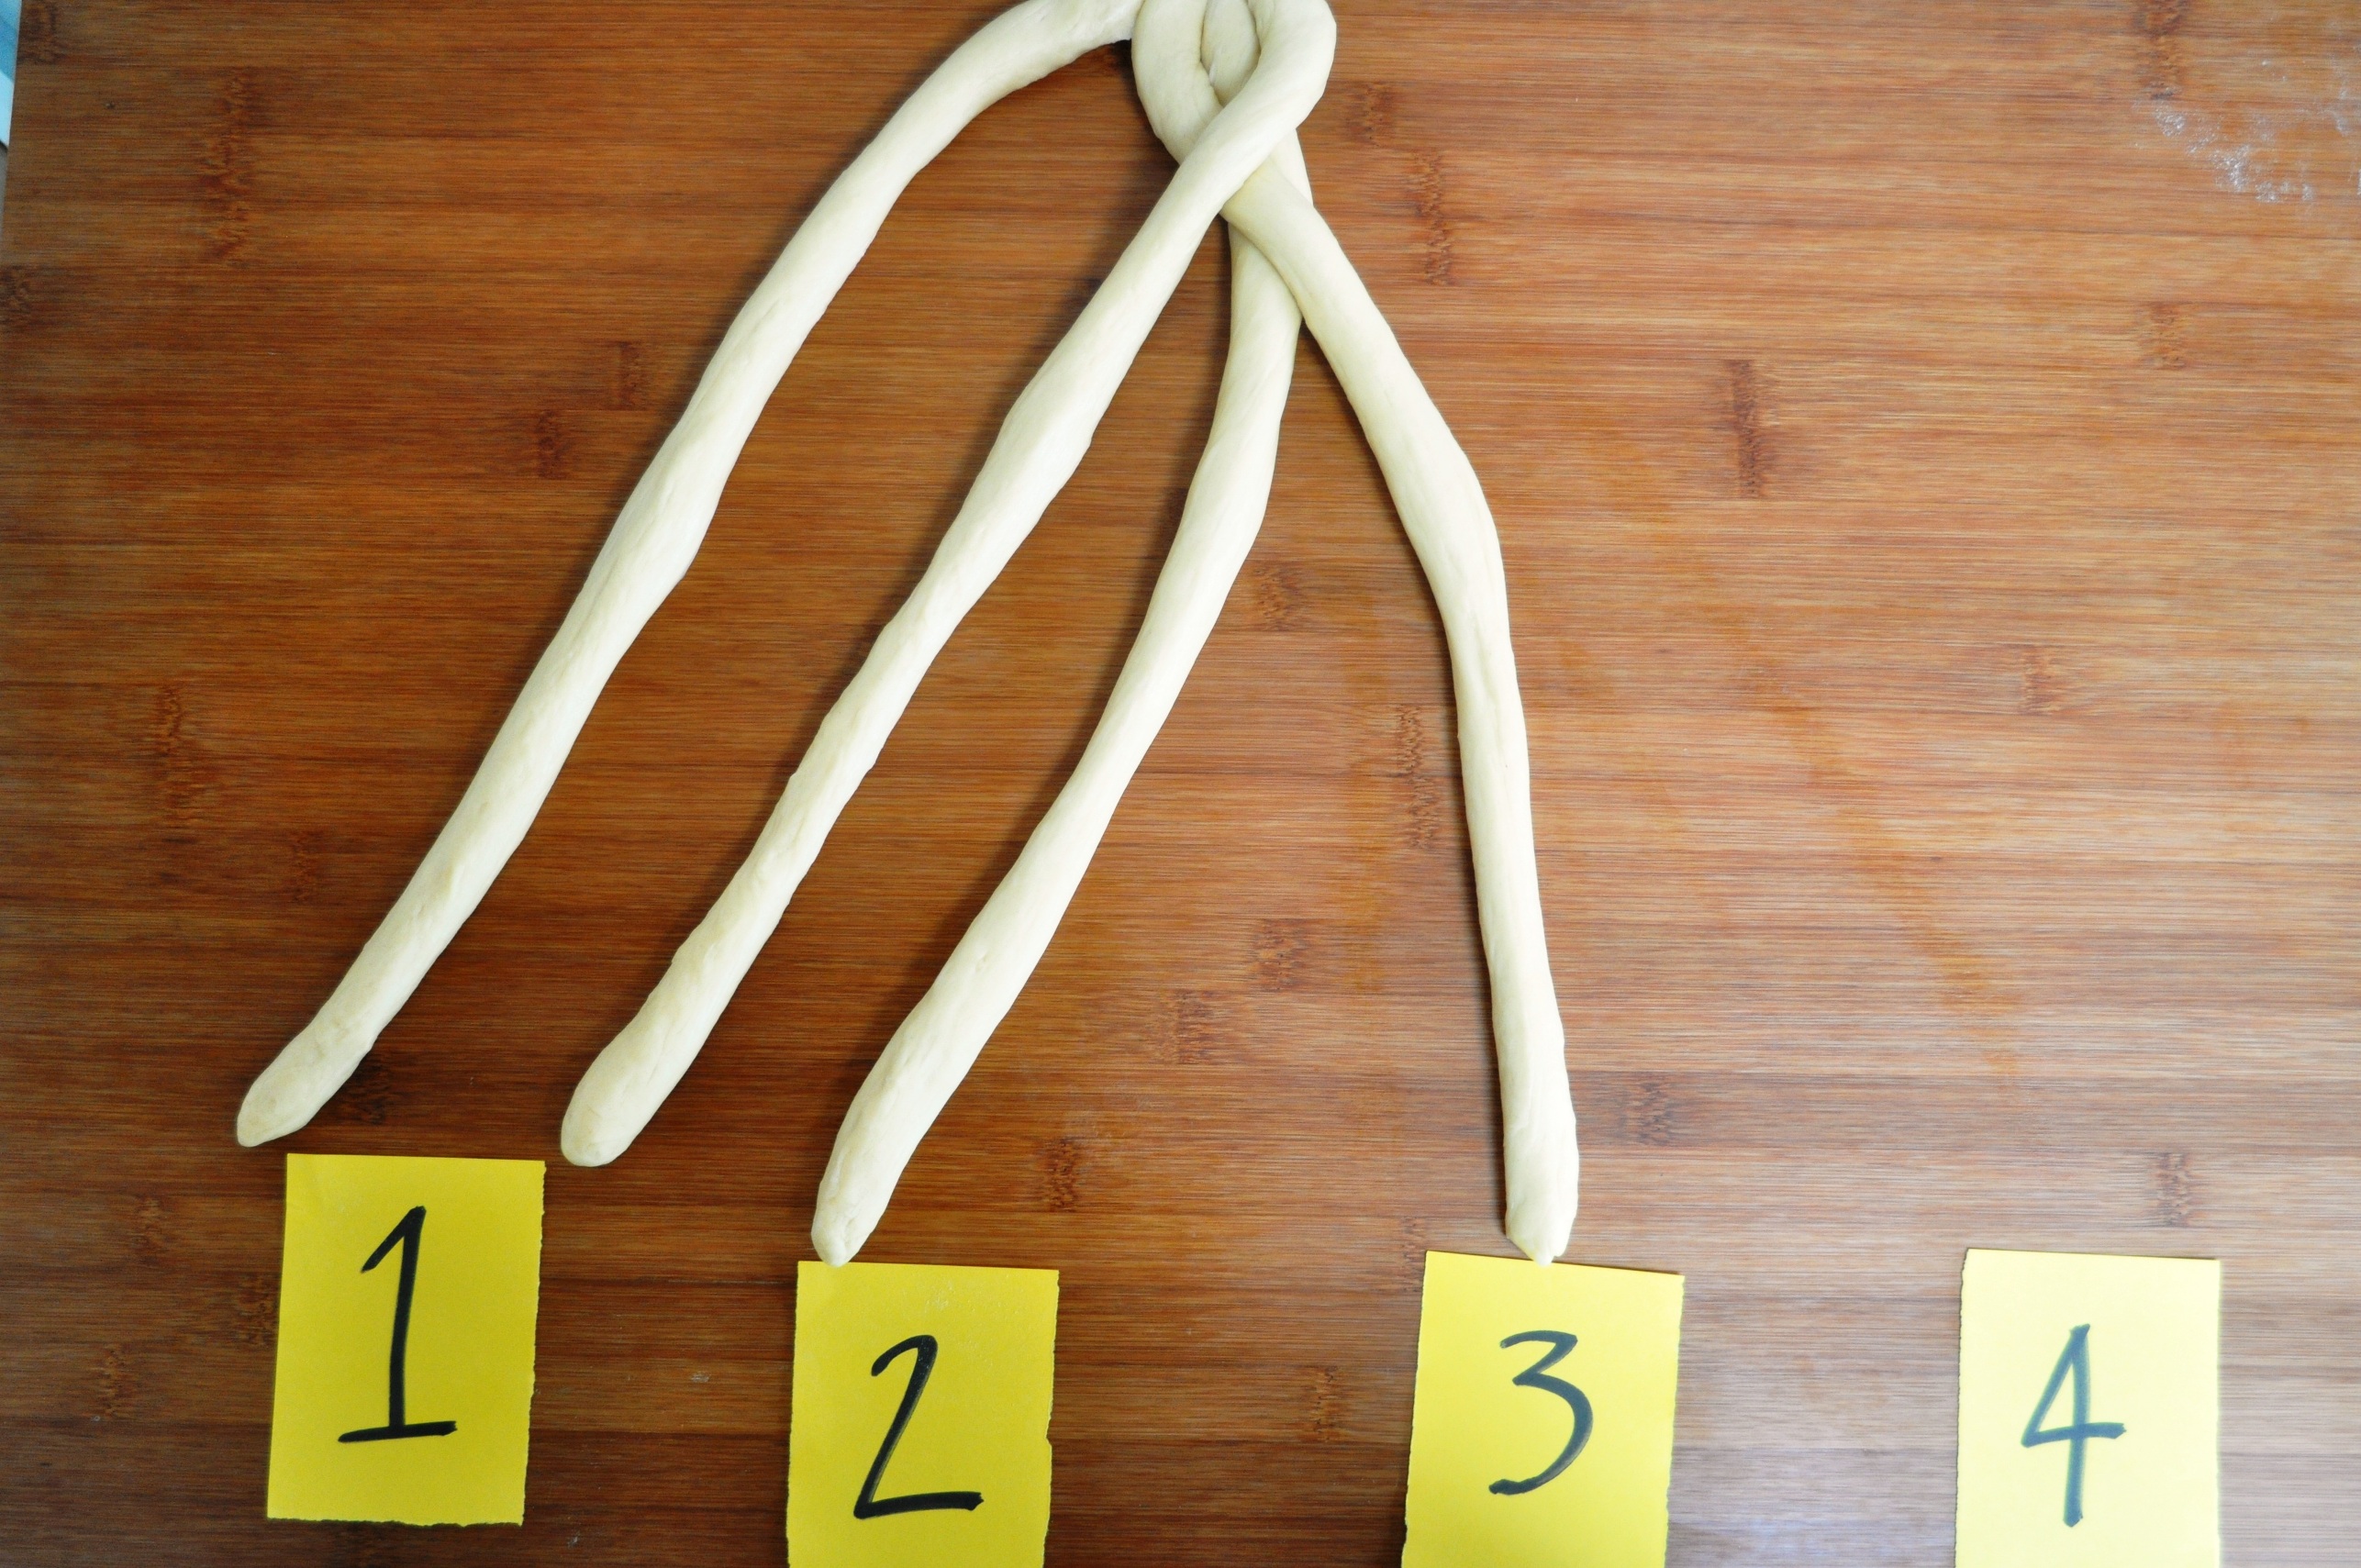
So take 2 (the second from the left) and put it over 3 (the third from the left), see above left. Then take 4 (the furthest right) and put it over 2 (the second from the left), see above right. Then take 1 (the furthest left) and put it over 3 (the third from the left).
Note, you’re not numbering the same strand itself, you’re numbering the position the strand is currently in, from left to right. Repeat to the end, then pinch together and tuck under again.

BraidingBraiding 2
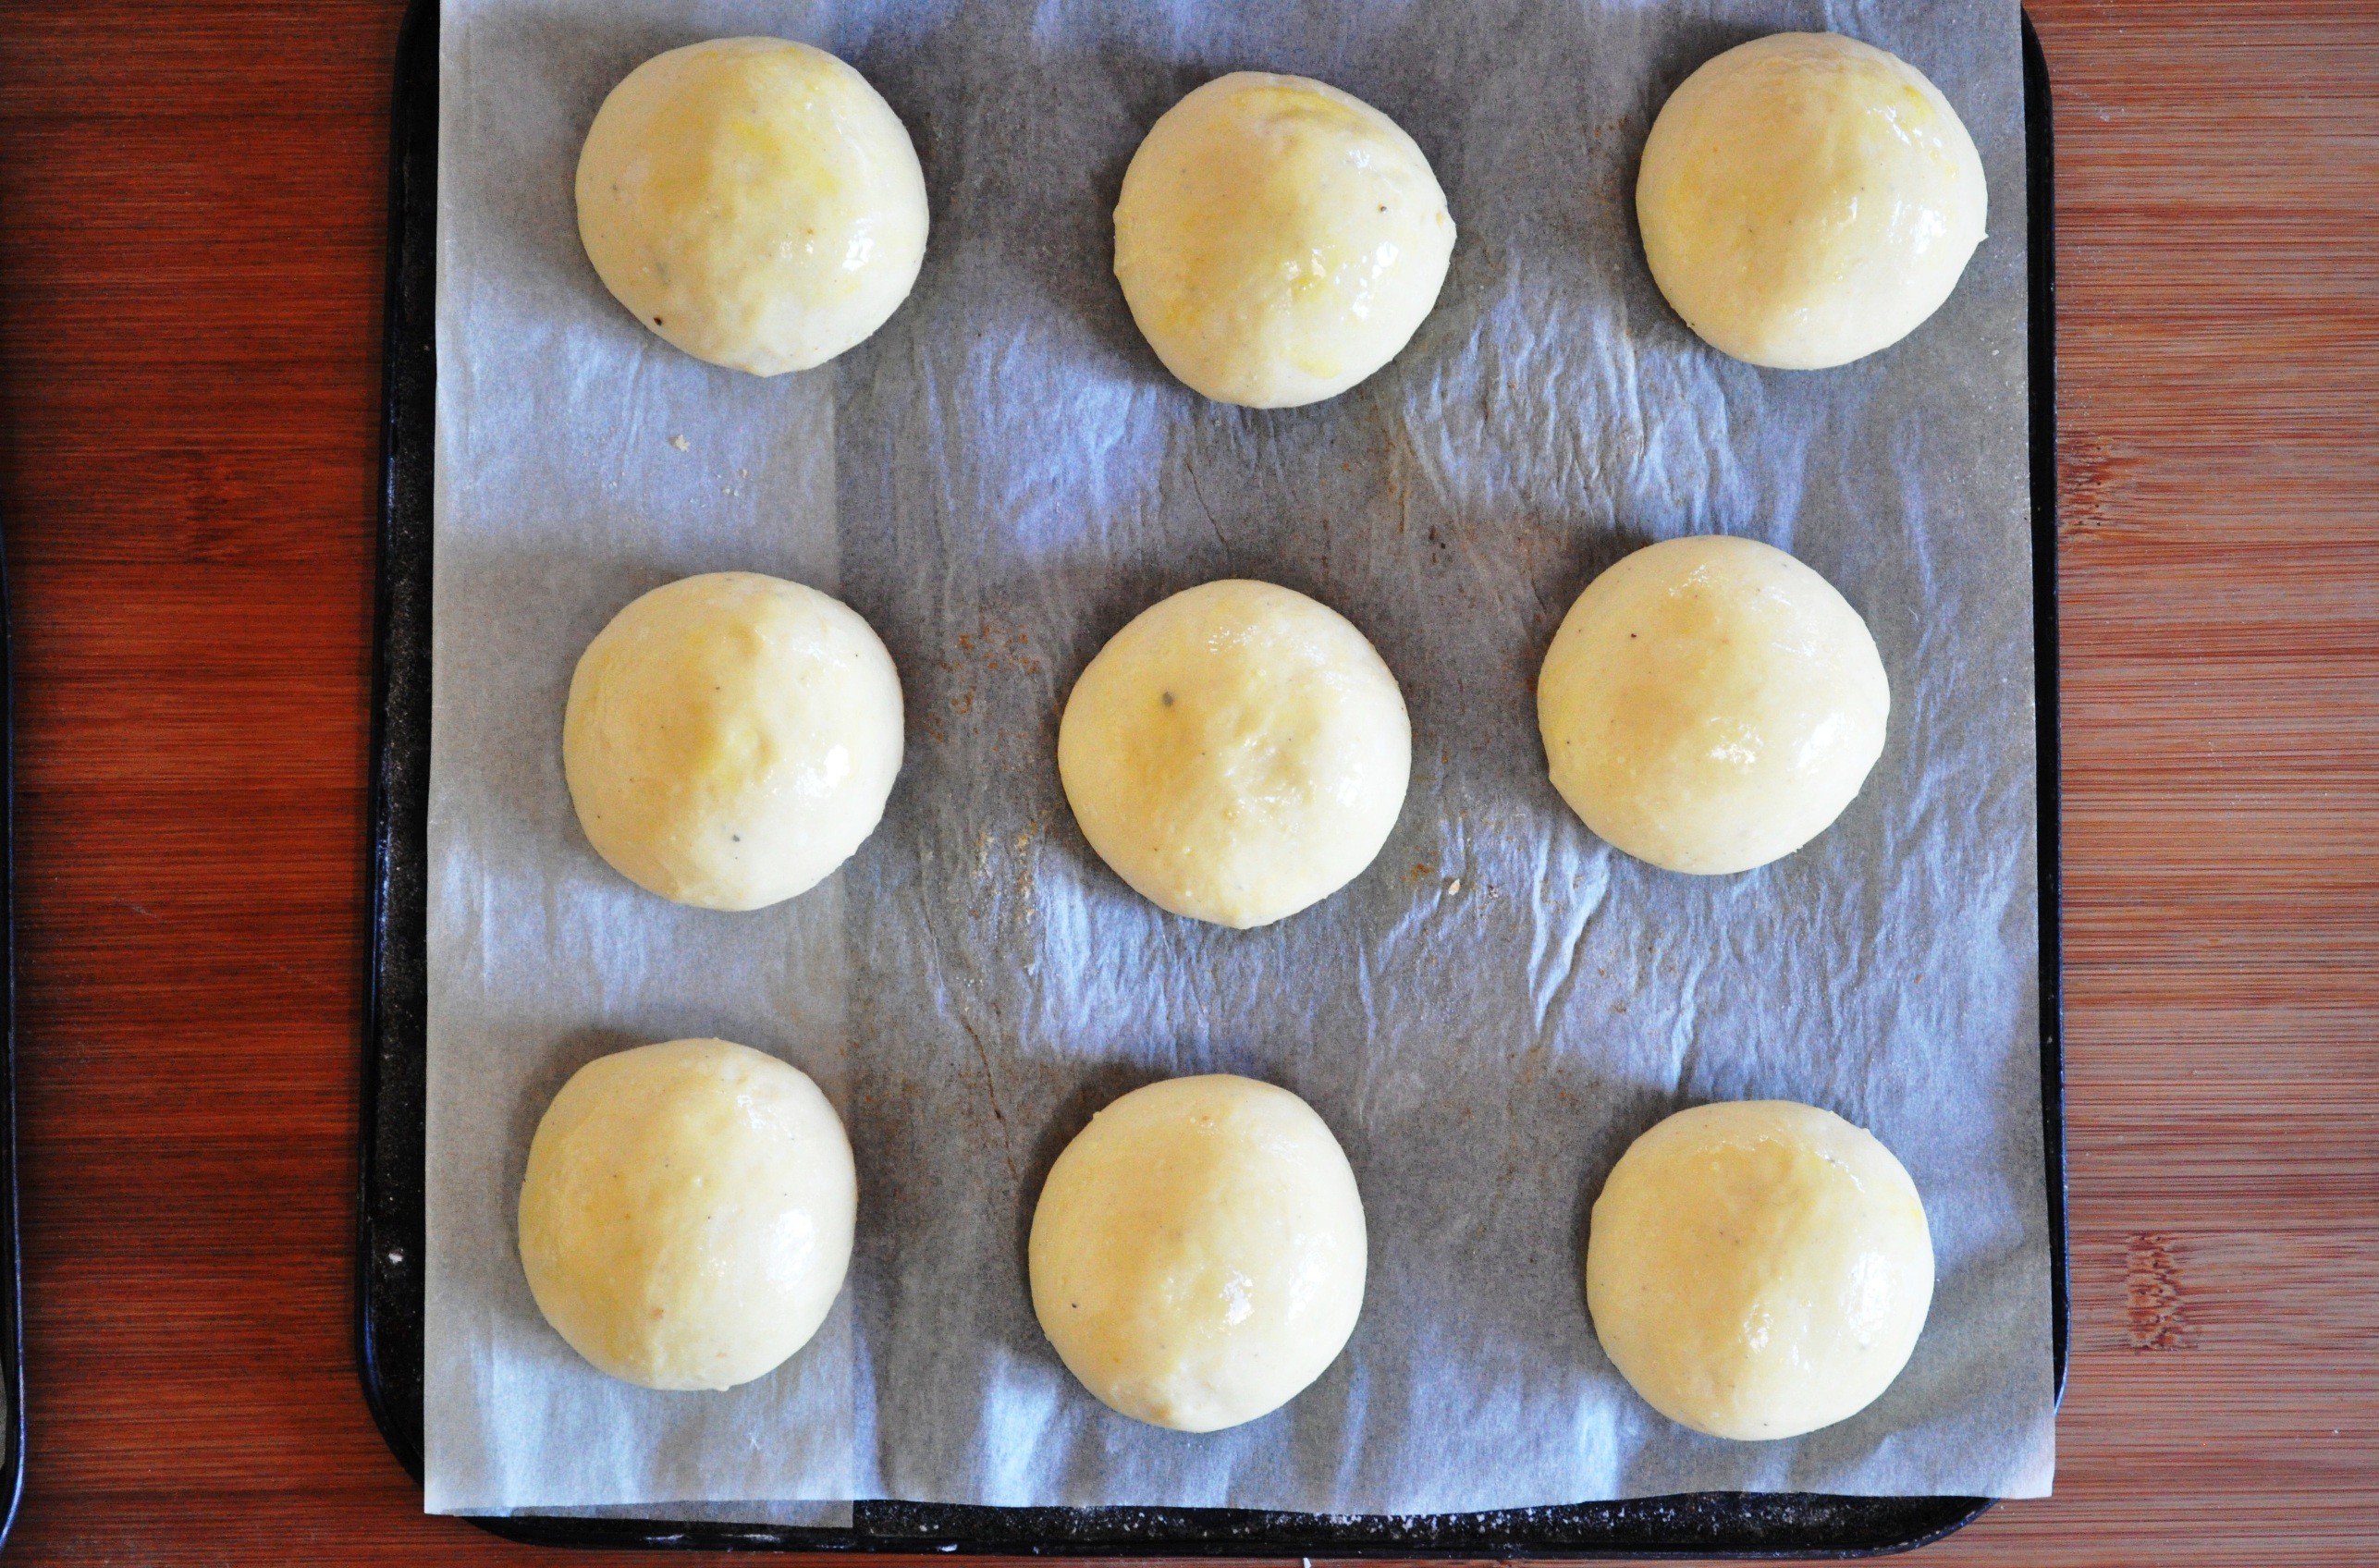
15. Put on a baking sheet, cover and leave to prove again until doubled in size.
16. Preheat the oven to 220C.

Final prove - beforeFinal prove - after, egg wash
17. Brush the risen loaf with the remaining beaten egg. (At this point you can decorate it with seeds: poppy and/or sesame. Dip a wet knuckle in the seeds then press it onto a segment of the braid. Repeat until each segment has a patch of seeds on it.)

Baked
18. Put in the oven and bake for about 10 minutes, then lower the temperature to 180 and keep baking for another half hour or so. You want a nice golden colour.
19. Transfer to a wire rack and leave to cool completely.

2 challah


4 Comments

Filed under Baking, Breads, Feasts, Recipes

Pastiera Napoletana – Neopolitan grain and ricotta Easter tart

Blur

“On sale now – and only in this season – is a pagan springtime cake, pastiera Napolitana, made with soft grains of all kinds, removed from their husks months before ripe, and cooked with orange blossoms. There is a description of it by one of the Latin authors.”

Norman Lewis includes this description in his entry for 28 February in his book Naples ’44. Lewis was a sergeant in the British Army Intelligence Corps and kept a diary of life in the war-torn city. It’s hugely evocative – largely of the privations of impoverished Neapolitans, but it also includes rich records of Naples’s seasonal traditions, including its unique foods.

Pastiera slice

I first encountered pastiera when we visited the city in June 2013, and was drawn in by the cute olde style packaging of a bakery that specialised in this special pastry. Although that bakery seemed to sell it all year round, pastiera is more specifically associated with Easter. Though its origins – as Lewis says – are pagan, ancient Roman. It may have been eaten as part of celebrations of the goddess Ceres (Demeter to the Greeks) who oversaw agriculture, grain and fertility.

Or something like that. The modern pastiera is likely decidedly different to the ancient Romans’ concoction, though both probably featured eggs and grains, symbolic foodstuffs for pagans and Christians alike.

The other important ingredient is ricotta. In England the stuff you get is a dense, slightly characterless cow milk blob rammed into plastic tubs. In Roma – ah, the ricotta of Roma! Fresh stuff is sold every day in the city, curdy delicacies that sit, plump and proud, in little baskets in the displays of market stalls, cheese shops and alimentari. Some are made with sheep milk (the classic), some cow milk, some a mixture.

I do wish I’d made this back in Rome, so I could have at least tasted the difference. I suspect made with real, fresh ricotta it would have been a somewhat different proposition.

Anyway, it’s about time I tried making one!

Pastry

300g plain, all-purpose or low-protein 00 flour
140g unsalted butter, cold
100g icing sugar
2 eggs

1. Sieve the flour.
2. Cut the butter into cubes.
3. Lightly beat the eggs.
3. Put the flour in a food processor, add the butter and blitz quickly until it resembles crumbs. Then add the icing sugar and blitz quickly again to combine. Alternatively, rub the fat into the flour by hand until it resembles crumbs then sieve in the icing sugar and mix.
4. Add the egg a little at a time, until the dough comes together. Again, you can do this in the processor or by hand. You may not need to use all the egg; you don’t want the pastry too damp.
5. Briefly knead the dough until it’s smooth. Don’t do it too much.
6. Wrap in plastic and leave to rest in the fridge.

Ricotta mix

Filling

The grain is the most distinctive ingredient here. You can usually get whole wheat grains from health food shops, and they will need simmering in water. Some may need soaking before cooking – follow the instructions on the packet. Make sure you could them enough as undercooked grain, like undercooked pulses, isn’t great for your digestion. You may be able to source pre-cooked grain in a can. Once cooked, drain, reserving the cooking water – it’s great for bread making.

Pastiera is also called pastiera di grano, with grano meaning grain in Italian, but it’s also used as a synonym for wheat. If you prefer, you could use another type of grain – such as one of the older varieties of wheat like spelt, einkorn or emmer. You could even use barley or oats. Or a mixture, as Lewis mentions.

300g wheat grains (cooked weight)
350g milk
30g unsalted butter
1 lemon, zest
1 orange, zest
1/2 teaspoon cinnamon
1 tsp vanilla essence
500g ricotta
250g caster sugar
2 whole eggs (about 120g beaten weight)
1 egg yolk (about 20g)
100g candied peel [ideally orange and cedrocitron, but latter not common in UK]
2-3 tbsp orange blossom water – optional, to taste

Uncooked wheat grainCooked wheat grain

1. Firstly, cook the wheat grains. Or open the can…

Wheat with milkWheat with milk 2
2. Combine the cooked grain, the milk, the butter, the zest, the cinnamon, the vanilla in a saucepan, cook gently for another 30 minutes or so. Again, you don’t want to turn it into a porridge, so keep an eye on it, as you would a stove-top rice pudding.
3. Blend the ricotta with the eggs, egg yolk and sugar.

Add grain to ricotta mixAdd peel to ricotta mix
4. Add the grain mixture to the ricotta mixture, then stir in the peel and orange blossom water, to taste. This stuff can be quite pungent, so go easy.
5. Grease a 25cm pie or flan dish or even a spring-form cake tin then line it with the pastry.

Pastry casePastry case, pricked
6. Prick the bottom with a fork and trim the edge roughly. We’ll tidy it in a mo.
7. Pour the filling into the pastry case. (Mine was a bit full – but I only had a 24cm tin. Hence I suggest using a 25cm tin.)
Pastry strips

8. Gather up the pastry offcuts, roll out again, and cut strips about 15 wide. If you have a pastry wheel with a serrated edge, this looks cute, but it doesn’t matter if you don’t.

Trim edges
9. Create a criss-cross pattern on top of the filling with the pastry strips, with the pieces of pastry set at an angle so you get diamonds, not squares. Tidy the edges.
10. Preheat the oven to 180C.

Baked
11. Bake the pastiera for about 1 hour and a quarter, keeping an eye on it. If it starts to brown too much, cover with foil and turn the heat down to 160C. It should be firm and set, if not, leave in the oven for another 15 or so minutes.
12. Allow to cool completely, then dust with icing sugar and serve at room temperature.

Happy Easter!

Pastiera cut

12 Comments

Filed under Baking, Pastry, Pies & tarts, Puddings & desserts, Recipes

White tin loaf

Bacon sarnie

Look, I believe in the nutritional, virtuous and downright soulful qualities of wholegrain as much as the next right-thinking foodie, but sometimes you just need white bread. And sometimes you just need white bread baked in a tin. For sandwiches, for picnics, for easy lunches or – most importantly – for bacon sarnies1.

I didn’t really eat meat for about 20 years, and only had my ways corrupted by my carnaholic wife, so I thought I’d revisit meat abstinence for Lent 2015. So, for Easter Saturday, I’m officially breaking my fast with a bacon sarnie. And some white bread.

In this case, I’m enriching the dough by using milk instead of water. I also use a mix of strong white and plain flours. This makes it sweeter, possibly softer, and slightly more indulgent. It’s not as rich or sweet as a brioche or babka say, which have eggs and more sugar in the dough, so it’s still versatile enough to go as well with jam as it does with bacon.

This is a nice basic loaf that’s good for beginners: it’s not too high hydration (64%), so the dough is quite manageable.

300g strong white bread flour
200g plain/all-purpose flour
10g fine sea salt
320g milk
10g caster sugar
10g fresh yeast (about 6g/1 tsp ADY)
20g thick cream or unsalted butter, melted

1. Warm the milk to about body temperature.
2. Add the caster sugar (about 2 tsp) to the milk then the yeast. Whisk it up then leave to activate.
3. Put the flours and salt in a large mixing bowl.
4. When the yeast mix is frothy, add to the flour, along with the cream or butter.
5. Bring the dough together, turn out, then knead until smooth. You could do this in a mixer or even a food processor with a dough attachment. Form into a ball.
6. Clean the bowl and oil it slightly, then put in the ball of dough, cover, and leave for 10 minutes.
7. Give the dough another quick knead, put back in the bowl, cover and leave for another 10 minutes. Do this once more, then leave it to prove until doubled in size.
8. When doubled in size, take the dough out and form into a tight ball. Cover and rest for 10 minutes.
9. Lightly oil a 1kg loaf tin.

Final prove, beforeFinal prove, after
10. Form the ball into a baton then place in the tin.
11. Cover and leave to double in size again.
12. Preheat the oven to 200C.

Slash the topBaked
13. Slash the top with a sharp blade in a pattern of your choice2, then put in the oven.
14. After 20 minutes, turn the oven down to 180C.
15. After another 20 minutes, take it out, remove from the tin, and put back for another 10 minutes.
16. Allow to cool completely on a rack before cutting.


Notes
1 English slang for sandwiches.
2 I’ve read that in the old days when a village shared a communal oven, the slashes on top of a loaf were a type of signature, a way to identify your bread once baked.

6 Comments

Filed under Baking, Breads, Recipes

Digestive biscuits

Digestives, piles

Apparently this type of biscuit was first developed by two Scots doctors in the early 19th century who believed the bicarbonate of soda was the digestive aid. These days, however, we’re more likely to look to the bran, from wholemeal wheat flour, and the oatmeal, for the more healthful qualities of digestives.

This is another one of my recipes from my old notebooks from when I lived at Old Man Mountain, New Zealand, in 1994-95, from my friend Nadia. I’ve no idea where she got the recipe from. If memory serves, it was in one of her notepads. All I know is we were making a baked cheesecake, needed some digestives, and this was a better option than driving 15km to a shop.

This time round I’m making them because I want to try this amazing looking, amazingly indulgent recipe from Kate “The Little Loaf” Doran. Kate has her own, similar recipe, for digestives, but well, I wanted to use mine, another memory of Nadia.

Isometric digestives

A bit of chemistry
This is a slightly tweaked version of the one I’ve got in my notepad. That one used baking soda, aka bicarbonate of soda aka sodium hydrogen carbonate, for a little bit of raising agent. The thing about baking soda, though, is that it’s an alkali and it needs an acid to react with to create the carbon dioxide that gives lift. That’s why US muffin recipes, say, often include yogurt, for the lactic acid. Other recipes might use citrus juice, milk or even vinegar. But my old digestive recipe had nothing acid in it*. So I’ve replaced the baking soda with baking powder. And what is baking powder? It’s pre-mixed combo of baking soda and something acid for it to react with when you combine and bake. In this case, sodium phosphates: that is, sodium salts of phosphoric acid.

A word on the oatmeal: you can use whatever you fancy, though fine or medium are probably best. I didn’t have any, so I just used some porridge oats, which I whizzed in a food processor – to make a medium-coarse meal. Hence the results in this case are especially rustic.

Makes about 30 biscuits

150g unsalted butter
250g wholemeal flour (plain/low protein)
250g oatmeal (fine or medium)
80g light soft brown sugar
1/4 tsp salt
1/2 tsp BP
2 eggs, beaten (approx 120g beaten egg)

1. Preheat oven to 200C.
2. Combine the flour, oatmeal, salt and baking powder in a bowl.
3. Rub the butter into the flour mix until it resembles crumbs.
4. Stir in the sugar.
5. Bind with the beaten egg, to form a rough dough. Don’t overwork it, or you’ll toughen it up. You can wrap it in plastic and give it a rest in the fridge at this point, but I can’t say I noticed the difference.

Digestives, pinned outPinned out, cut out
6. Roll out (or indeed “pin out”, in British baker parlance) to about 5mm thick. It’s quite crumbly.

Rolled out, CU
7. Cut circles of about 70mm diameter. It doesn’t matter too much if you don’t have this size cutter; you could even just use a glass. Bring together any scraps, roll and cut circles to use it all up.

Digestives, prickedDigestives, baked
8. Put on lined baking sheet, dock or prick with a fork. Sprinkle with extra oatmeal if you like, but I find it mostly just falls off.
9. Bake until browned, around 15 mins.
10. Cool on a rack.

Digestives, cooling

They’re excellent with cheese, dunked in hot chocolate, or used for a cheesecake base.

* Food charts seem to vary in terms of whether whole chicken egg is acid or alkaline. Some list them as acidic, but egginfo.co.uk says, “The pH of the white and yolk are different and change differently during storage.  The initial pH of yolk is slightly acidic (reported values range from 5.9 to 6.2) and rises slightly during storage to about 6.8.  Egg white pH is initially in the region 7.6 and rises to 8.9 -9.4 after storage due to CO2 loss through the shell.  The natural ratio of egg white to egg yolk in an egg is 2:1 and therefore when mixed together liquid whole egg has a pH range of 7.2 to 7.9.” (If you can’t remember school science, low pH is more acidic, high pH is more alkaline. The mid-point, neutral, is 7pH, the pH of pure water.)

8 Comments

Filed under Baking, Biscuits, cookies, Recipes

Los Angeles peda bread, a version of Armenian matnakash

LA peda with pea dip

This recipe is from one of my old notepads, dated 1994. At the time I was living at Old Man Mountain, on the South Island of New Zealand. My hosts there were Susie, who owned the farm, and Nadia, who lived in the yellow house by the highway that wended its way on down the rugged Buller Gorge.

Nadia was one of the great food influences on my life, one of the three women who taught me about cooking, alongside my mother and Delia Smith1.

Despite living in the middle of nowhere in a sparsely populated country adrift in a massive ocean, Nadia had a voracious interest in food, and loved working with young international enthusiasts like me who came to visit, learn and share. She had a great cookery book library too, and we would spend hours chatting about food – either while making meals for Nadia’s large family and whatever friends were passing by or planning parties or catering jobs.

Such conversations, and poring over her cookery books, filled up pages in my journals from the period. Unfortunately, I wasn’t exactly assiduous in providing the sources of recipes. Sometimes I did, but not in the case of the two peda bread recipes I’ve got: this one, and another simply called Armenian peda bread.

Peda, pide, pita
The word peda is clearly related to the Turkish “pide” and the more familiar “pita” but not only do I not know the source of the recipe, I can’t really help with the etymology or relationship between these words as no one is sure.

There are various forms of flatbread that go by these names. Heck, the word pizza may even be in the same linguistic and culinary family, but I’d be spreading internet misinformation if I said that it was with any certainty.

From a little research I do conclude that peda is the Armenian variation on the words pide and pita. And rather than being just a bread developed by Armenian-Americans in LA, this recipe looks like it’s a variation on matnakash. According to that dream-of-the-internet Wikipedia, matnakash means “finger draw” or “finger pull” bread, which fits in totally for this recipe as you stretch and pattern it with your fingertips.

Pre-internet and inauthentic
Mine look a bit different to the ones I can see online now. It’s no wonder though as I’m a white Briton who learned to make them in New Zealand with the encouragement of a Maori-Indian-pakeha woman, from a book with no pictures, in an era when it wasn’t possible to just go online and check something.

My version may not be authentic (a troublesome concept at the best of times) but it is personal, makes for a great sharing bread, and is a reminder of my amazing, energetic, knowledgeable friend and culinary teacher Nadia, who sadly died last year and is sorely missed.

Recipe

Makes 2 large flatbreads

Bakers’ percentages shown in brackets. So this is a 64% hydration bread, with a nice, manageable dough. I would also say that at 4.3%, this recipe contains too much yeast and rushes the fermentation. My normal bread recipe contains 2% yeast. However, I really just wanted to try out the recipe from my old notepad, and convert it into grams from cups.

In future, I plan to try it with less yeast or with a sourdough starter, or a preferment, and a proper long fermentation, for flavour and digestibility.

700g strong white flour (100%)
15g ADY or 30g fresh yeast (4.3%)
450g water, warm (64%)
20g caster sugar (3%)
6g salt (1%)
30g butter, melted (4.3%)

1. Mix the sugar with the warm water, sprinkle on the yeast and leave it to activate.
2. Put the flour in a large bowl, add the salt and mix it through.
3. When the yeast mix is frothy, add it to the flour, along with the melted butter.
4. Bring the dough together, turn out and knead until smooth.
5. Form a ball, put in a clean bowl, cover and leave to prove until doubled in size. With this amount of yeast, it won’t take long. Mine took about an hour at RT of 18C.
6. Divide the dough into two pieces. Mine weighed 1225g, so two at about 612g.
7. Form the two pieces into balls.
8. Grease two baking sheets with oil, then put the balls on them, cover and leave to rest, for about quarter of an hour.
9. Stretch out the balls to fill the shape of your baking tray. My trays are square but the traditional shape for matnakash is more rectagular2. Form a rim, or edge with your fingertips.
10. Cover with a damp cloth and rest again, until doubled in size.

Peda bread stretch and form rimPeda bread brush with water and make pattern with fingertips
11. Brush with water then form a criss-cross pattern with your fingertips.
12. Cover with a damp cloth and rest again, until doubled in size.
13. Preheat the oven – to about 220C if possible. Mine can only really muster about 200C, disappointingly, but it’s OK.
14. Bake the flatbreads for about 15 minutes or until nicely browned.

Peda fresh out of ovenPeda brush with flour glaze
15. Make a flour glaze by putting 2 teaspoons of flour in 100g of water and bringing to the boil, whisking. Brush this onto the breads as soon as they come out of the oven, and sprinkle with seeds, such as sesame or nigella/kalonji.

LA peda bread x 2

I enjoyed mine with a dip (top pic) made from dried English peas. I’ve noticed since coming home from Italy, where I was able to buy Italian-grown lentils, chickpeas and other dried legumes, that most available here are imported from China. That seems crazy: it’s too far, too dubious. Sure different crops grow here compared to Italy or France, which also grows a lot of lentils, but pulses were a staple here for centuries: just think of generations of Britons partially subsisting on variants on pease pudding.

Luckily, a young-ish British company was thinking along similar lines, and now grows peas and various beans, including broad beans (sold as fava), here. They’re Hodmedod’s and I wish then every success, as not only are they supporting British food production, they’re reinvigorating ancient culinary traditions. And they have cute branding too, even including little recipe booklets in their packets of produce.


Footnotes
1. Delia Smith is not fashionable now – in fact, she was never exactly trendy. But the Complete Cookery Course, since its first appearance in print in 1978, has taught me so much. It was the default book for a child growing up in that period interested in learning the basics in pretty much any area of cooking, from stews to pastries.
2. In Armenia, matnakash and the unleavened lavash would be made in a tonir, the Armenian equivalent of a tandoor.

5 Comments

Filed under Baking, Breads, Recipes

Zeppole di San Giuseppe, St Joseph’s Day fritters

Zeppole San Giuseppe 2

March 19th is the feast day of San Giuseppe – Saint Joseph, husband of Mary, Jesus’ mum. For this feast day Italians eat various goodies including bignè and zeppole, types of sweet fritter.

This recipe is a modern take on zeppole di San Giuseppe. Or are they bignè di San Giuseppe? The two terms seem to sometimes be interchangeable, but one distinction between the two seems to be as follow. Bignè are choux balls filled with pastry cream (crème patissiere, or crema pasticcera in Italian). Zeppole on the other hand are choux piped in nest shapes that are then filled with pastry cream. Both are cooked by deep-frying. Except when they’re baked.

Different regions and dialects may use the words bignè and zeppole differently. Furthermore, in Gillian Riley’s Oxford Companion to Italy Food, she says in her entry on zeppole: “The sfinci of Sicily are similar”. She doesn’t discuss the similarities or otherwise with bignè. The word is clearly related to the French beignet though.

Ah, the confusing world of the taxonomy of traditional foods!

St Joseph’s Day
Either way, these fritters are made and eaten for St Joseph’s Day. Except, however, I recall seeing them in Rome several weeks before St Joseph’s day, sitting alongside castagnole during Carnival and, if memory serves, remaining available until Easter. So much for the Lenten fast. It’s not unlike the modern British habit of eating hot cross buns for the six weeks preceding Easter, when originally they were made and eaten only on Good Friday to celebrate the end of fasting.

The site Italy Revisited features various different versions of zeppole and bignè in its fascinating collection of recipes. On one of the zeppole recipe pages it says “North Americans often think of ‘zeppole’ as cream puffs because that’s what pastry shops sell in March round the Feast Day of Saint Joseph. However, the cream puff style of zeppole is a rather modern take on this recipe. Apparently, prior to the 20th century ‘zeppole’ was just another donut-shaped fried dough that was sweetened with sugar.” As with all these food traditions, it has mutated over time (see my discussion of simnel cake.)

I was planning to make something that would these days, in Rome at least, be called bignè – a filled choux-ish item. But as I fancied practicising my (very rusty) piping skills I sidestepped to what would now most likely be called zeppole. If any Italians are reading, please tell me what your family calls these things!

Makes 10-12

Crème patissiere / crema pasticcera

250g milk (full fat)
2 egg yolks
30g cornflour (cornstarch in the US, amido di mais in Italia)
60g caster sugar
Zest of 1 lemon
1 tsp vanilla essence (or fresh vanilla seeds, if you’re so inclined)
1 tbsp Strega liqueur (optional)

1. Put the milk on to heat up.

Mix sugar, yolks and cornflour 1Mix sugar, yolks and cornflour 2
2. Beat together the egg yolks, sugar and cornflour. Add the vanilla, lemon zest, and Strega if using.
3. Bring to the boil. (If you prefer to use a vanilla pop, scrape out the beans and add them to the milk before you heat it.)
4. Allow the milk to cool slightly then pour it onto the egg mix, beating.
5. Put the mixture back on the heat.

Heating cremaCrema cooked
6. Heat the mixture up again, gently, stirring all the time, and keep cooking on a medium heat until it thickens. This shouldn’t take long – a matter of minutes.
7. Pour out into another clean, cool bowl. To prevent a skin forming, dust with icing sugar and/or put some plastic film on the surface.
8. When cool, refrigerate until you need it.

The paste

Let’s not beat about the bush. From looking at various Italian recipes really is basically a choux paste.

80g butter
200g water
3 medium eggs, beaten (QB), approx 150g
150g flour – plain, all-purpose or low-protein 00
Pinch of salt
40g caster sugar
Zest of half a lemon

1. Put the butter, water and salt in a saucepan and heat up.

Butter and waterButter and water melted
2. Bring to the boil, stirring with a wooden spoon.

Butter and water, flour addedMixing in flour
3. When the butter has melted and the water is simmering, add all the flour (ideally sieved first), beating until you have a smooth paste.

Cooking flourCool bowl
4. Keeping cooking the mixture, on a low heat, for a few minutes. This gelatinizes the flour, ie makes the mixture gelatinous and jelly-like – it shouldn’t be sticky, and should come away cleanly from the sides of the pan.

Add sugar and zestAdding eggs
5. Remove the mixture from the heat, beat in the sugar and lemon zest, then put in a clean, cool bowl.
6. Allow the mixture to cool. If it’s too hot when you add the egg it will scramble.
7. Beat in the egg slowly and gradually. Each time you add some egg, mix it in completely. You may not need all the egg (QB). You want a thick paste, not runny. If you have a mixer, that’s great for making this type of paste. Mix well.
8. Allow to cool and rest.

To make the zeppole

The crema
The paste
Sunflower oil
Sour cherries in syrup or glacé cherries… or not. See below.

1. Put the paste in a piping bag fitted with a star nozzle.
2. Cut out squares of baking parchment or foil, about 8cm square.

Piping nestsPiped nest CU
3. Pipe nest shapes onto the squares. The older type of zeppole was simply a ring, but as we’re adding crème pat to these, you need a middle – so start by piping a spiral, then build up a slight wall around the edge.

Frying
4. Heat sunflower oil in a pan to about 170C and add the nests, paper and all. Don’t overcrowd the pan.
5. The square of parchment or foil will come away. Remove it with tongs.
6. Keep cooking until the zeppole are a golden brown colour.

Fried
7. Remove and cool.
8. Once cool, pipe the crème pat into the centre of each.
9. You can top with a cherry. I hate cherries – sour, preserved, glacé or even fresh. Frankly: yuck. That would spoil it for me. So instead, I just dust with icing sugar.

You may notice in the above pic my batches came out different sizes. The ones on the left puffed up best, on the right worst. It’s shoddy work I know. I suspect it’s to do with the oil not staying a constant temperature. Really must get a decent thermometer. Being a boy, obviously I want one of those ray gun ones  (er, infrared). I’ll add it to the list of kitchen kit I covet.

Zeppole San Giuseppe

9 Comments

Filed under Feasts, Recipes

Hande’s pear, chocolate and hazelnut cake

Pear, choc, hazelnut cake, with clotted cream

Hande Leimer is the founder and owner of Vino Roma, a wine studio – with an absurdly historic cellar – located in the centre of Rome. Not only is she an expert sommelier and polyglot wine educator, she’s an excellent cook too. And baker. When she posted a pic of her pear, chocolate and hazelnut cake on her Instagram a few weeks ago, I had to try it.

These three ingredients make for a classic combination. I’ve always loved pear and chocolate, and indeed pear with chocolate sauce was a pudding I grew up with. But I also love anything made with ground nuts, so this really was a cake for me. Furthermore, Hande developed the recipe with the aim of balancing them, so no flavour dominated the other but each was clear and evident. The individual flavours are sharpened and delineated further with the judicious inclusion of some hot spice.

She included piment d’espelette / esplenette pepper, but as that’s not easy to source in the UK, changing that is one of the tweaks I made. I think Hande also made hers in a loaf tin, but I favoured a round tin.

I suspect my version is a little moister than Hande’s. I used local Concorde pears (a hybrid of Conference and Comice), which were firmly ripe, but still added a fair bit of moisture to the mix. Hande said “I aimed for a batter that is not too runny but not too stiff either, when you pour it into the pan it does hold for a couple of seconds before gently flowing to all corners”, giving an optional 1 tablespoon of breadcrumbs if your batter was too runny. I didn’t do this, but instead increased the flour slightly.

I also suspect I assembled mine in a different manner to Hande, but it’s one of those forgiving batters where the ingredients could be combined in various orders. It’s not the sort of cake where you’re trying to achieve a super-light texture, instead it’s got a texture that’s defined by the nuts – crunchy, slightly oily – and the pears – moist, with the whole concoction shot through with bursts of dark chocolate.

500g pear
125g hazelnuts
100g dark choc (at least 70% cocoa solids)
115g unsalted butter, melted
70g light muscovado sugar
40g caster sugar
1 egg
2 tsp vanilla extract
Pinch salt1
1 tsp cinnamon
Pinch of cayenne pepper and a few grinds of black pepper
130g plain/all-purpose flour, or low protein 00
2 1/2 tsp baking powder

1. Grease and line a 20cm round tin.
2. Preheat oven to 180C.
Skinning hazelnuts
3. Lightly toast the hazelnuts, rub off the skins (using a tea towel or cloth; I wasn’t too assiduous about this – too many skins can be bitter, but a little adds flavour) and grind in a food processor to a medium meal.
4. Coarsely chop the dark chocolate.
Peeling pears
5. Pear, core and coarsely grate the pear.
6. Sieve together the flour, baking powder and spices to mix.
7. In a large bowl, beat together the sugars and melted butter. Add the egg, vanilla and pinch of salt and beat again to blend.
8. Add the nut meal, pear and chocolate to the bowl and combine.
9. Fold in the flour.
10. Pour the mixture into the prepared tin.
11. Bake for about 45 minutes, or until firm to the touch and lightly browned.
12. Cool in the tin for 10 minutes then turn out. Serve warm with cream2 or ice cream, or allow to cool completely. Hande had hers for breakfast. But then she lives in Rome and the sort of cake us Brits would treat as a tea-time treat or pudding gets eaten for breakfast there.


Notes
1 So yes, I’ve made a point of saying “unsalted butter” then added a pinch of salt. Why? Well, salt is essential for all foods, unless you have no sense of taste or somehow like your food bland. Put simply, it’s the ultimate flavour enhancer, so even sweets – especially sweets like this with a variety of flavoursome components – benefit from a bit of salt. A pinch. Too much and you may get a salty taste, but too little and it won’t be there to do its work. In the words of renowned London-based chocolatier and pâtissier Paul A Young salt “lifts and balances the sweetness and brings out other flavours.” I have used salted butter in cakes in the past, especially when I’ve not got any unsalted, but the problem with that is that you can’t control the quantity effectively as you can’t be sure how much salt is already in the butter. So it might seem perverse to use unsalted butter then add salt to the mix, but there’s a logic to it!
2 We had clotted cream. I could eat the stuff every day… if I was a bit more blithe about my arteries.

17 Comments

Filed under Baking, Cakes, Recipes

Marzipan

This is something I’ve been wondering about for a while: what’s the difference between almond paste and marzipan? Both are made with sugar and ground almonds and some sort of binding agent – usually egg, possibly oil.

I would say that marzipan is a form of almond paste, and indeed Alan Davidson calls it “a paste of crushed almonds and sugar” in his essential Oxford Companion to Food. If you’re being thoroughly pedantic, however, one distinction seems to be that almond paste has a higher proportion of almond to sugar, whereas with marzipan the proportions are more or less equal.

In Britain, marzipan is mostly used as a covering for cakes – notably on top of our traditional heavy fruit Christmas and wedding cakes, with a layer of royal icing on top. It’s also used for as a filling for things like the German Christmas cake stollen, or as a kind of sculptural medium. It’s not something I do very often, but I’ve used it to make, for example, decorative fake pebbles (below, alongside the real ones).

Marzipan stones

In parts of Italy, Spain and Portugal, meanwhile, they’re big on using it to make imitation fruit, a sort of sweetmeat.

An older English name is “marchpane” and this referred to large sculptural sweets that would decorate feast day tables, right up until the 18th century. These showstoppers were the ancestors of our modern wedding cakes. The word marchpane may also relate to the Italian marzapane, which can be translated as “March bread” – but the etymology is confused. Indeed the Latin root marci panis, Davidson says, means “the bread of St Mark”, (the Latin for the month of March is Martius). While one dictionary says it’s “perhaps” from the Arabic mawthabān meaninga seated king”.

Davidson also talks about a distinction between French and German marzipan, with the production of the former involving a sugar syrup and the latter a mixture that is “dried over heat, cooked for a short time then poured onto a slab to cool”. The English version, however, generally isn’t cooked.

I’ve found one Delia Smith recipe that cooks it, but otherwise it’s a more basic concoction that relies on raw egg, one of those things we’re quite squeamish about these days. If, however, you do have a reliable source of eggs and aren’t squeamish – being unafraid of say, real mayonnaise – this is a great basic recipe that’s so easy you’ll wonder why you ever bothered to buy ready-made marzipan.

Sugar is a natural antibacterial, so the high level present is a preservative. The fresh mazipan will keep for a couple of weeks in the fridge, probably longer – but I’ve not done a controlled experiment.

175g ground almonds
175 g icing sugar, plus extra for dusting
1 egg, lightly beaten (approx. 60g of beaten egg)

Makes about 400g

Marzipan mix 1Marzipan mix 2

1. Put all the ingredients in a bowl and bring together, with a fork, palette knife or dough scraper.

Marzipan 3
2. Lightly dust the work surface with icing sugar and turn out the mixture.

Marzipan ball
3. Completely bring together and knead slightly, to achieve a homogenous dough. Do not overwork or it can become greasy.

Marzipan block
4. Form into a ball or block and wrap in plastic.
5. Store in the fridge.

Anyway, I’m blogging this as I seem to be using marzipan fairly regularly at the moment. It was in the semlor I made a while back, and I’m also using it for a simnel cake recipe, which I’ll post next.

9 Comments

Filed under Misc, Other food, Recipes

Shrove Tuesday Scandinavian cardamom buns: fastelavnsbolle or semlor

Semlor, semla, fastelavnsbolle

I’ve never been to a Scandinavian country, but that doesn’t stop me enjoying their baked goods from afar.

I’ve had my eye on these cardamom flavoured buns filled with almond paste and cream for a while, but as the Christian Shrovetide, the three days before the pre-Easter fast of Lent, only comes round once a year, now’s my chance to make them. Yes, yes, I know I made some seriously sugary carby Italian Carnival treats yesterday, but it’s a busy time of year for indulgent foods. Indeed, Shrovetide is all about the indulgent foods, even giving Christmas a run for its money.

In Britain, the remnants of this tradition are our pancakes, with the secular name for Shrove Tuesday Pancake Day*. We used to have a tradition to eat slices of bacon – collops – on the Monday before Lent, but this seems to be all-but forgotten now. It’s all about the fatty, rich foods though, as commemorated in the more common international name for Shrove Tuesday: Mardi Gras, Fat Tuesday, Fettisdag in Swedish. The Danish and Norwegian name, meanwhile, is Fastelavn, which comes from older German and means “fast-evening”.

Versions of these buns are eaten throughout Scandinavia and adjacent areas, and go under various names: according to Wikipedia these are “semla or fastlagsbulle (Swedish), laskiaispulla (Finnish), vastlakukkel (Estonian) or fastelavnsbolle (Danish and Norwegian)”, with semlor the plural of semla, from semila, the Latin for flour (and related to the English and Italian grain-related words semolina, semolino, semola). Another Swedish name is fettisdagsbullar. So either “Fast-evening buns” or “Fat Tuesday buns”.

A common version of the bun these days involves filling it with almond paste and whipped cream. The almond paste form was first recorded in 1883, the cream supposedly came as a ration-busting celebration in Sweden after the First World War. In our modern world of more-is-more, both are combined.

Eaten without a filling, and instead sprinkled with cinnamon and served in a bowl of warm milk, they’re known as hetvägg. King Adolf Fredrik of Sweden purportedly died in 1771 after eating 14 but that may be one of those myths perpetuated by the internet. Not reading Swedish, I can’t confirm or deny it.

Almond paste

It’s very easy to make almond paste, marzipan or mandelmassa, but if you are intimidated it’s easy to buy too.

175g ground almonds
175g icing sugar (aka confectioner’s sugar, powdered sugar)
1 egg

1. Beat the egg slightly and combine with the ground almonds in a bowl.
2. Add half the sugar and bring together – either with a spatula or wooden spoon or by getting your hands in there – and form a sticky dough.
3. Sieve the rest of the icing sugar onto your work surface then turn out the dough, and bring together, incorporating the sugar.
4. Wrap in plastic and leave in your fridge until it’s needed. (Well-wrapped, homemade marzipan will last for a few weeks in the fridge.)

Dough and buns
1 tsp cardamom
75g butter, melted
300g milk
20g fresh yeast (or 12g ADY or 10g instant)
500g plain/all-purpose flour
1 medium egg, lightly beaten
50g caster sugar
5g fine salt

Semlor ingredients

1 extra egg, for glazing

Ground cardamom

1. Crack open a few green cardamom pods and grind the seeds to a powder in a pestle or mortar or spice grinder.
2. Combine the melted butter and milk, warmed to about body temperature.
3. Add the yeast to the milk and allow to sit and activate for a few minutes.
4. Put most of the flour, the sugar, the salt, the cardamom and the egg in a mixing bowl, then add the yeasty milk mix.

Dough, mixingDough, sticky
5. Stir to combine and bring together the dough. It will be pretty moist. (Say your beaten egg weighs 58g, along with the milk and melted butter that’s 433g of liquid, to 500g flour – ie about 87% hydration, though the butter will firm up somewhat.)
6. Put the rest of the flour on your work surface and turn out the dough. Bring it together and knead, trying not to add too much more flour – you want to keep it nice and moist, so the resulting crumb is light.
7. I gave mine a Dan Lepard style knead – that is, brought it together, formed a ball, let it rest, covered in a clean bowl, for 10 minutes then gave it another short knead. Then I repeated this 10 minute rest, short knead process twice more.

Dough close up
8. When you have a nice smooth dough, put it back in a clean bowl, cover, then leave to double in size. This will take an hour or two at room temperature (about 18C).

Dough pre first riseDough after first rise

ScalingForm balls
9. The resulting dough weighs 1kg, more or less. To make 18 medium sized buns, divide this into pieces scaled at 55g. You can go bigger or smaller – up to you!

Forming balls 1Forming balls 2

Forming balls 3Forming balls 3
10. Form these pieces into neat balls. I do mine two at a time, rolling them inside cupped hands. This technique works best if your surface isn’t floury, so the dough sticks just slightly. Even better if your surface is stainless steel or marble. As mine is bamboo, I oil it slightly first, which also works well for wood work surfaces.

Balls, final proveBalls, egg washed
11. Put the balls on lined baking sheets, leaving enough space for them to expand, then give them their final prove, again until about doubled in size.
12. Preheat your oven to 220C (I use an interior thermometer as you can rarely trust the temperature on the knob).

Buns, baked
13. When the buns are proved, brush them with beaten egg then bake for about 12 minutes, until risen and golden.
14. Cool on a wire rack, covered with a clean cloth.

Filling
200g marzipan
Crumbs from the buns
100g milk (QB – you may not need it all)

500ml cream, whipped

Buns, splitBuns, hollowed out

1. When the buns are cool, slice off the tops and scrape out some of the crumb with a fork or even a grapefruit spoon if you have such a thing. (I’ve got the remaining single one from a childhood set.) Put the crumbs in a bowl.

Marzipan, grated
2. Finely grate the marzipan then add to the crumbs.

Making the almond fillingMaking the almond filling 2
3. Add enough milk to form a thick paste by squishing it all together with a fork or spoon.

Buns, hollowed out 2Buns, filled
4. Put a blob of the paste in the cavities inside the buns.

All creamed
5. Pipe a layer of the cream on top of the paste, then put the lid back on. I only had a 250ml pot of cream, some of which I’d already eaten with another cake, so it’ll be much better with the 500ml I mention here. Shoddy. Sorry. But I wanted to get this post done today rather than rush off to the shop again.

To serve
Dust with icing sugar.
Enjoy. But don’t try eating 14.

Semlor, semla, fastelavnsbolle close-up

Personally, I’m not too fussed about calories and all that. As well as using the default human form of transport (brisk walking) or cycling when many modern slobs use their car, I also have a general principle that diet is about balance. So obviously I don’t just eat the stuff I write about on this blog. My weight naturally seems to wander about between 80 and 85kg. That said, during out building work last year, when we didn’t have a kitchen and I couldn’t bake, I was 80kg; now I’m 85kg. Methinks a few more brisk walks up our local hill are in order. Or some Lenten fasting. Hm.

13 Comments

Filed under Baking, Feasts, Recipes

Castagnole recipe

Castagnole

Lent this year starts this Wednesday, 18 February. (Making today Collop Monday in olde British parlance.)  Which means it’s still Carnival, Carnevale, and there’s time for a few more traditional treats of the season. Anyone who’s read my blog before will know I enjoy castagnole, the Italian Carnevale sweets that are basically dough-ball doughnuts. The name relates to the Italian for chestnut, castagna, as they’re of similar dimensions, and deepfried to a lovely brown colour but there’s nothing else chestnut related in the recipe.

I ate loads of them last week when we visited Rome, but here’s my own recipe, for those of us living in countries with a more miserably chaste take on Carnevale.

You can make castagnole without any leavening agent at all, or there are recipes that are leavened with yeast. But I found this worked well, resulting in the balls puffing up and cracking slightly when you deep-fry them, and a fairly open, spongy interior.

250g plain/all-purpose or low protein 00 flour
1 tsp baking powder
Pinch salt
50g caster sugar
Zest of half a lemon (optional)
50g butter, melted and cooled slightly
2 medium eggs, lightly beaten
1/2 tsp vanilla essence
Sunflower oil for frying*
Sugar for serving

1. Sieve the flour and baking powder into a bowl. Add the pinch of salt, sugar and zest.
2. Add the vanilla to the eggs and beat slightly, then add this along with the butter to the flour mixture.

Castagnole componentsCastagnole dough 1

Castagnole dough 2Castagnole dough 3
3. Combine all the ingredients, then turn out and work to a soft, smooth dough. Don’t overwork it.
4. Wrap in plastic and rest for half an hour.

Shaping castagnole
5. Divide the ball of dough up into pieces and roll these into sausage shapes.
6. Cut the sausages into small pieces, about 20g each.
7. Roll these piece between your hands to form small balls.

Frying castagnole
8. Heat oil in a large pan (to about 180C if you have a thermometer) then deepfry the balls in small batches, until golden, about 2-5 minutes.
9. Remove from the oil and drain on kitchen paper, to absorb some of the oil.

Castagnole cooling
10. To serve, liberally with icing sugar (aka powdered sugar, confectioner’s sugar) or roll in caster sugar. Or indeed both if you really like refined sugar. So healthy!

Enjoy… while you can. I mean, you can make them any time you like, especially if you’re not Catholic or are entirely nonreligious, but personally I like keeping seasonal specialities special by having them at the relevant time of the year. So that means I have to eat all these before Wednesday. It’s not like I’m religious and going to have an ascetic Lent, but I respect the principle.

Castagnole close up


* Italian recipes I looked at say “Olio di semi” – seed oil, ie sunflower seed oil – or simply “Olio per frittura” – oil for frying, while another says “strutto” – lard. We talked about this on our last visit to Italy, where people even use olive oil for deep-frying, something that’s contrary to what we’ve been told here in the UK. There are, however, a lot of arguments (smoke points, cost factors, etc) and a lot of myths (destruction of nutrients etc), which I won’t go into now. Suffice to say, I actually used a mix of sunflower oil and rapeseed oil, as the latter is something that’s produced locally to where I live, unlike olive oil, which, sadly, isn’t.

5 Comments

Filed under Cakes, Feasts, Recipes