This Christmas cake is specifically from the Marche region of eastern central Italy. It’s similar to those other dense, nutty, fruity Italian Christmas cakes – panforte from Siena, which is probably the best known, and pangiallo from Rome, which I got to know while living there. All of them are of a very ancient form – no chemical raising agents, no fancy sugar craft. Indeed, the very first cakes humanity concocted would have been of a similar format – dense discs that combined dried fruits, nuts and honey for sweetening. I called them “primitive cakes” in my post about pangiallo.
If panforte means “strong bread” and pangiallo means “yellow bread”, I’m not too sure what frustingolo means. The verb frustare means to whip or to lash, or, less violently and more related to cooking, to whisk. As it’s a very dense mixture, you don’t whisk it though, you laboriously turn it with a wooden spoon or silicon spatula. My old friend, Italian teacher and philologist Giammarco suggests the cake’s name instead derives from the adjective frusto, meaning well used or worn out, but also used to mean un pezzetto, a little piece.* So I suppose in the sense of little pieces of nuts and fruit.
Anyway. I saw a recipe first in a cookbook by Anna del Conte but hunting around for more I found more Italian recipes online, which included chocolate. I love chocolate. I’m not the biggest fan of Christmas fruit cakes, so adding chocolate was surely essential.
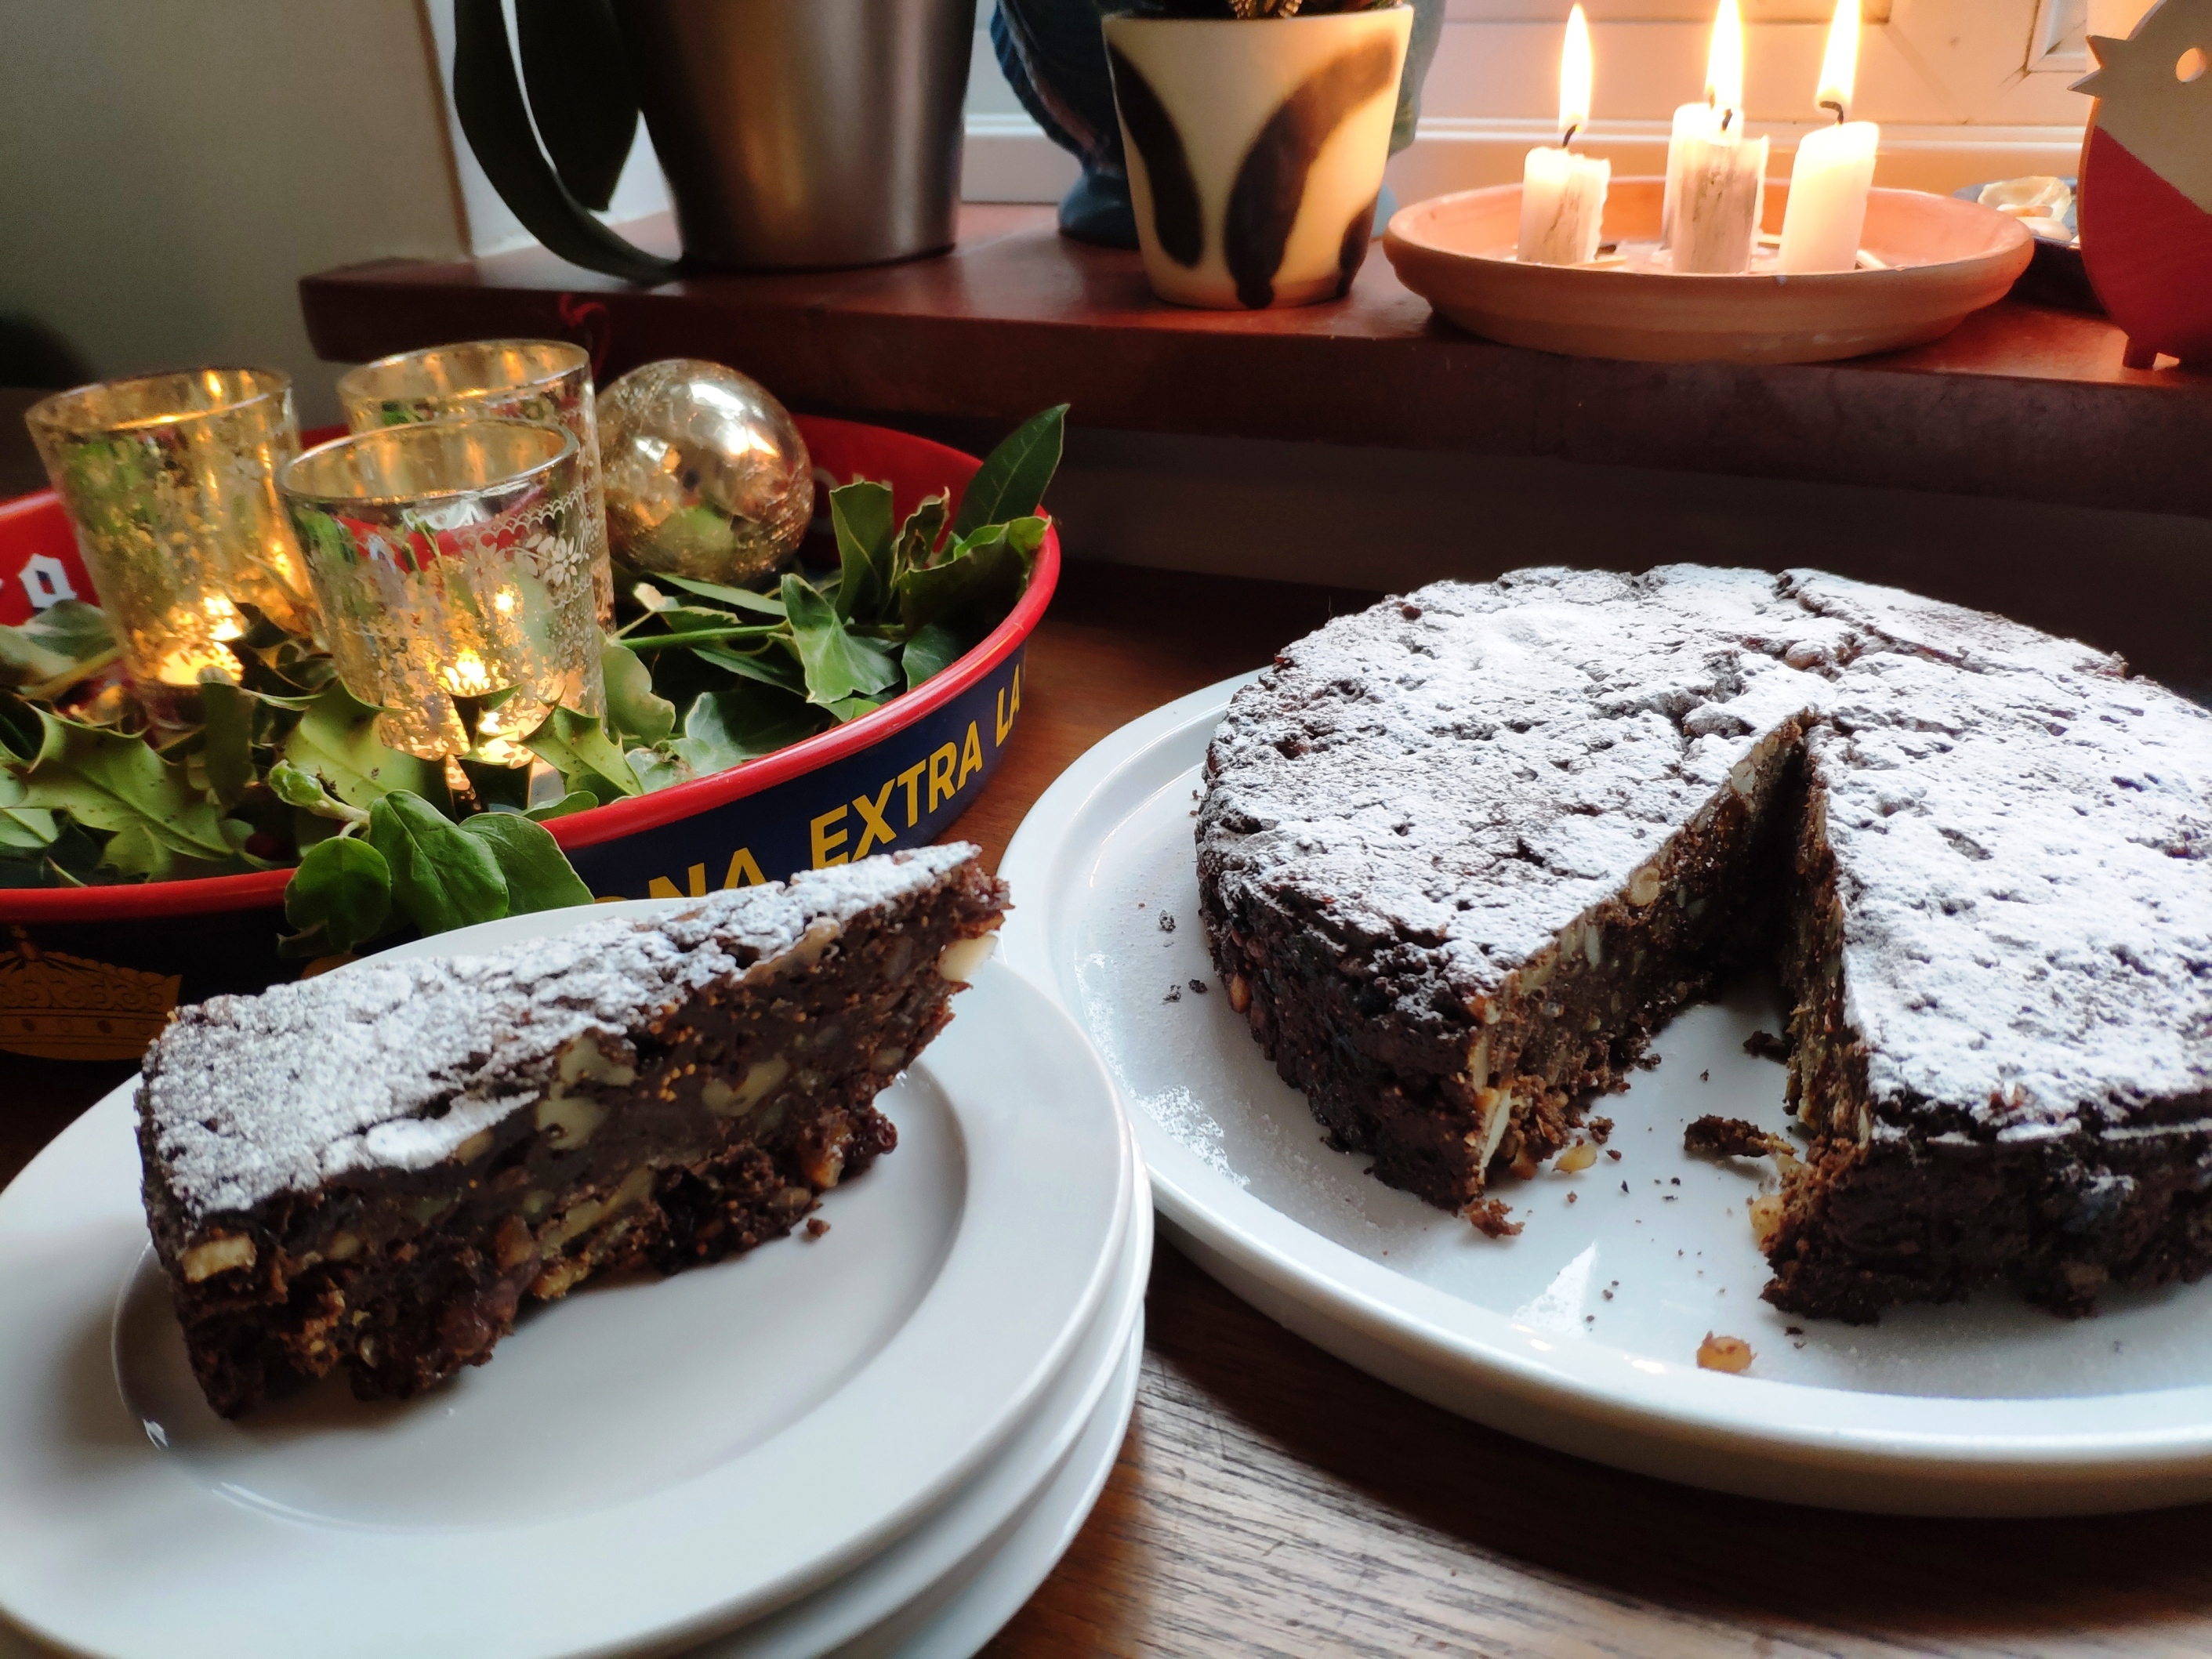
I give some procedural method, but frankly it’s just a case of adding everything and mixing well. You may be able to see in the pics I included some pecans – I didn’t have quite enough walnuts, and pecans are more of a treat anyway. It’s not a strict recipe. You can adjust the spices or ground coffee if you wish, and use other nuts or fruit depending on what’s in your store cupboard. You can also include a shot of brown spirits if you like. There’s a certain amount of QB here – an Italian recipe term meaning quanto basta, “how much is enough” or “just enough” or “as required”, ie just adding until the mix feels right.
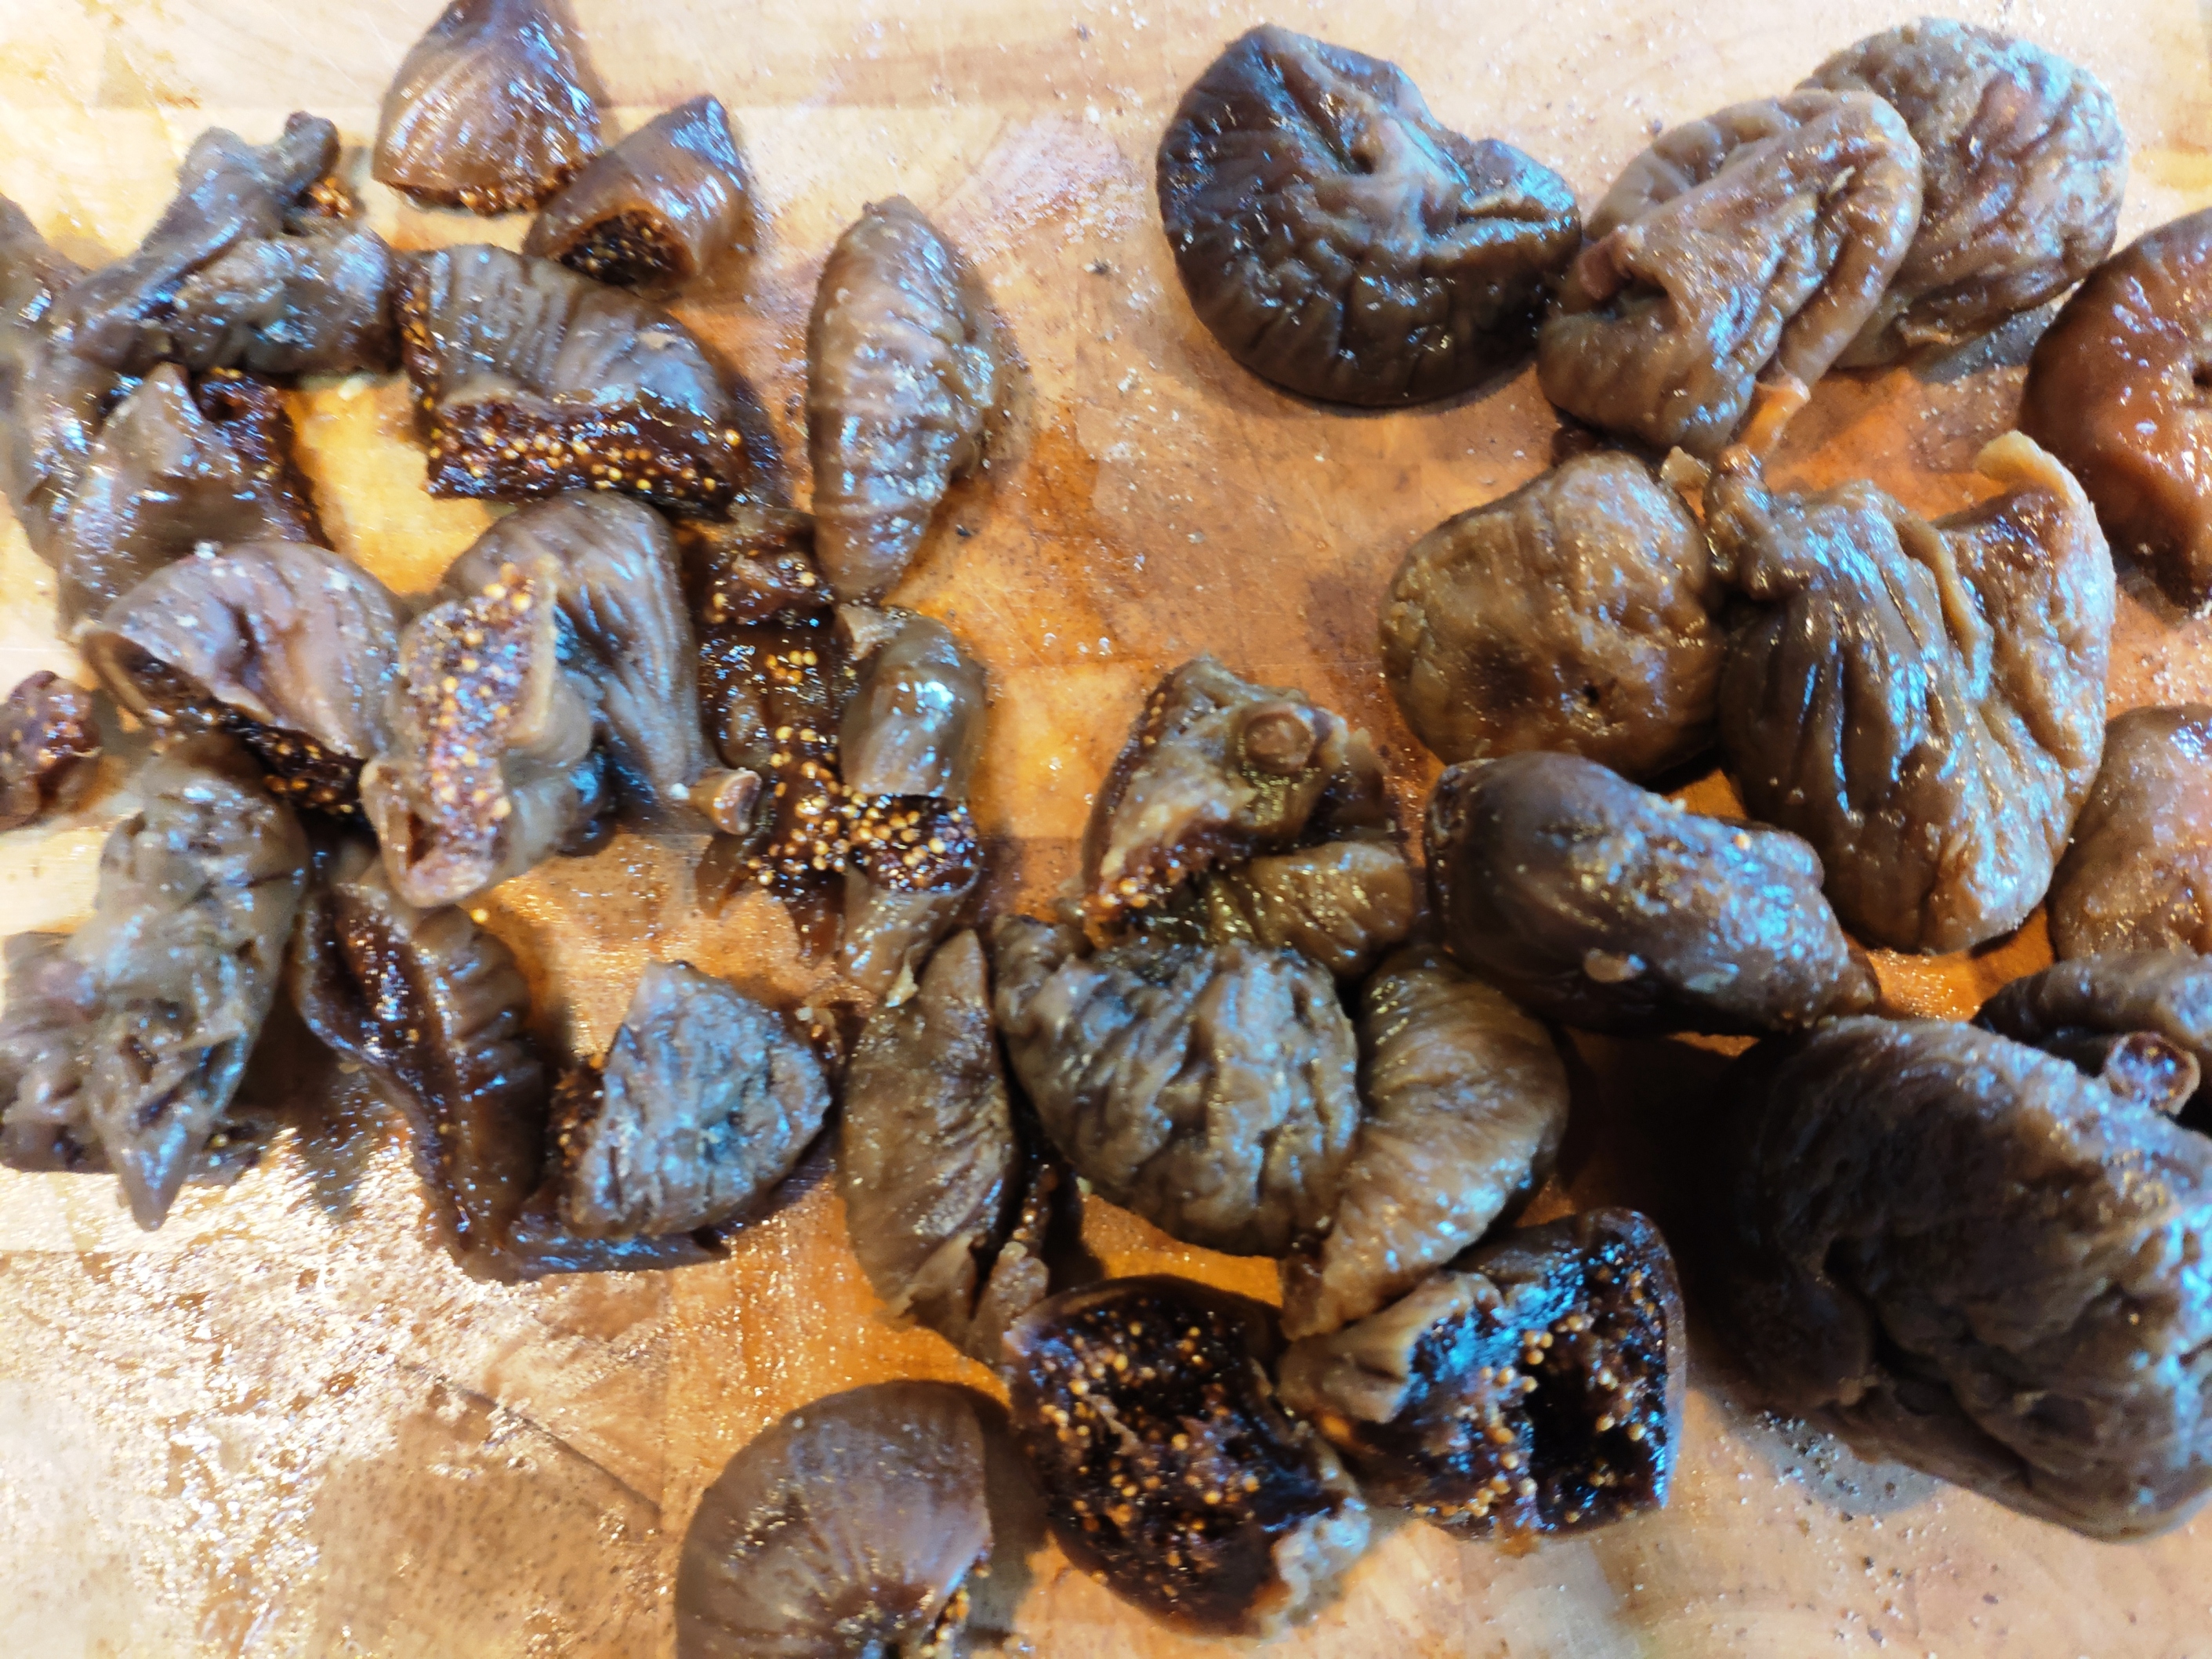
300g dried figs
100g raisins
150g blanched almonds
150g walnuts
100g breadcrumbs (dried)
50g pine nuts**
60g dark chocolate, ideally 80% plus cocoa solids
Zest of 1 orange and 1 lemon
125g wholemeal flour
2g cinnamon powder
10g cocoa
100g caster sugar
80g honey
15g ground coffee, to taste
About 150g strong coffee, espresso, QB
Olive oil, QB
Rum or brandy (optional)
1. Heat the oven to 160C and grease and line with parchment a 22cm loose-bottomed round tin.
2. Melt the chocolate in a bowl over simmering water.
3. Soften the figs in hot water then drain and chop roughly.
4. Put the figs in a bowl with the raisins and mix.

5. Roughly chop the walnuts and combine with the pine nuts, the honey, the sugar and the peel.
6. Add the melted chocolate, coffee powder and the breadcrumbs.
7. Sieve together the flour, cocoa and cinnamon and add to the mix too.
8. Add the lemon and orange zest.

9. Soften the mixture with strong coffee, adding more or less as necessary, and some extra virgin olive oil. Aim for a stiff mixture, rather than a batter, mixing everything well. Add a splash of brandy or rum if you like.
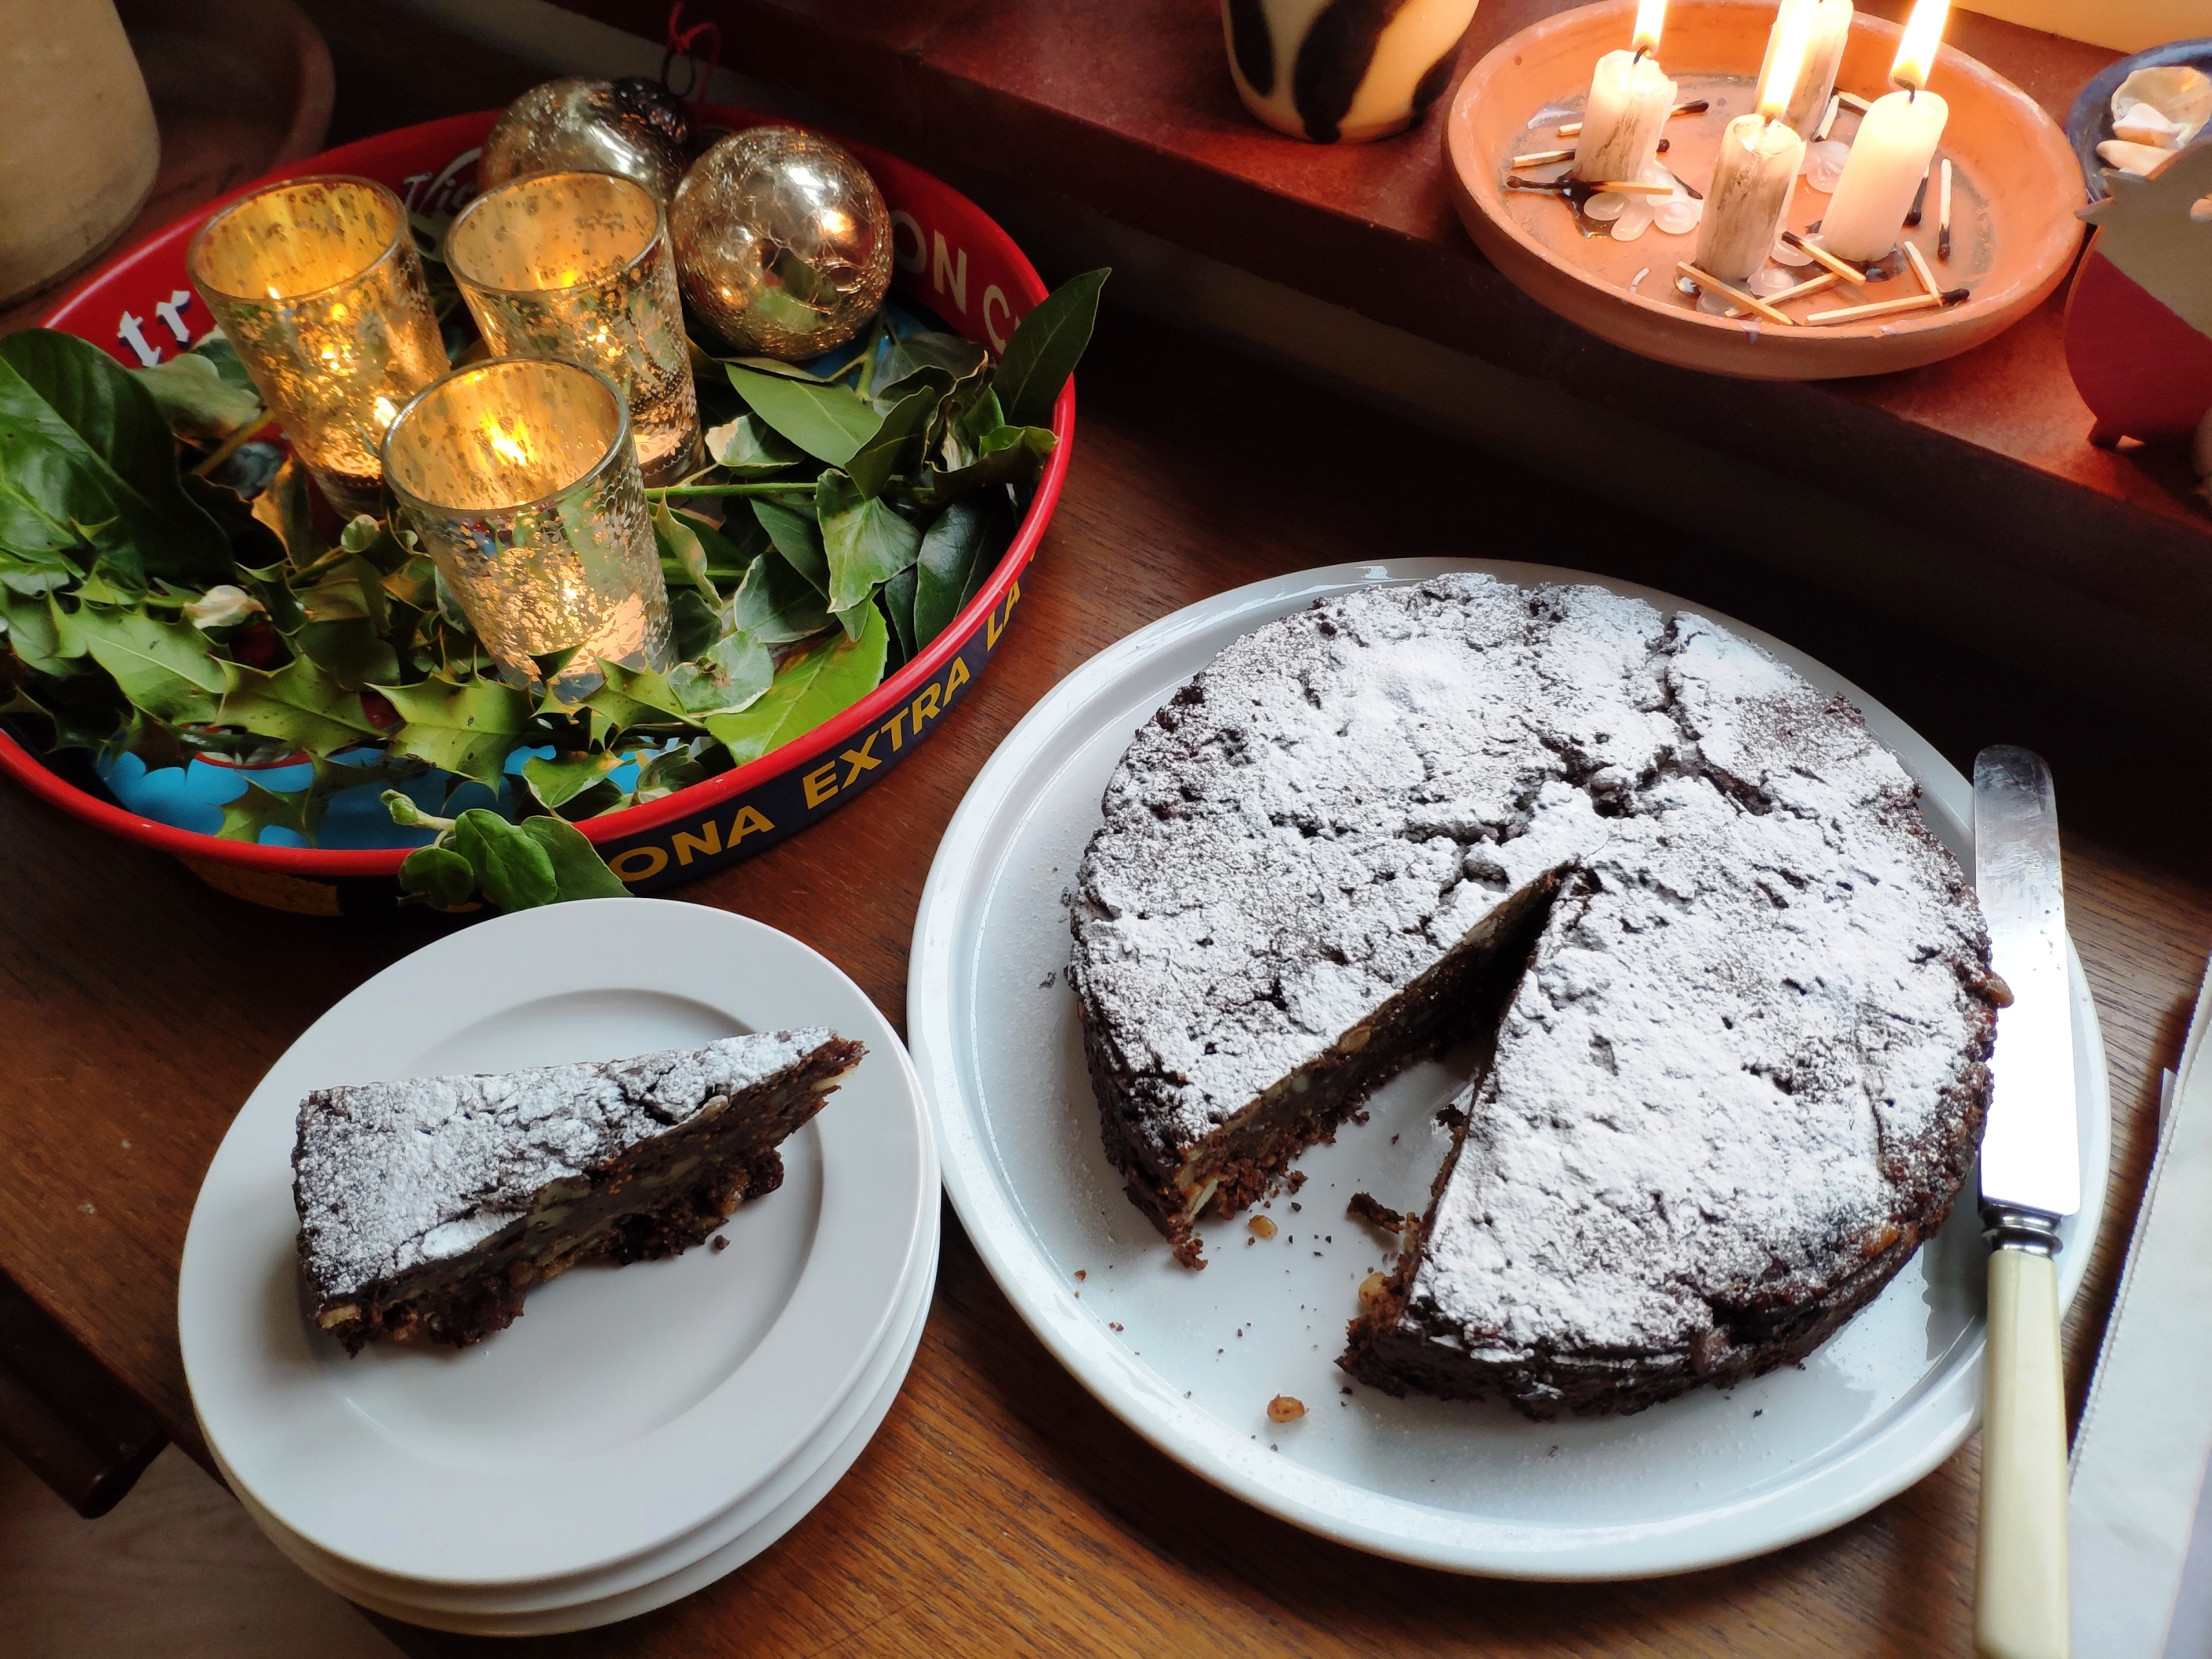
10. Put the mixture in the prepared tin and bake for around 1 hour 20 minutes, until nicely browned.
11. Cool in the tin for about 10 minutes, then loosen and invert to cool completely.

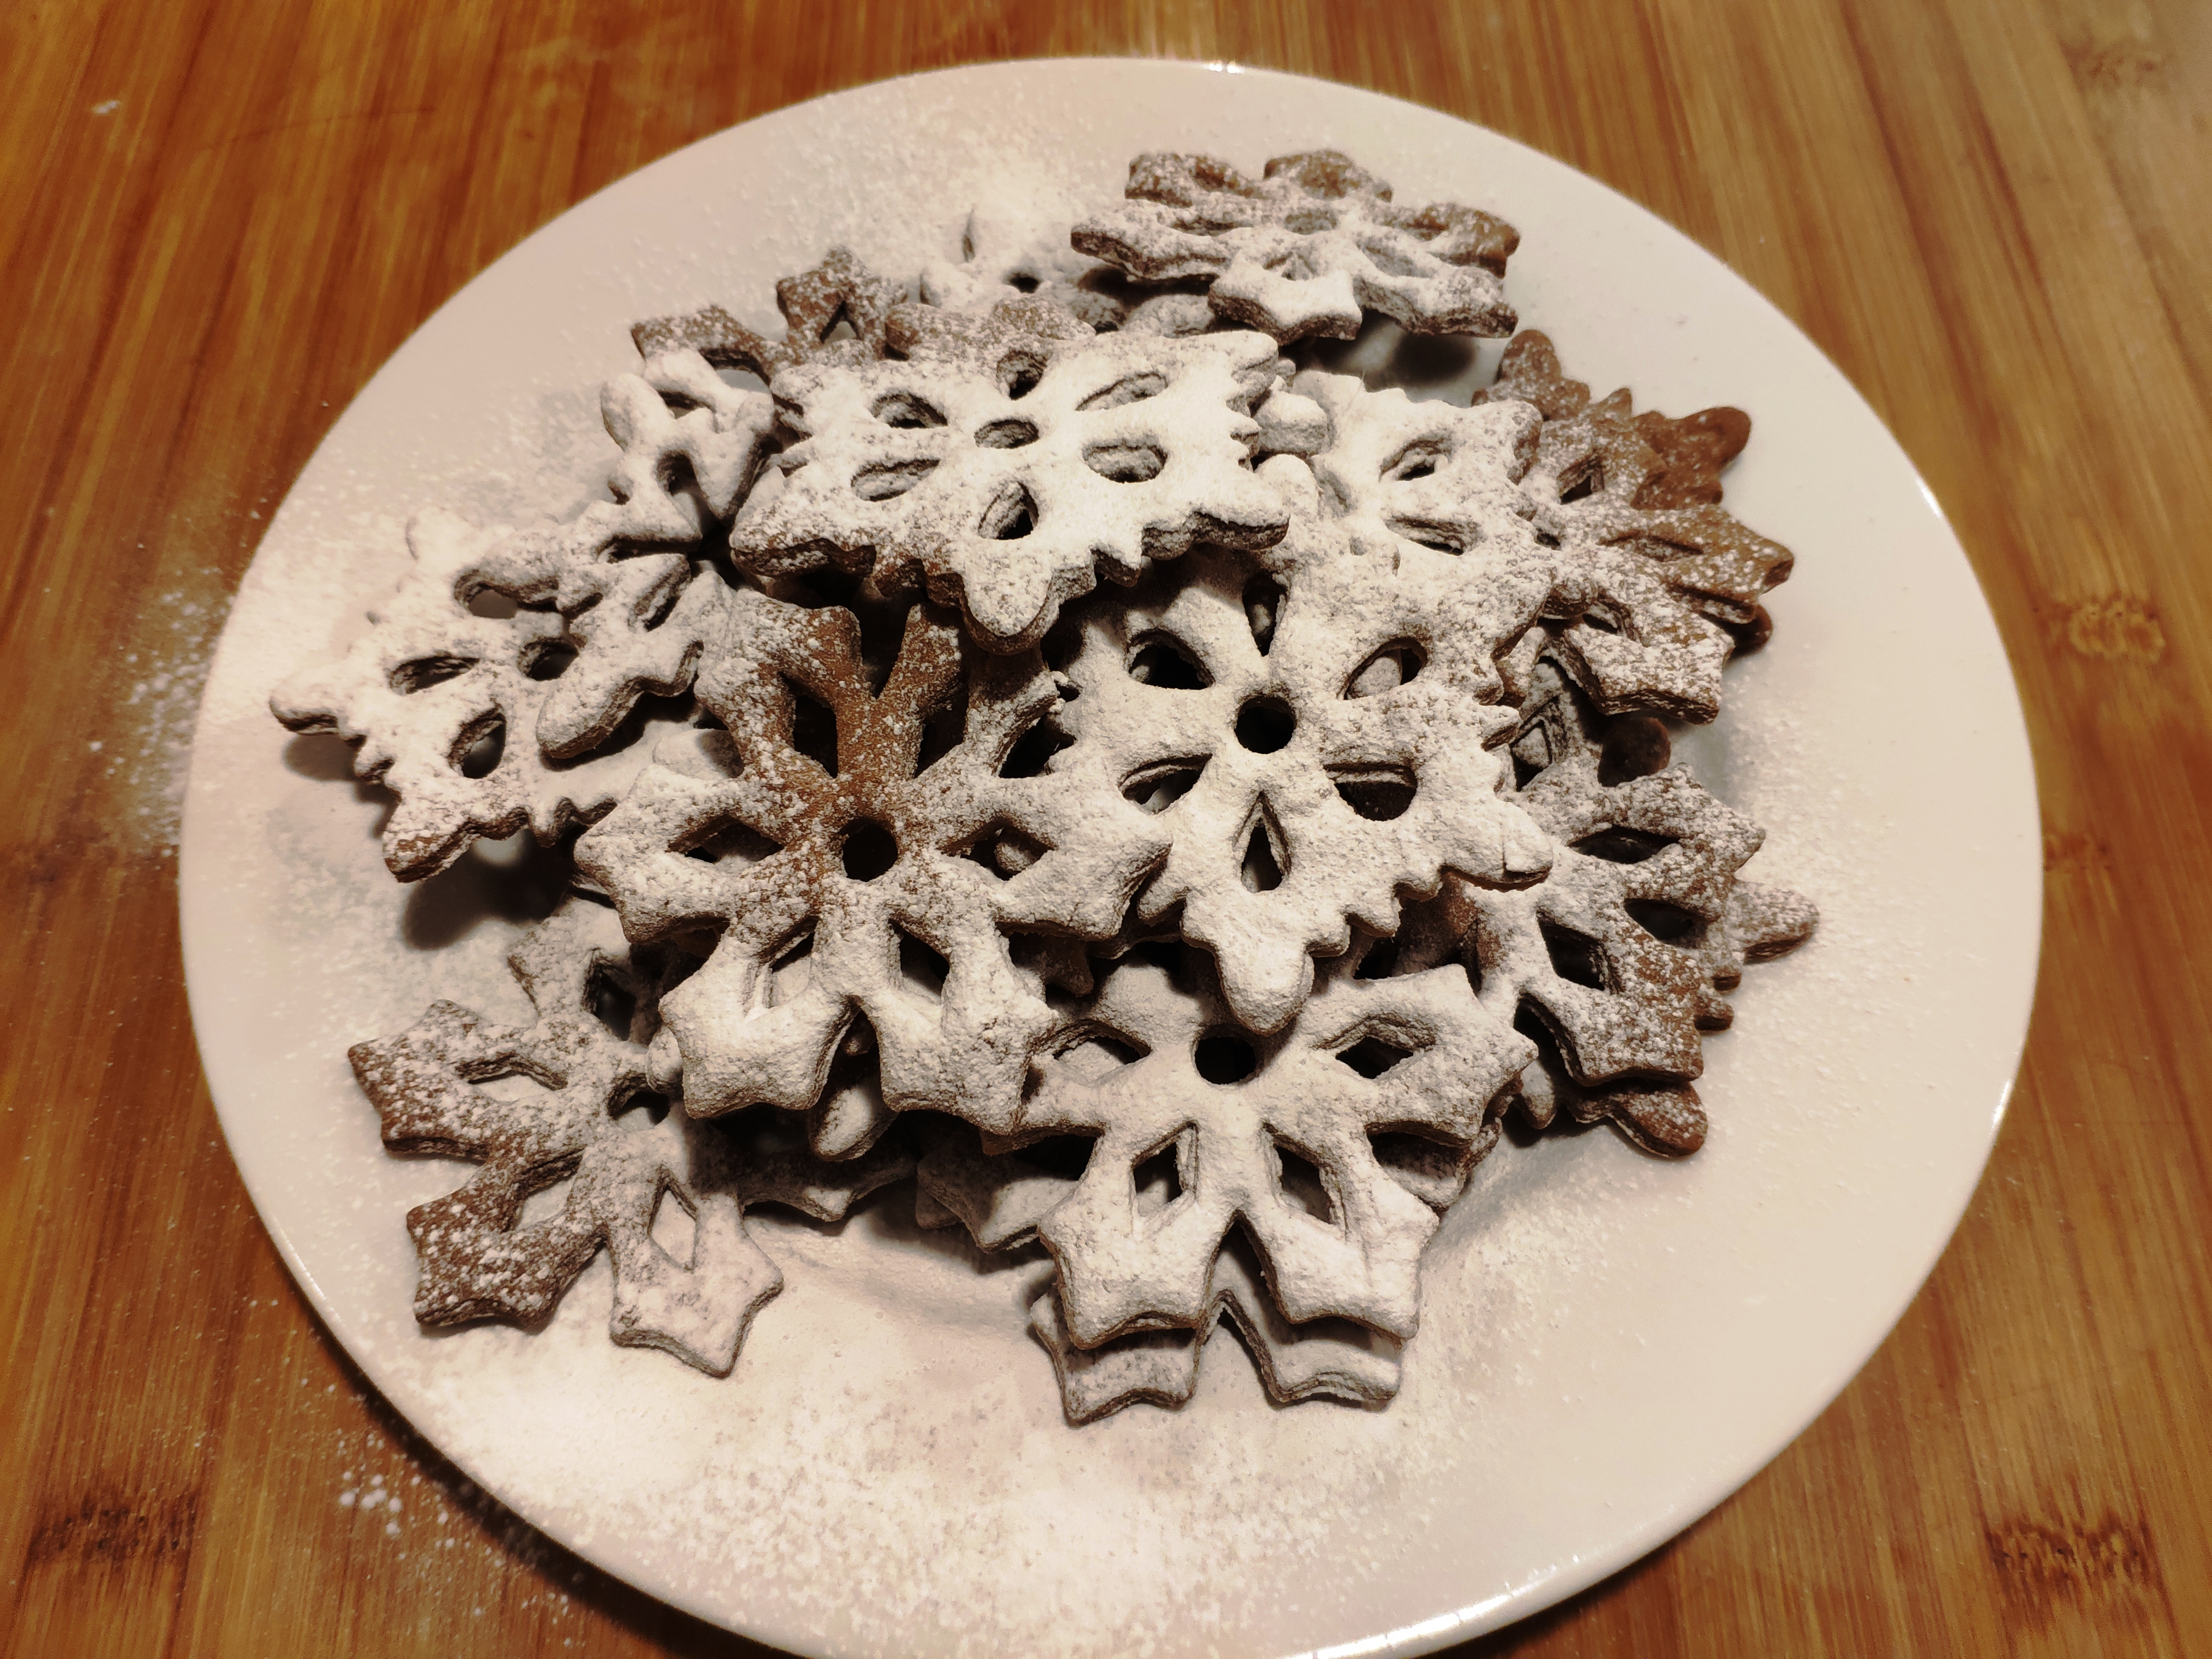
12. To serve, you can decorate the top (formerly the bottom) with some more nuts or candied fruit and/or sprinkle with icing sugar.
Footnotes
* Giammarco explained frustare comes from the Latin fustis, meaning stick, rod or cane. Whereas frusto comes from the Latin frustum, meaning a little piece, a lump.
** Ideally Italian or European from Pinus pinea (the stone pine or umbrella pine) if you can get them, not Chinese ones from Pinus armandii (the almond pine or Chinese white pine). I couldn’t, and they’re considerably more expensive – but as with any expensive ingredient, it’s a treat to be used sparingly and doubtless better environmentally. I’m seriously mistrustful of Chinese agricultural practises, seeing as they supply much of the world with just about everything these days, and intensively intensive agriculture is one of our worst mistreatments of the planet: degrading and destroying soil that took millennia to develop; nuking it with toxins that end up in animals, rivers and the ocean; deforestation, etc etc etc etc.